Lambretta Club of Australia
  • Welcome
  • Membership
    • Benefits
  • Club Info
    • Pacemaker
    • Committee Members
  • Lambretta in Australia
  • Shopping
    • On Demand Merchandise
    • Superdealers
    • Asian Restorations
  • Events
    • Upcoming Events >
      • International Lambretta Clubs
    • LCoA Jamboree 6 - Wisemans Ferry, NSW >
      • Schedule of Events
      • FAQs
  • Links
    • International Lambretta Clubs
  • Contact Us

Indian GP Engine Build Part 14

19/3/2020

0 Comments

 
No Leaks and hub troubles

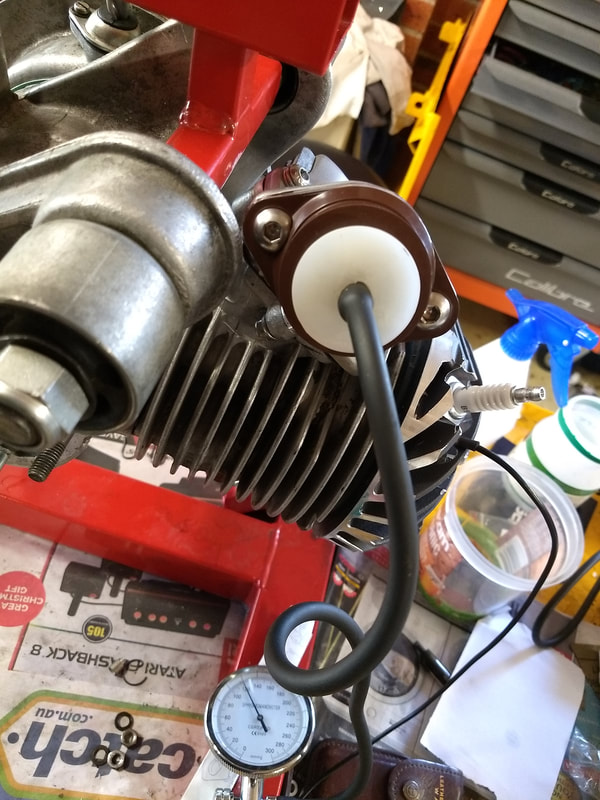
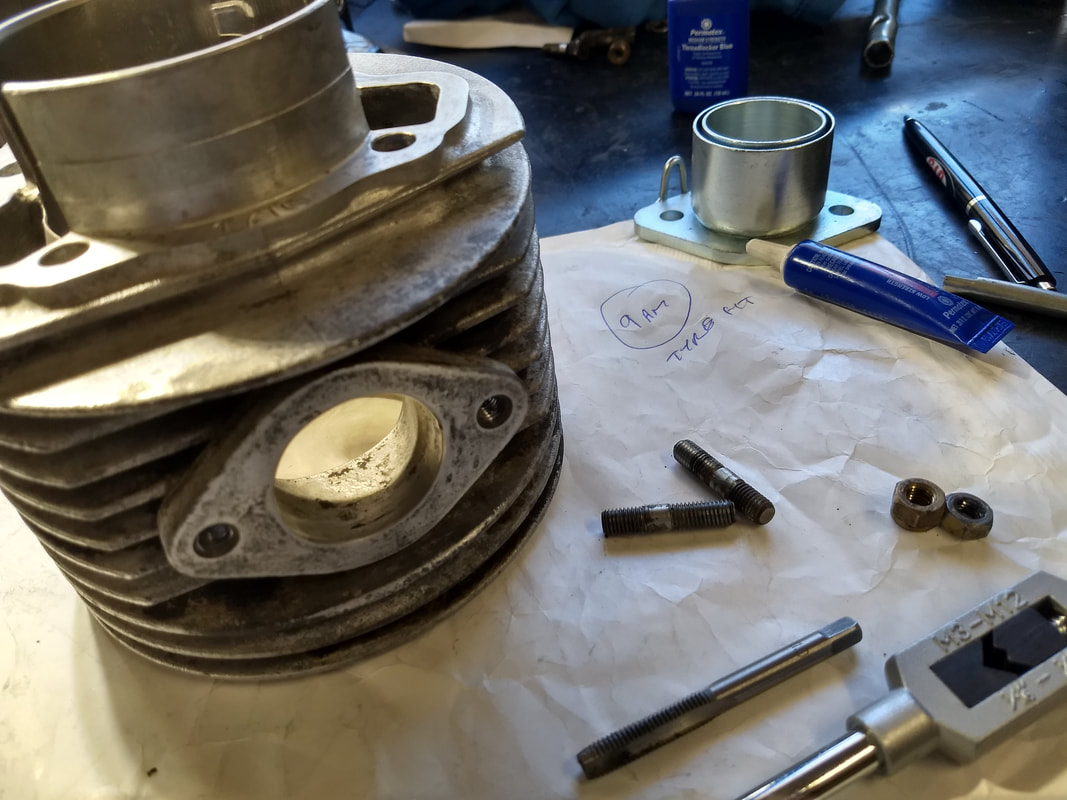
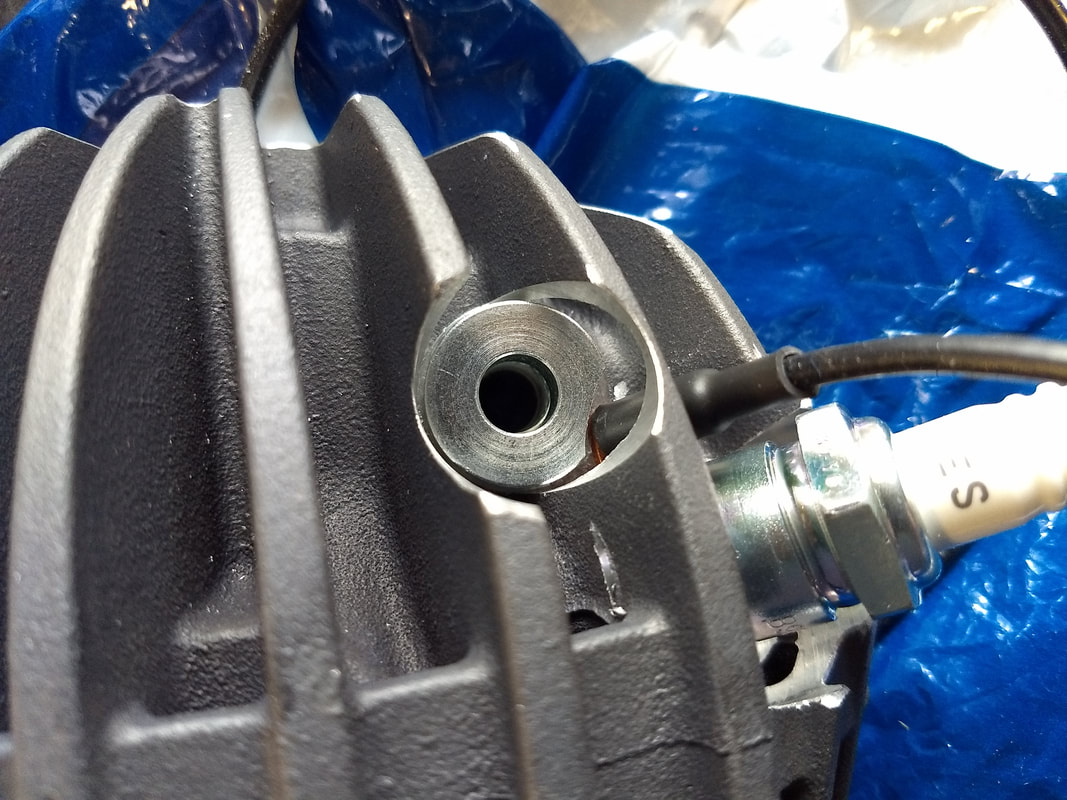
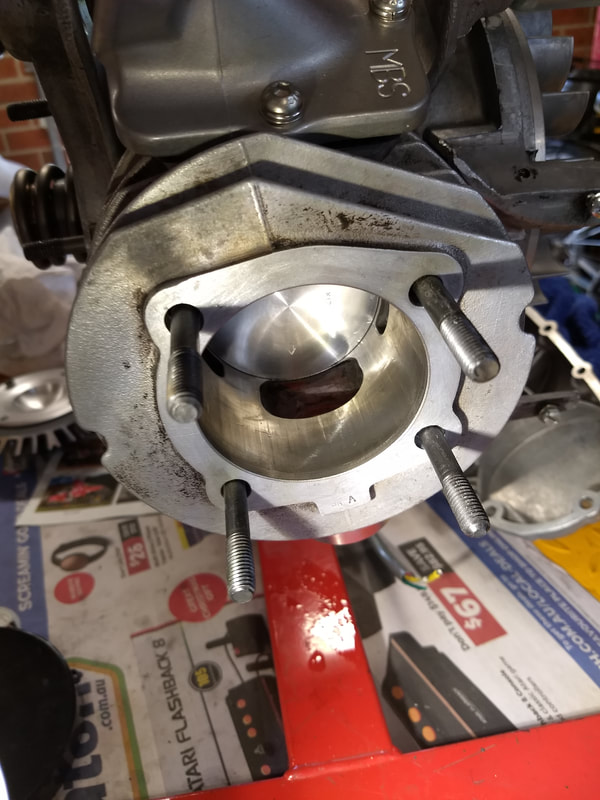
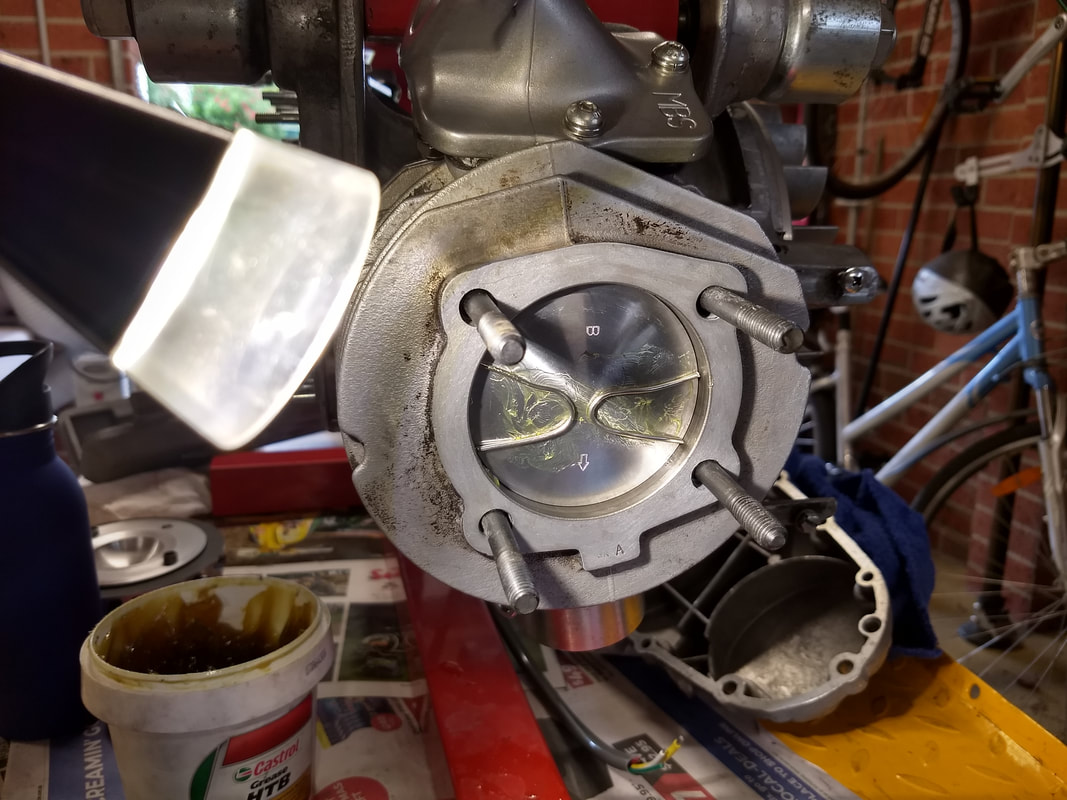
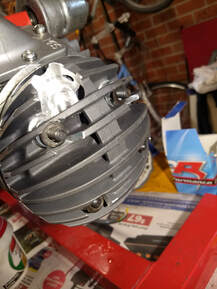
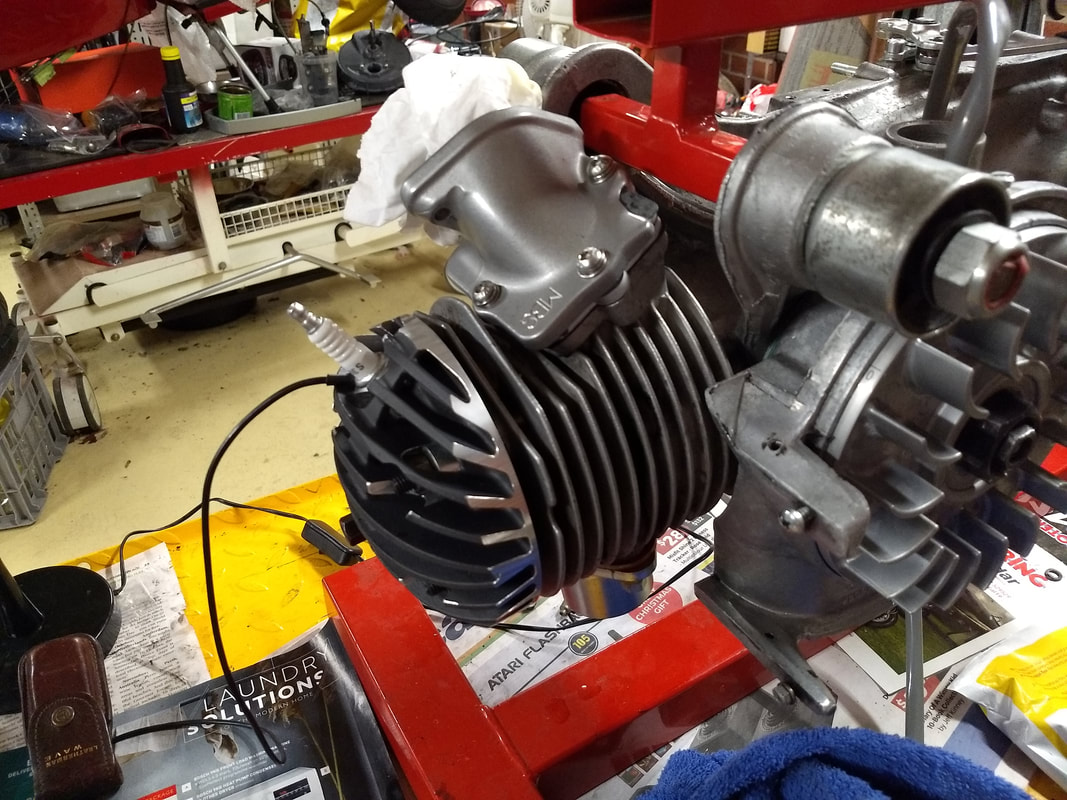
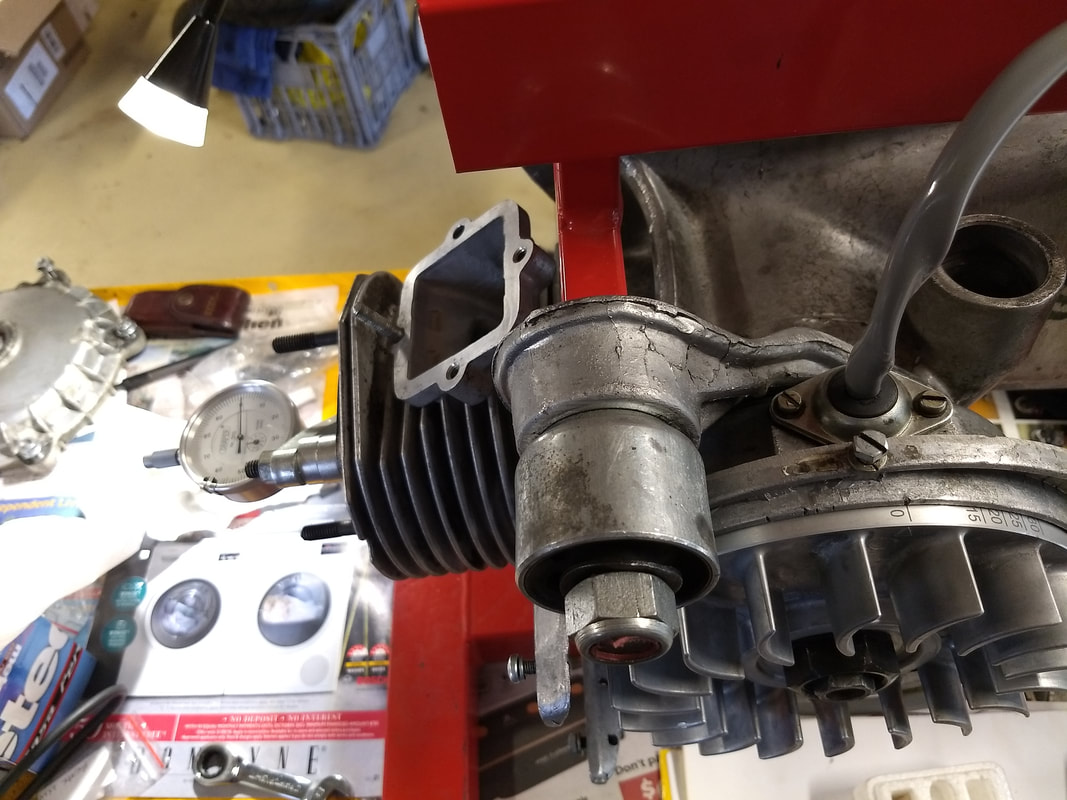
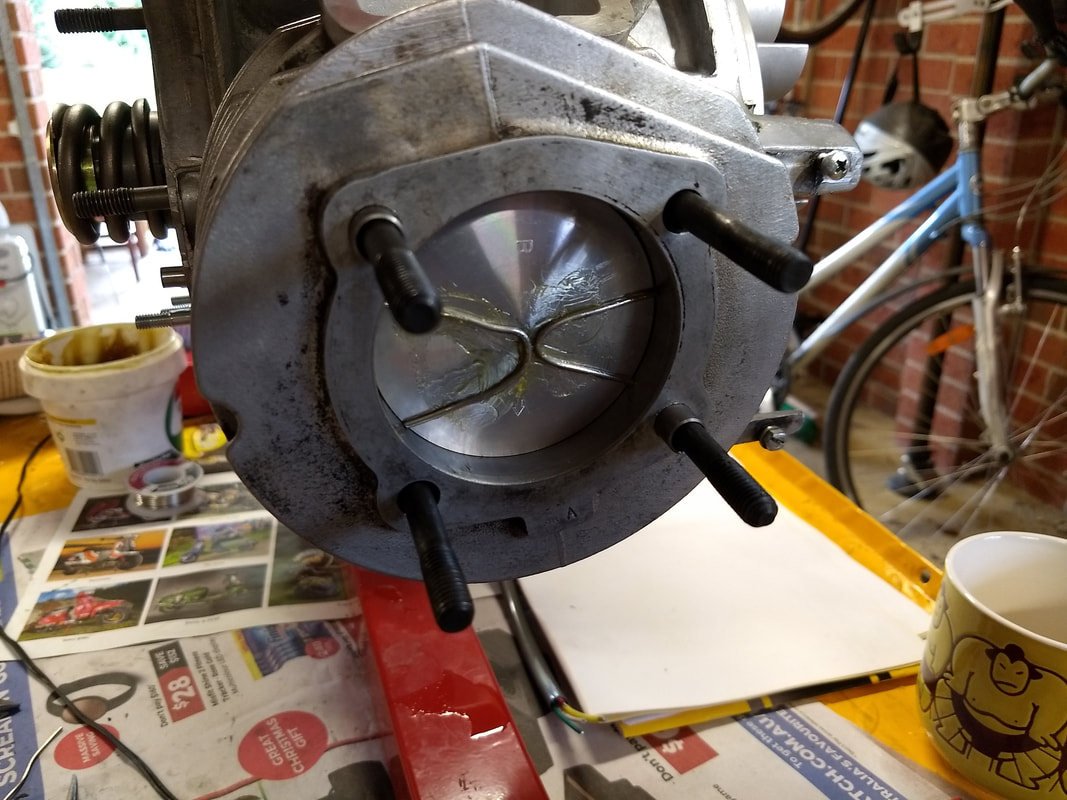
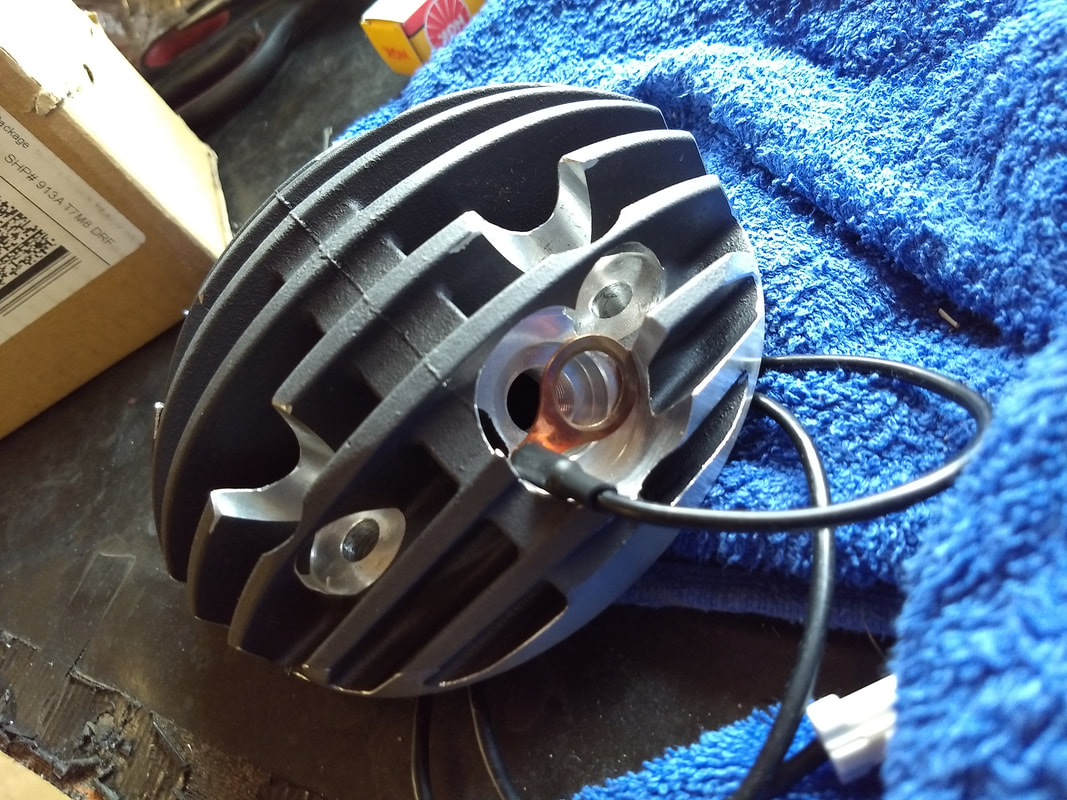
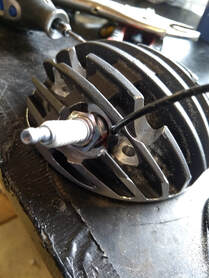
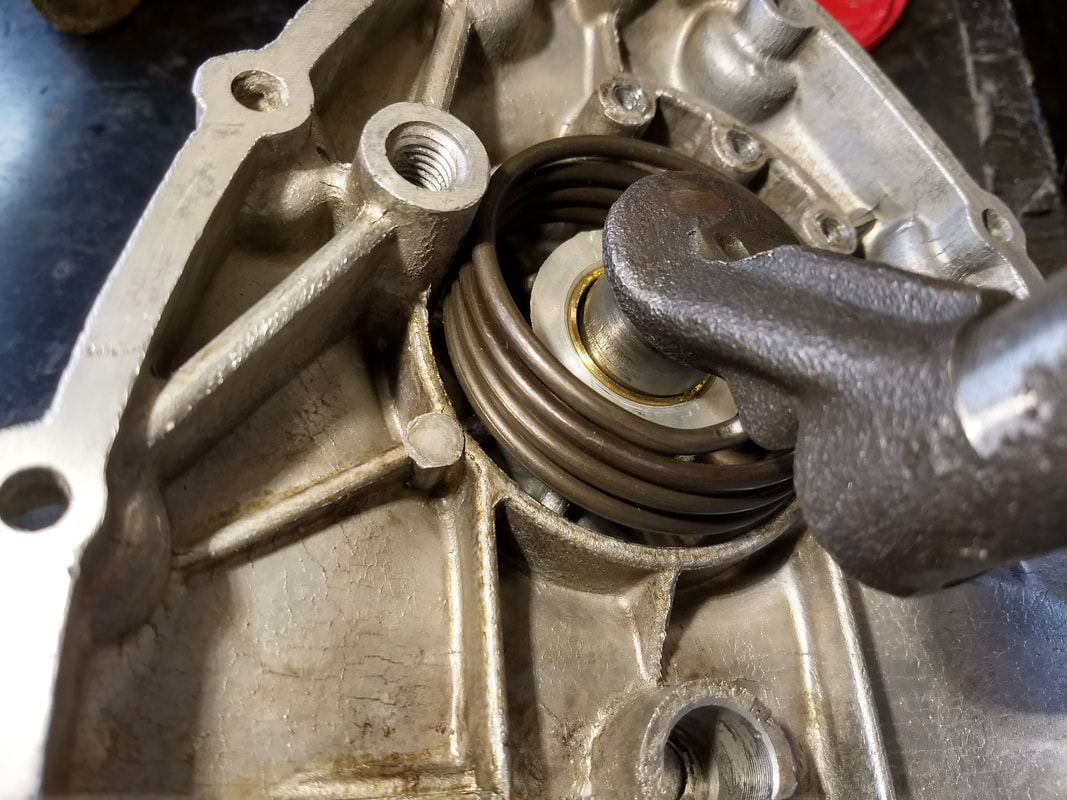
Time to do a final leak-down test. Most club toolkits have professional leak-down kits. I made my own several years ago from a blood pressure gauge and bungs from a homebrew shop, based upon an article written by Sticky for Scootering. There's no loss of pressure at all at 120 thingamy bobs. At 200 it holds for a good 30 seconds before the bung attached to the pressure gauge gets blown out. That's good enough for me. Note, leak-down testing should be done with the piston at bottom dead centre.
Picture
Picture
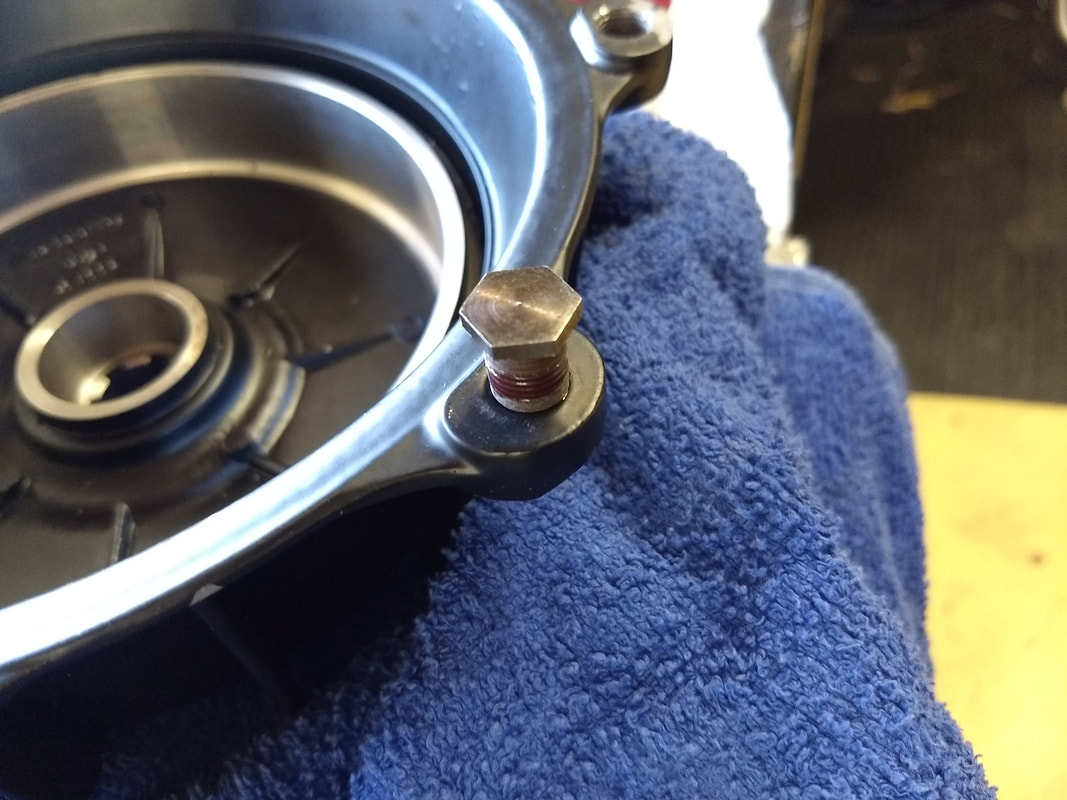
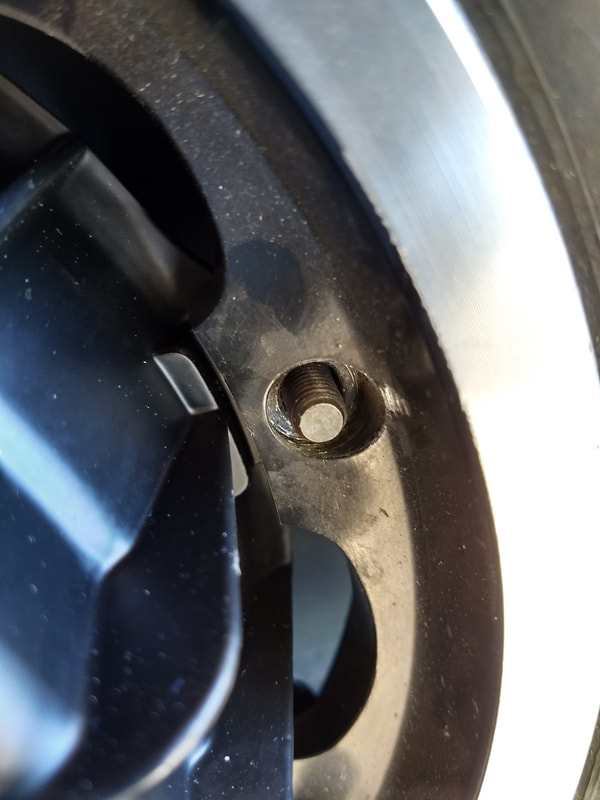
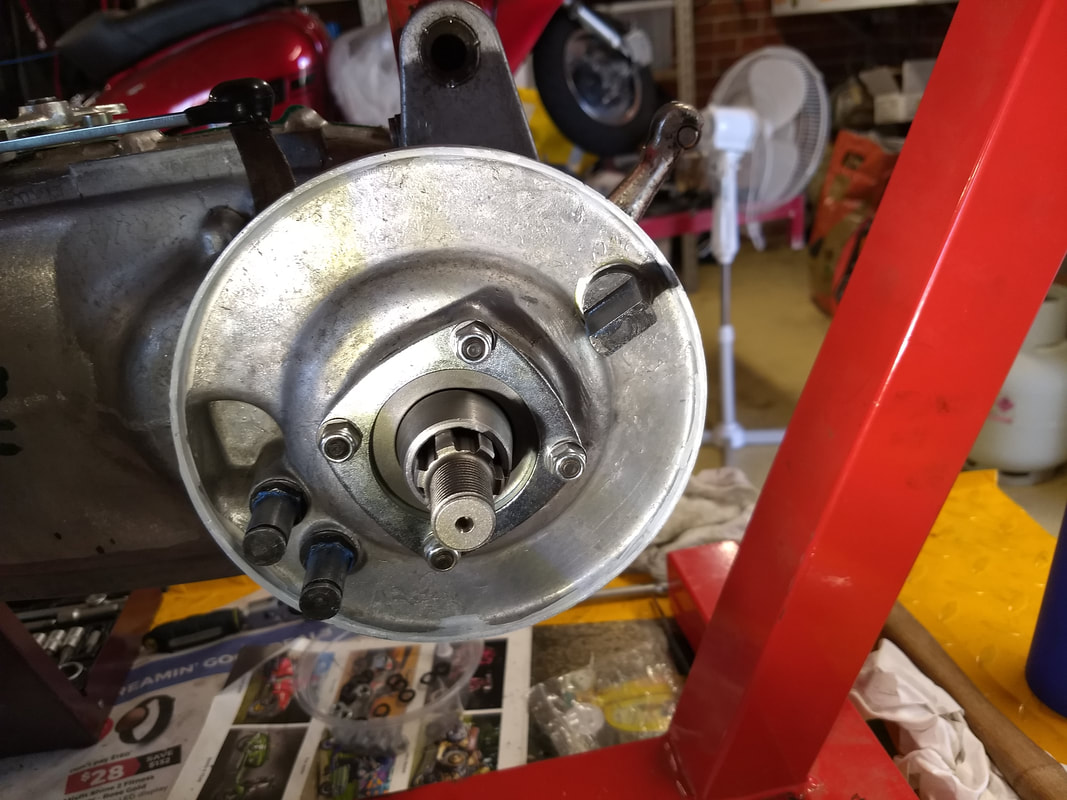
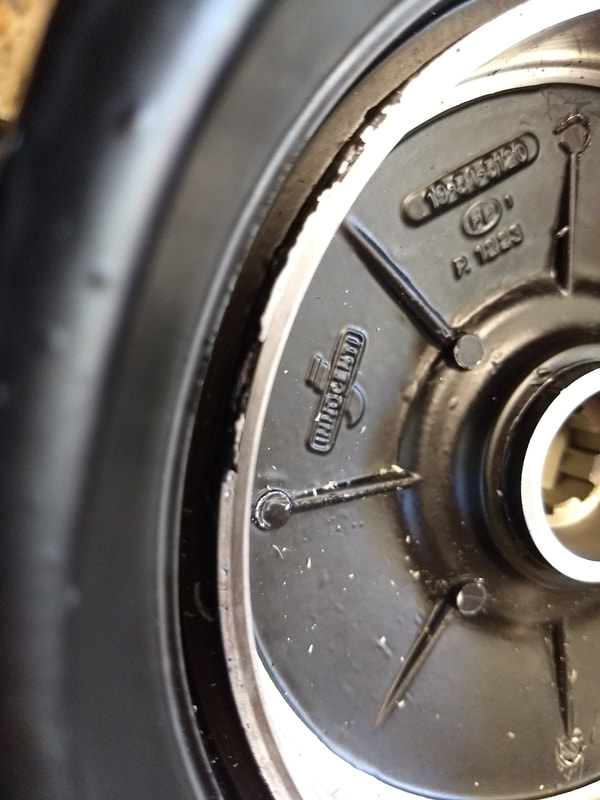
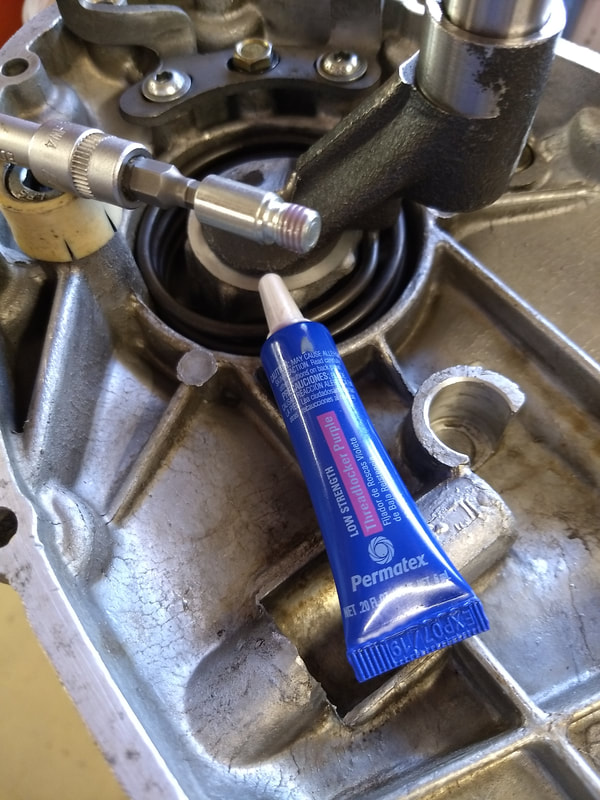
Steve supplied some new hub studs to replace the too long ones I tried to fit before. These are the perfect size. The CASA Octopus hub has eight holes. I need to use the "standard" ones which don't have a recess. I debate with myself whether to use any stud-lock. These studs can be hard to remove, but then again I'll be torqueing the nuts on properly and so shouldn't ever strip them, plus they have decent depth and perfectly sized 12mm heads on them. Right, a small dab of stud-lock it is then, to stop the studs getting unwound instead of the wheel nuts when changing tyres...
Picture
Picture
Picture
Picture
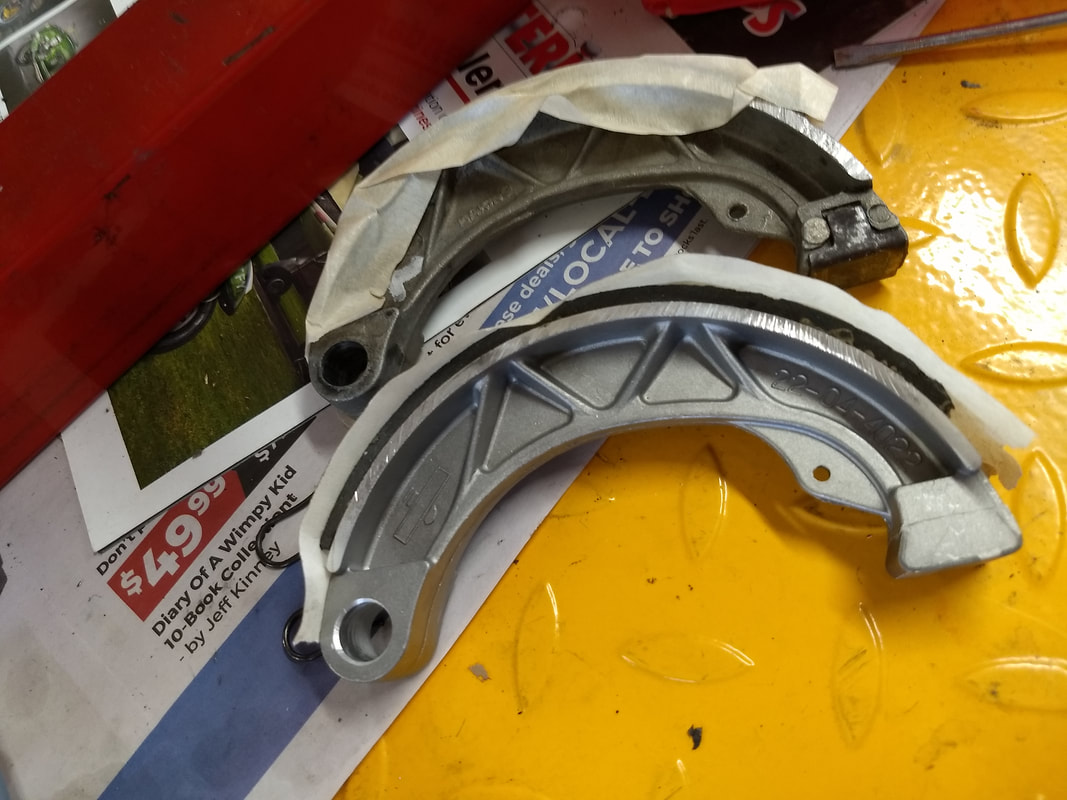
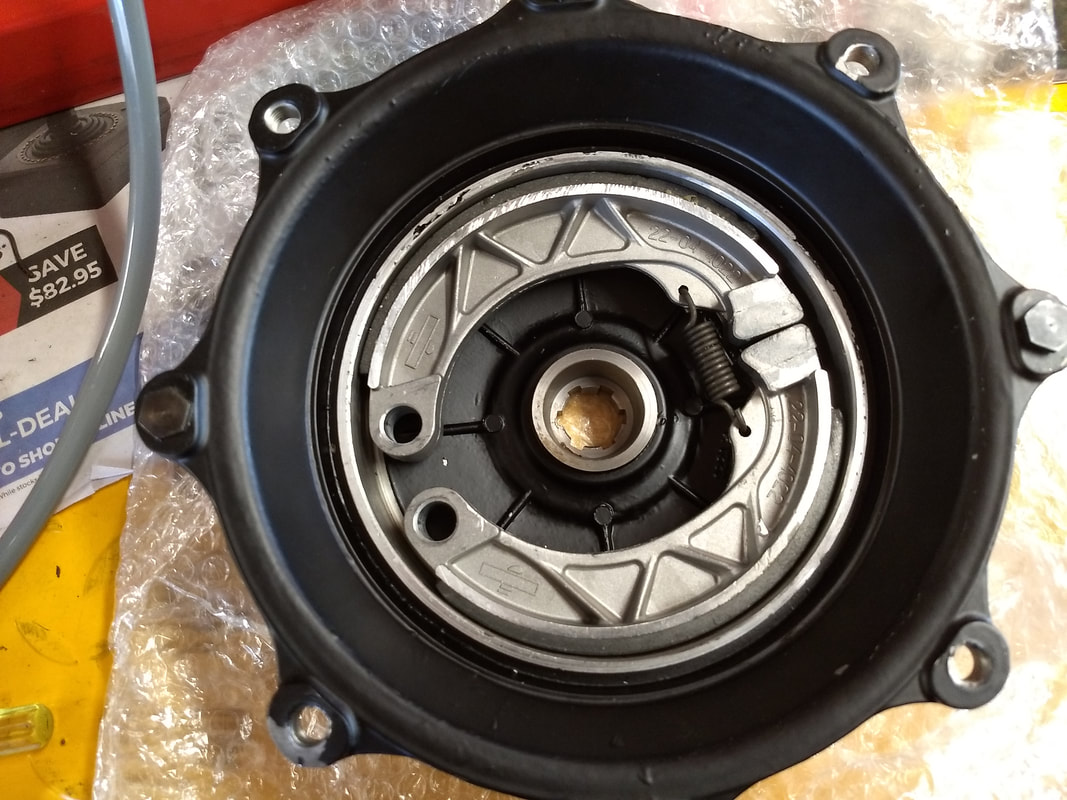
I bought new shoes to go with the new hub. It's interesting to see how these Scootopia shoes have the steel bit built in, rather than separate. Achieves the same end result...The size difference is just an optical illusion by the way.
Picture
Picture
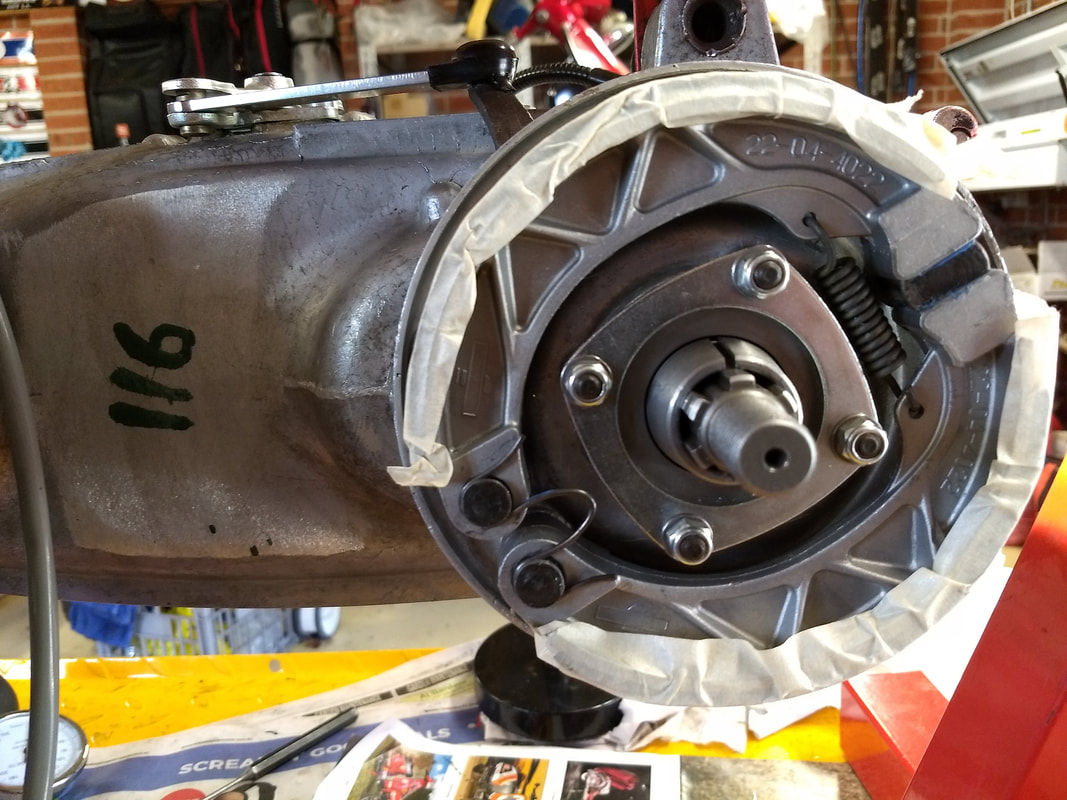
Once fitted it's clear they need skimming. They clear but there's virtually no free play on the brake lever.
Picture
Picture
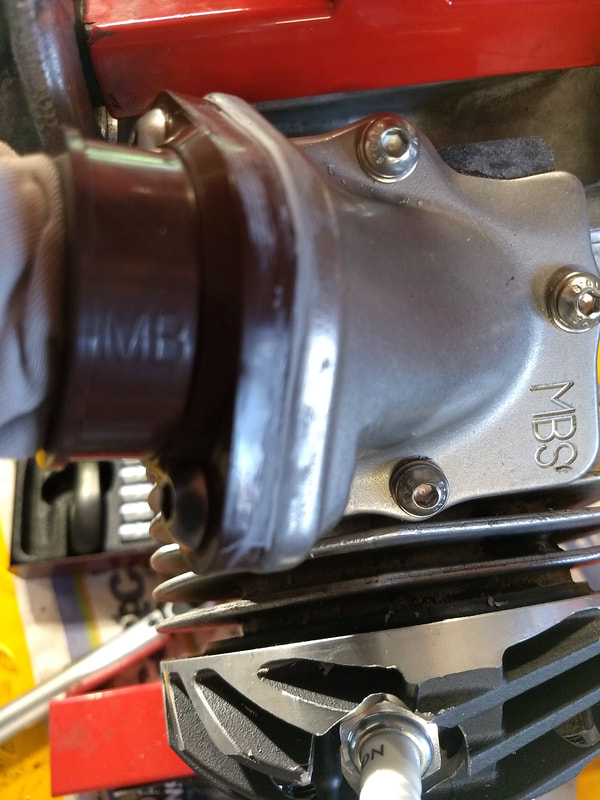
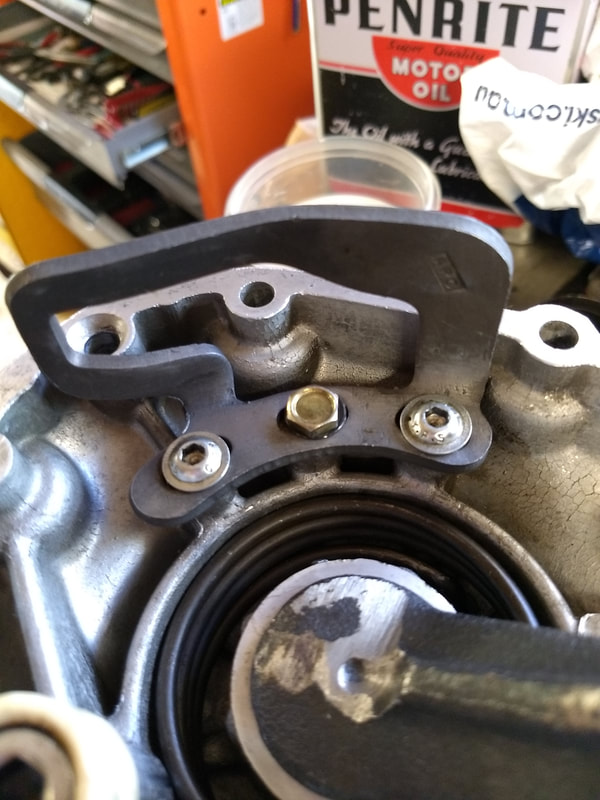
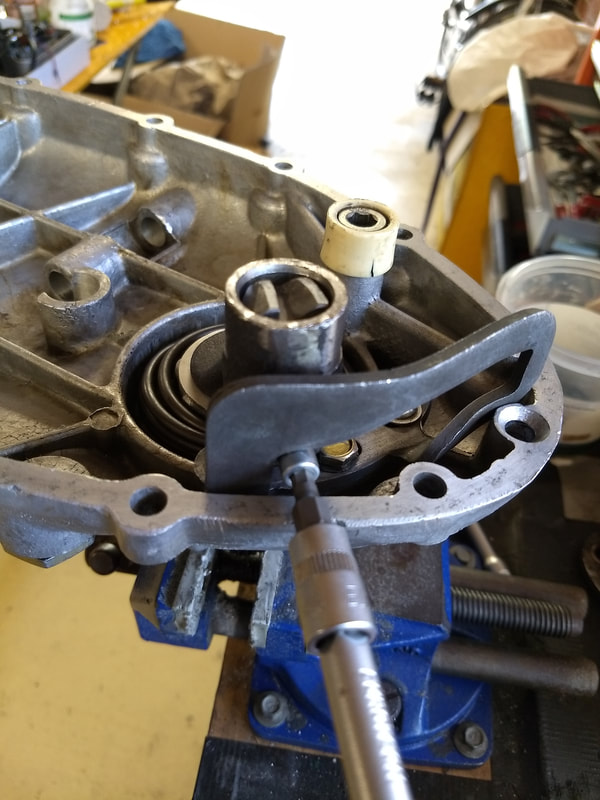
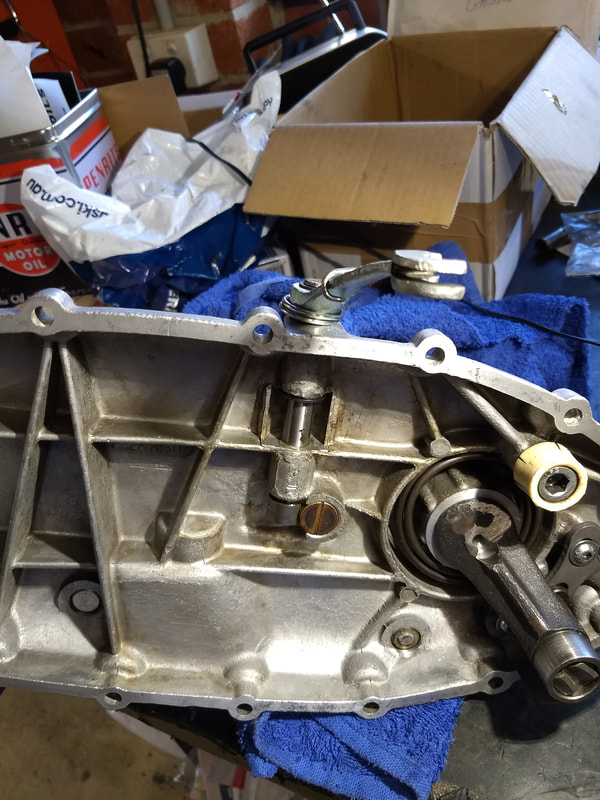
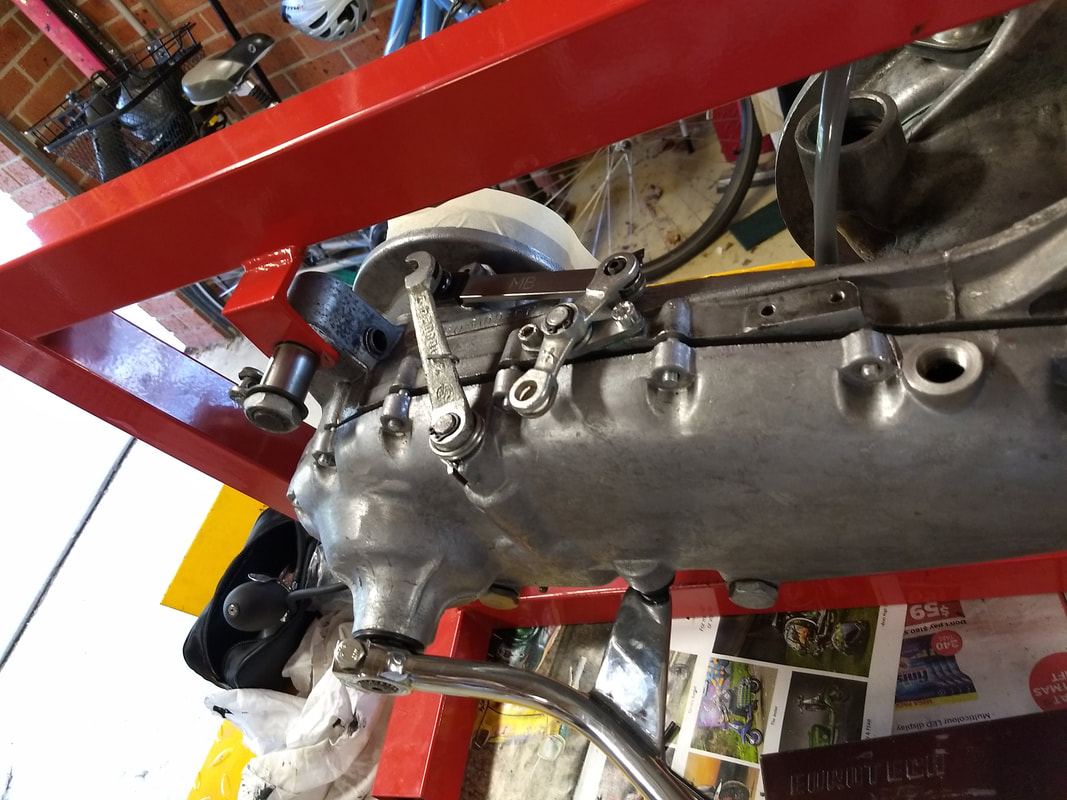
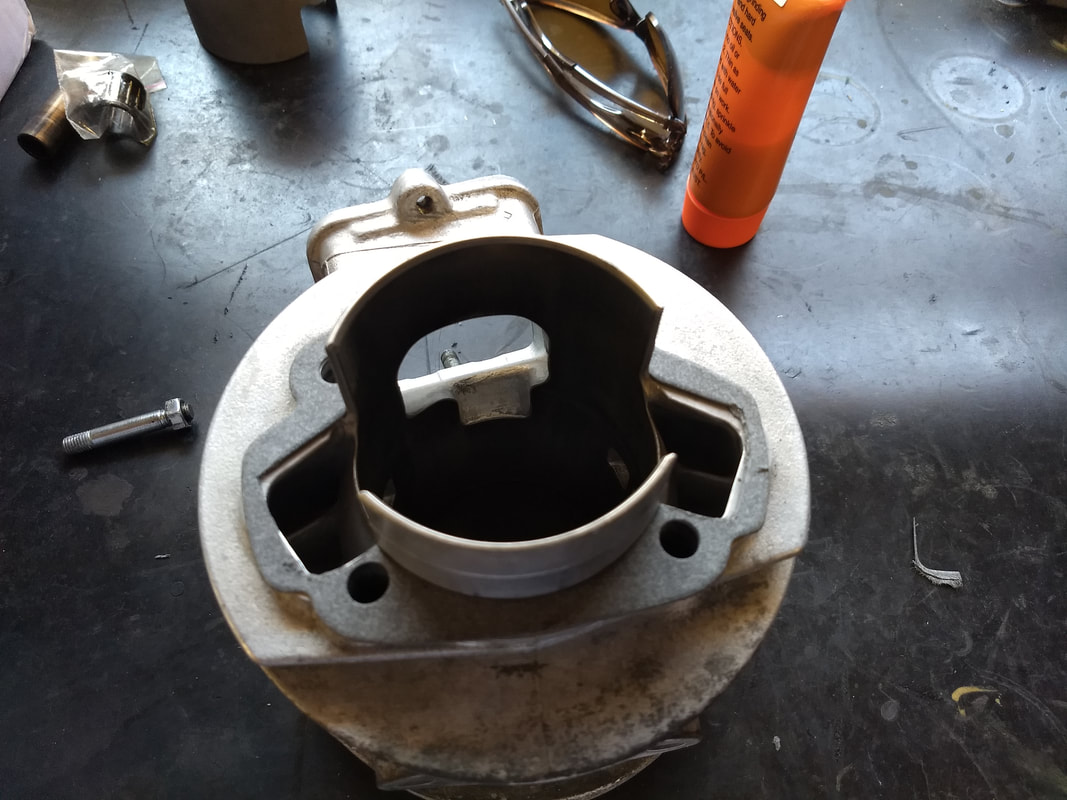
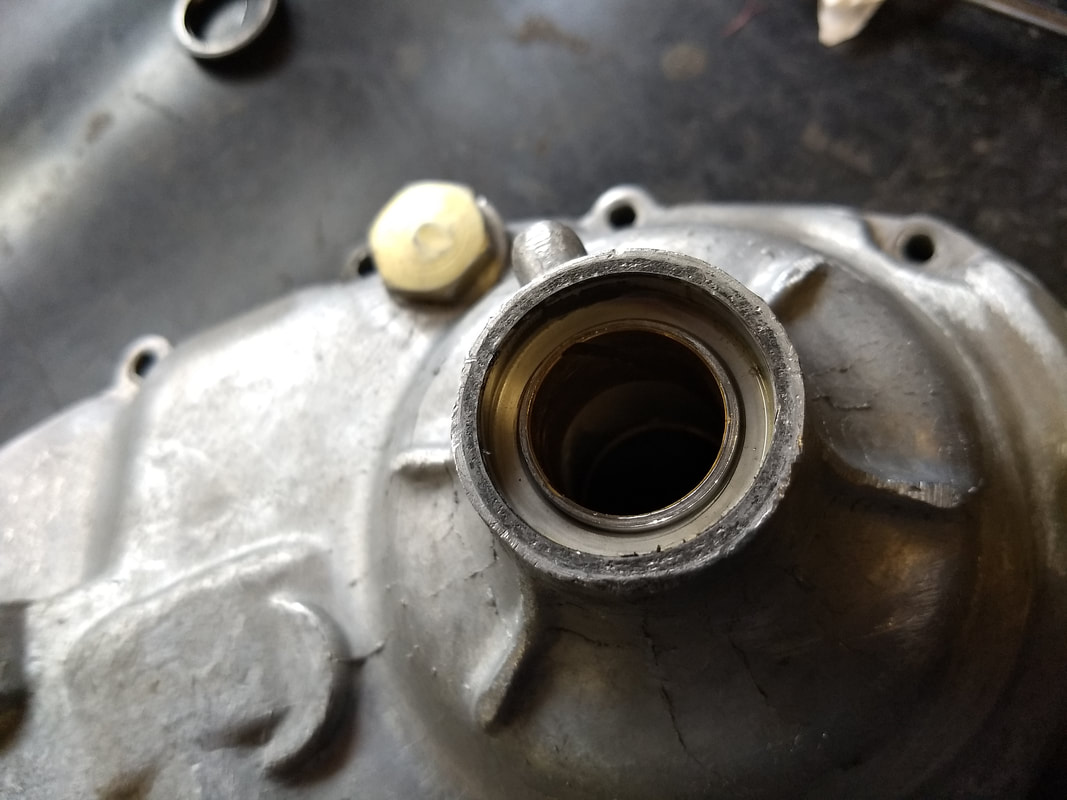
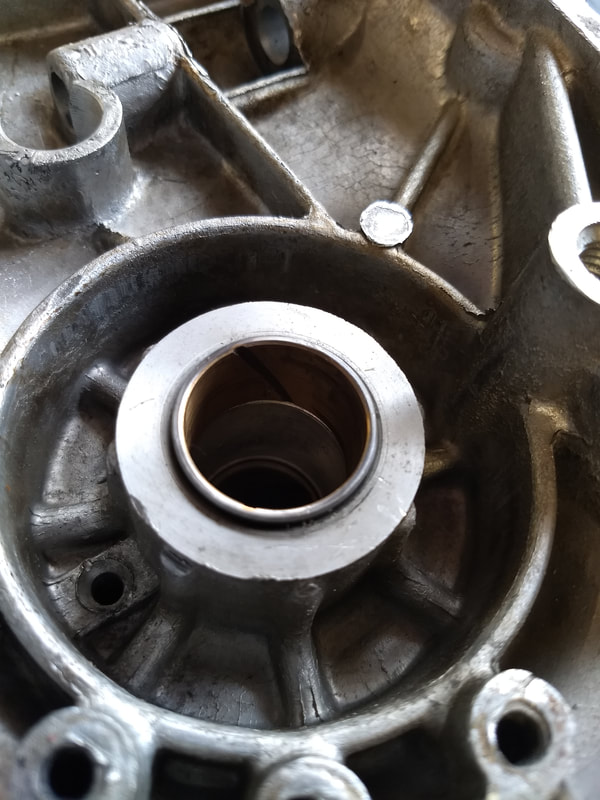
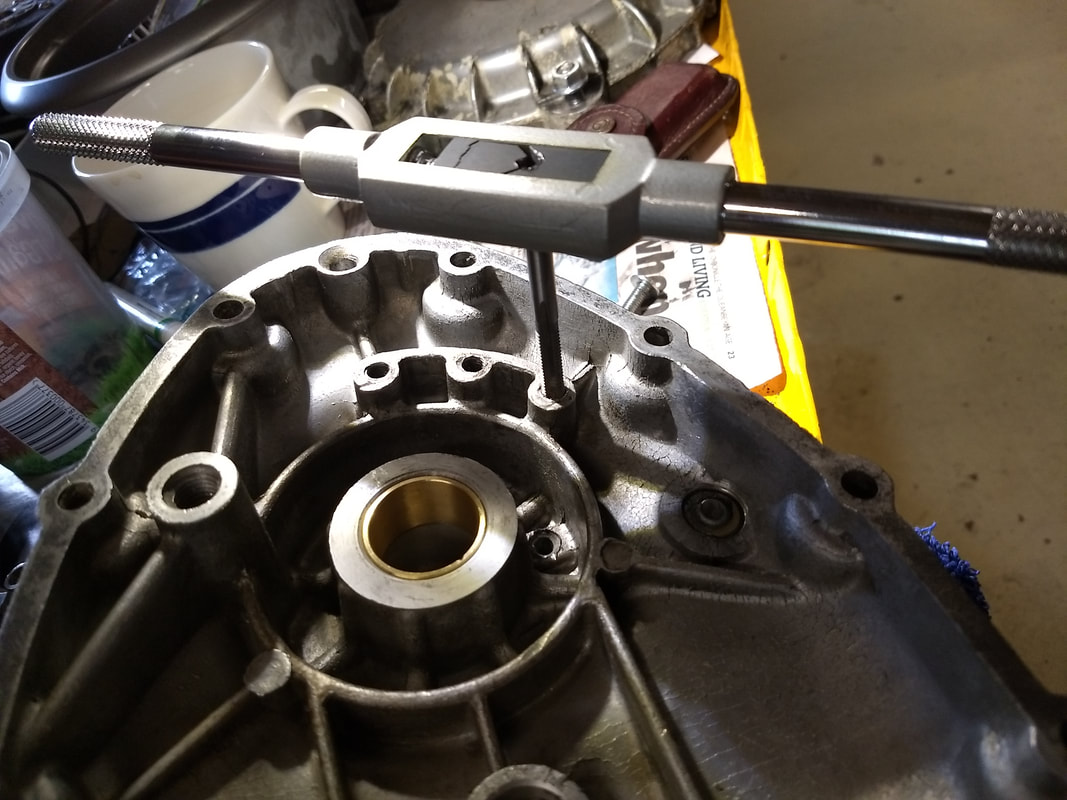
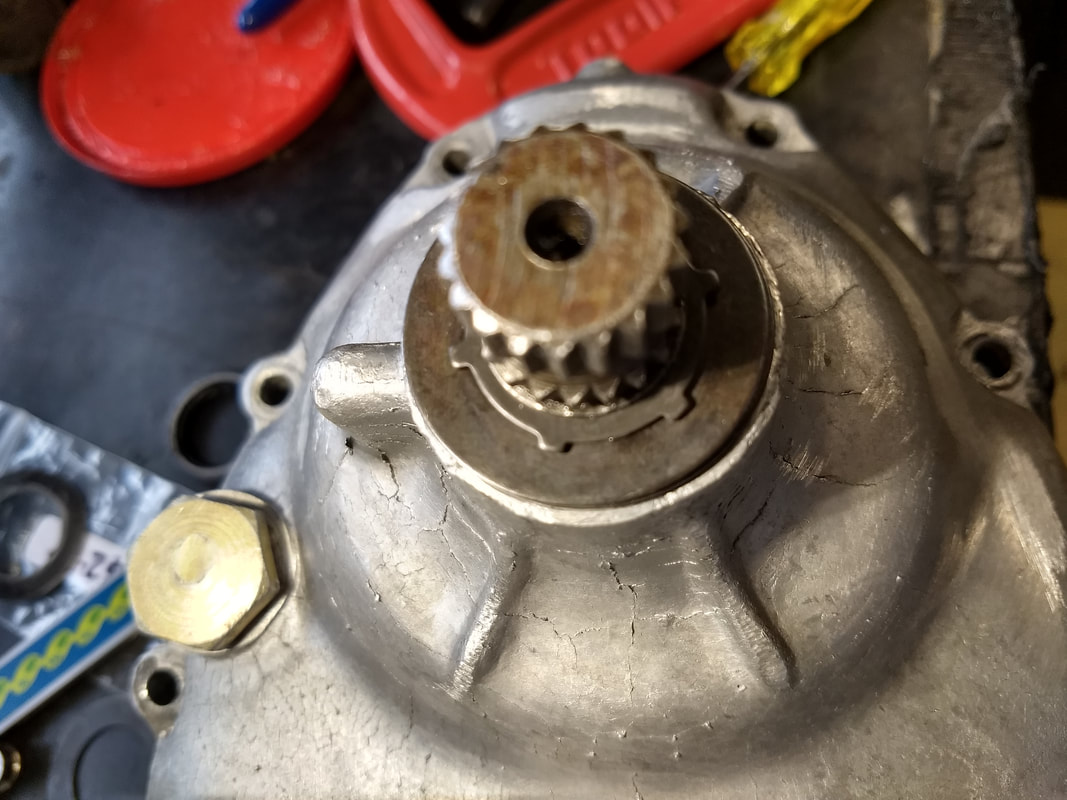
Time to fit the chain-casing. Well, so I thought. I put it on with 4 nuts and then, following the AF instructions, I want to turn the wheel to see if the kickstart is ratcheting in first gear. I'm pretty sure it won't. Anyway, I decide to hold the hub on with it's nut, just so I can turn the engine over in first easily (sparkplug removed following the leak-down test). With the nut on the hub is totally locked! And this is with the shoes removed. I can't work out where it's locking, so use an engineers pen to white-out the casing. Hmm, there's the rub!
Picture
Picture
Picture
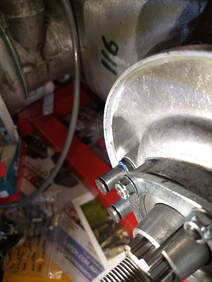
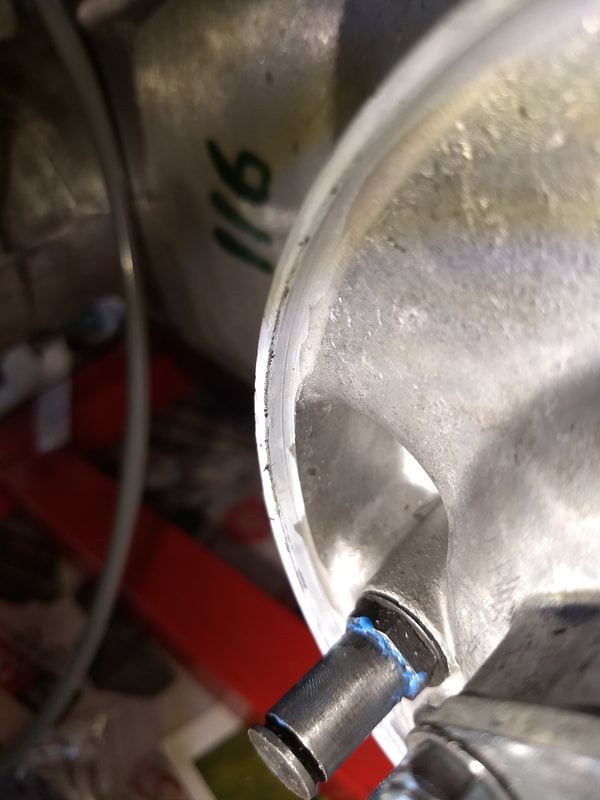
I try filing the area, but it doesn't make much difference. Looking at the hub I'm now not sure if the Indian casings are wrong or the CASA hub! Time to leave it so I don't fuck things up...Tomorrow I'll take the hub and shoes in to the brake specialist next to Motorini for skimming...Now it's time for a drink. This is turning in to a marathon build!
Picture
<Next> <Previous>
0 Comments

Indian GP Engine Build Part 13

16/3/2020

1 Comment

 
Chaincasing assembly

Friday and Repco send a text to let me know that they have the ThreeBond in, so I collect it and fit the flange. Unfortunately, after a weekend away down the coast another leak-test fails! Off it all comes and back on it goes, using much more ThreeBond this time.
Picture
Picture
The instructions say to leave for 12 hours before leak testing, so time to pick up some other jobs. Double-checking the chain I decide it's too tight, so loosen it a bit. This time I also use a tab washer. Well them nuts are right in the gearbox...
Picture
The next job is to assemble the various kickstart piston components. 
Although this is a GP it has always had the seperate kickstart ramp, rather than the one built into the end-plate. Not sure if this was normal with later Indian engines or if AF insisted on it...I guess the ramp position based upon some marks that show where it was fitted before. At this stage I just loosely bolt it down in case it needs moving later. I'm using one of MB's Allen headed pins which I hold in place with some low strength thread-lock. A simple trick from Sticky's manual is to hold the kickstart shaft in a soft-faced vice and then turn the chaincase cover until the pin can be fitted after pushing the piston down.
Picture
Picture
Picture
Now to fit the external rubber stop and kickstart. I'm fitting this Series 3 engine in to a Series 2, to start with anyway, so have bought a new kickstart that is designed to clear the Series 2 bodywork. The position on the splines/ramp is perfect.
I can now bolt the ramp down permanently. With the kickstart fitted I use the big vice as a third hand, and a mallet as a fourth hand to hold the kickstart down while I get to the two bolts that are normally covered by the ramp. The middle bolt was too short and hence got replaced by a Triumph one that I had lying around. If I could be bothered I'd replace the other two as well, the quality of these Triumph ones being noticeably better.
Picture
Picture
Picture
Now that the piston and ramp are fitted I can check that everything clears the AF 5-speed box okay. The AF instructions say to fit a gasket and then check if the chaincase cover sits flat. For a first check I figure that it's quick and easy to see if the cover sits flat without a gasket, which it does. Sweet. To be sure I use some blu-tak to see that the kickstart clears the kickstart teeth that are on first. I don't have plasticine as recommended by AF. 
Picture
Picture
My phone goes. It's my agent (pimp). Can I get a tailored resume to her today? Bum, bugger, but I need to go back to work. Anyway, I'll fit the clutch lever before heading in. Quick and easy job. Err. I have a pile of bits and no obvious way to put them together. This must be in Sticky's manual somewhere but buggered if I can find it. I dig out the old Lambretta manual, which has a picture that still bears no resemblance to the bits I have.
Picture
After hunting on the internet I find a video that shows exactly what I need to do, so nearly an hour later it's done. Flipping heck, I'd just assumed that would be a simple job.
I'll leave bolting the cover down until everything is leak-down tested...
Picture
Picture
<Next> <Previous>
1 Comment
<<Previous

    Pacemaker

    The LCoA online Blog. Write-ups, reviews and general bulldust

    Archives

    April 2023
    January 2023
    July 2021
    January 2021
    July 2020
    April 2020
    March 2020
    February 2020
    January 2020
    November 2019
    August 2019
    June 2019
    September 2018
    July 2018
    June 2018
    February 2018
    December 2017
    June 2017
    May 2017
    July 2016
    April 2016
    March 2016
    January 2016
    December 2015

    Categories

    All

    RSS Feed

© The Lambretta Club of Australia 2015 - 2023 Incorporated in the State of Victoria under the Associations Incorporation Reform Regulations 2012 . Reg No: A0051726A