Lambretta Club of Australia
  • Welcome
  • Membership
    • Benefits
  • Club Info
    • Pacemaker
    • Committee Members
  • Lambretta in Australia
  • Shopping
    • On Demand Merchandise
    • Superdealers
    • Asian Restorations
  • Events
    • Upcoming Events >
      • International Lambretta Clubs
    • LCoA Jamboree 6 - Wisemans Ferry, NSW >
      • Schedule of Events
      • FAQs
  • Links
    • International Lambretta Clubs
  • Contact Us

Indian GP Engine Build - Part 4

29/1/2020

0 Comments

 
All shimmed up

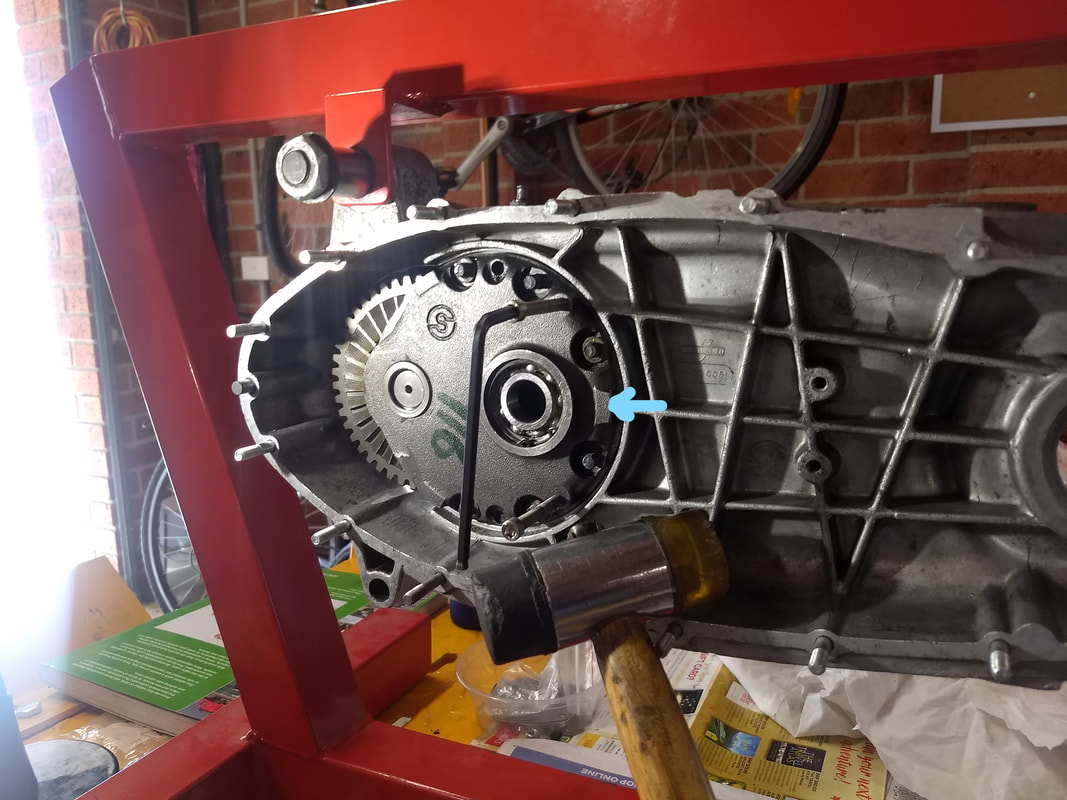
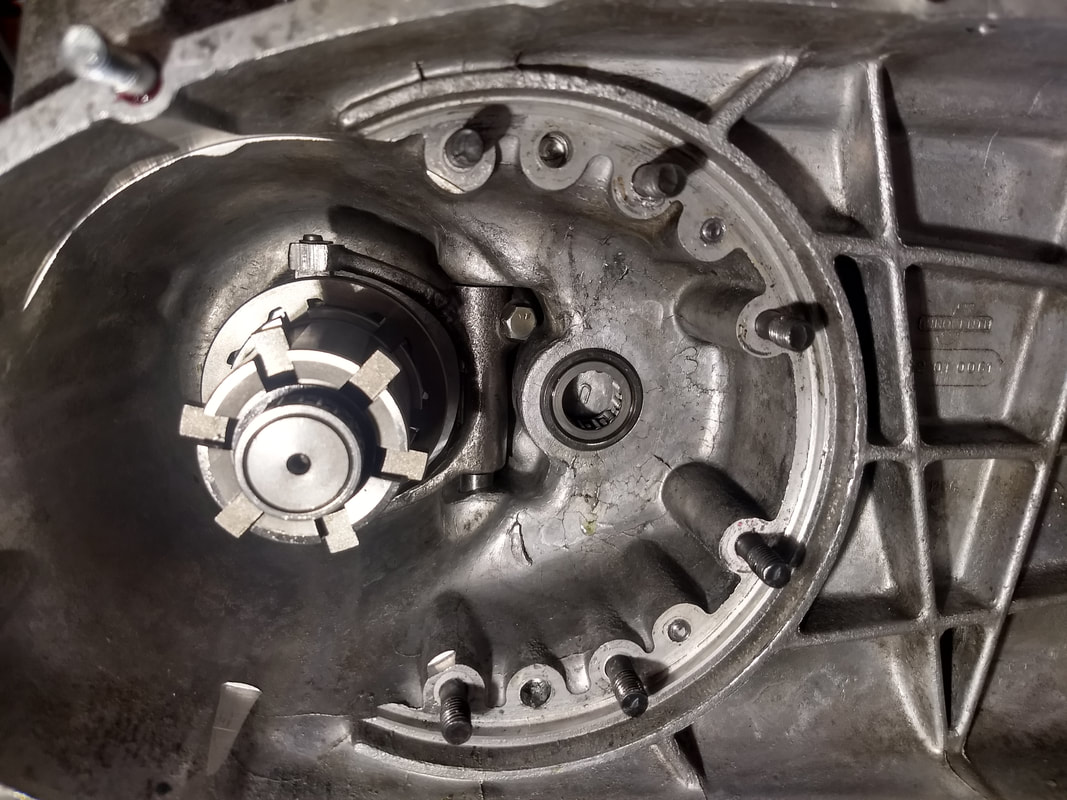
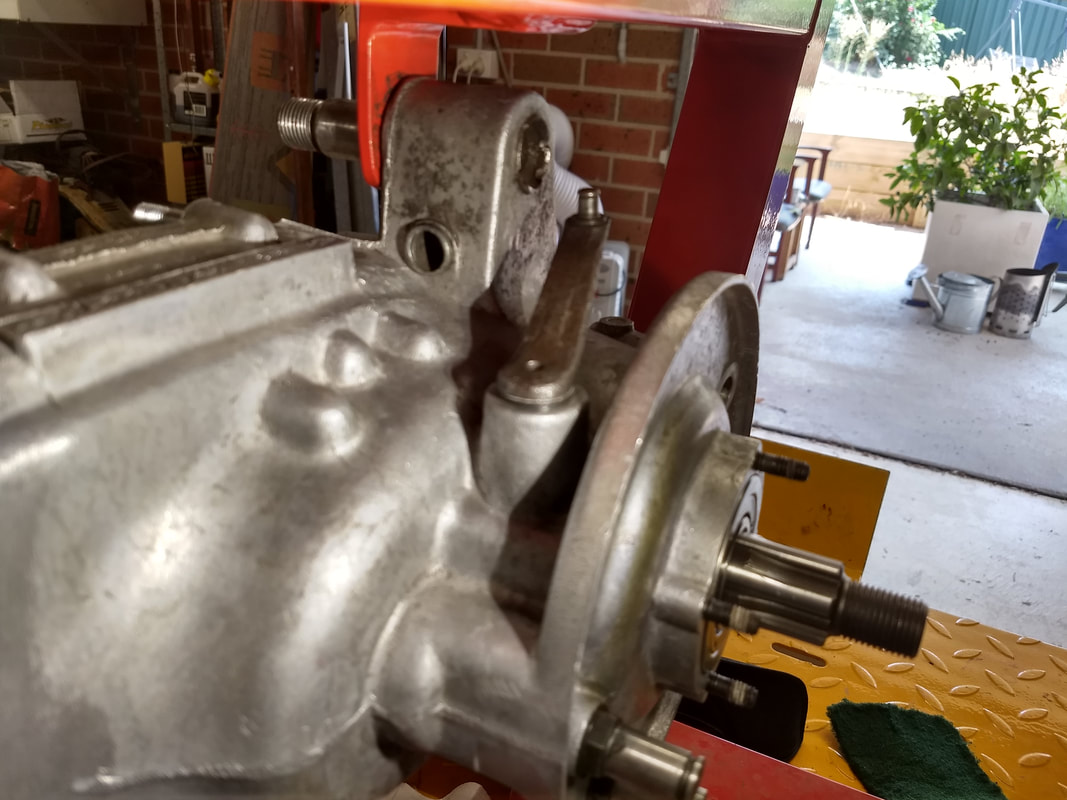
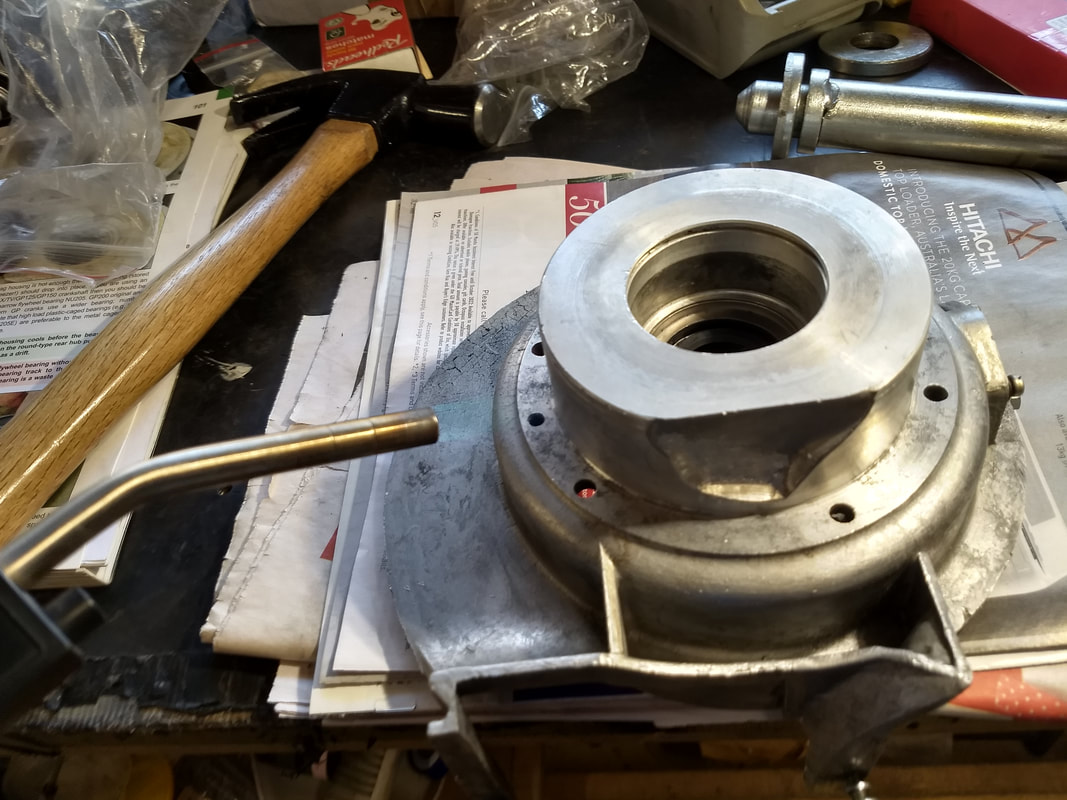
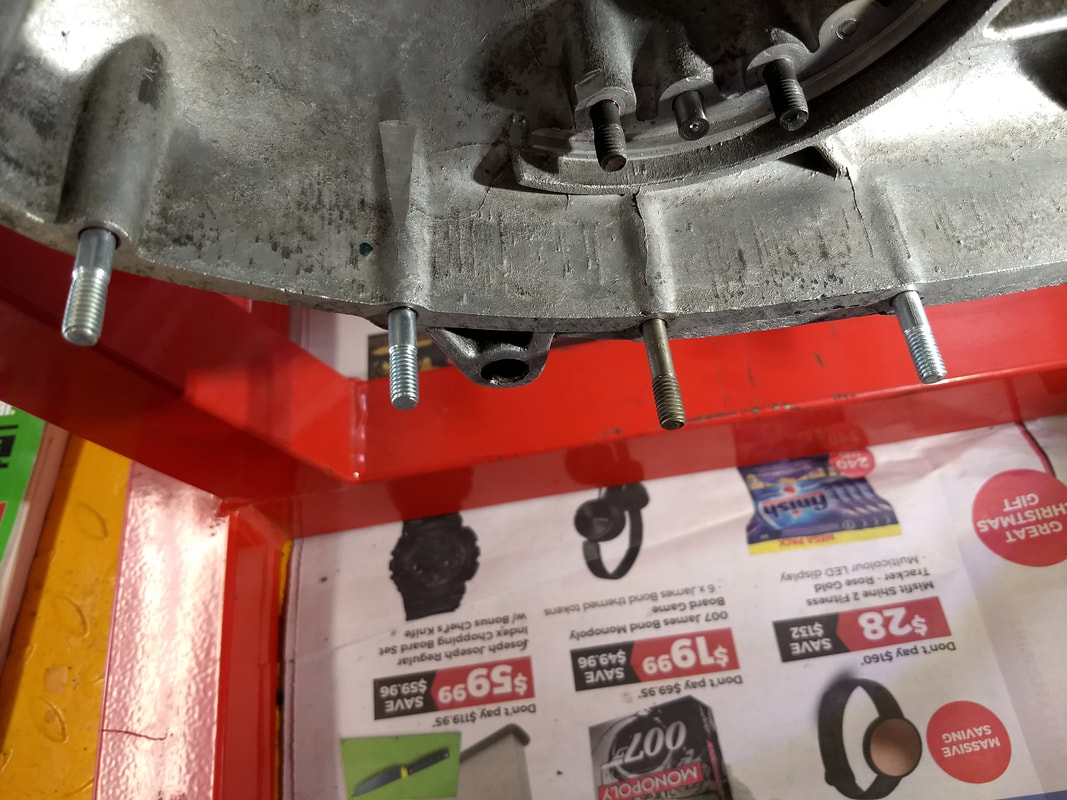
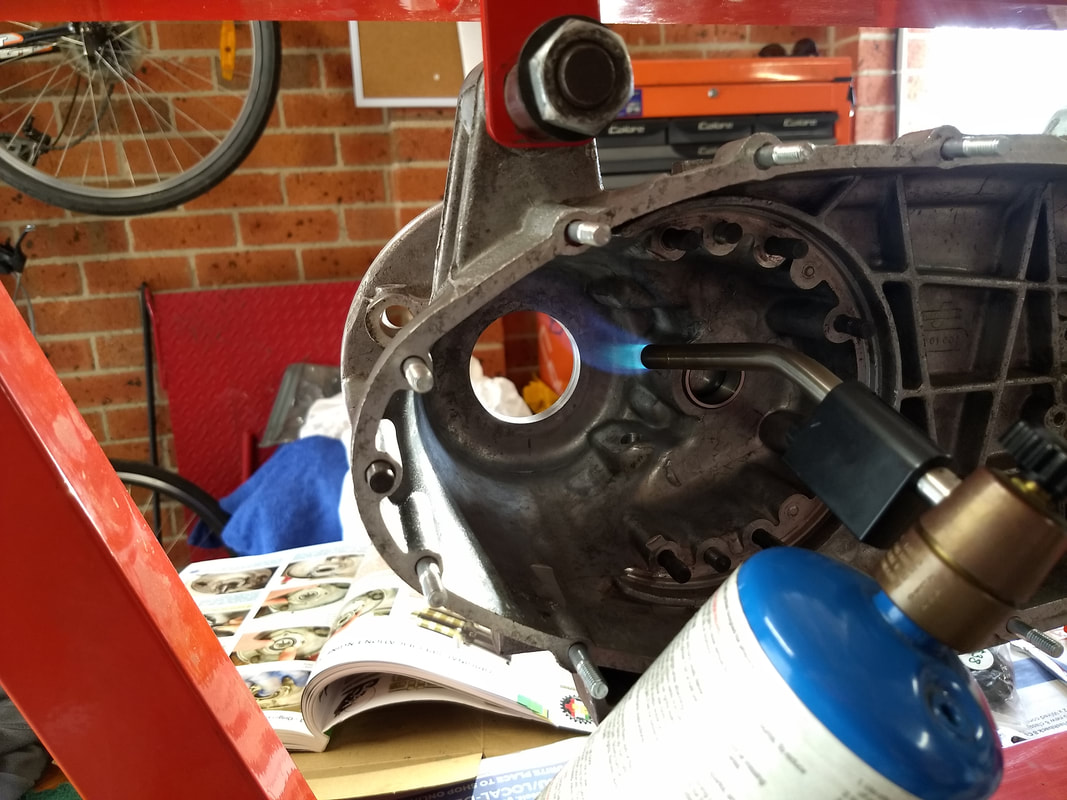
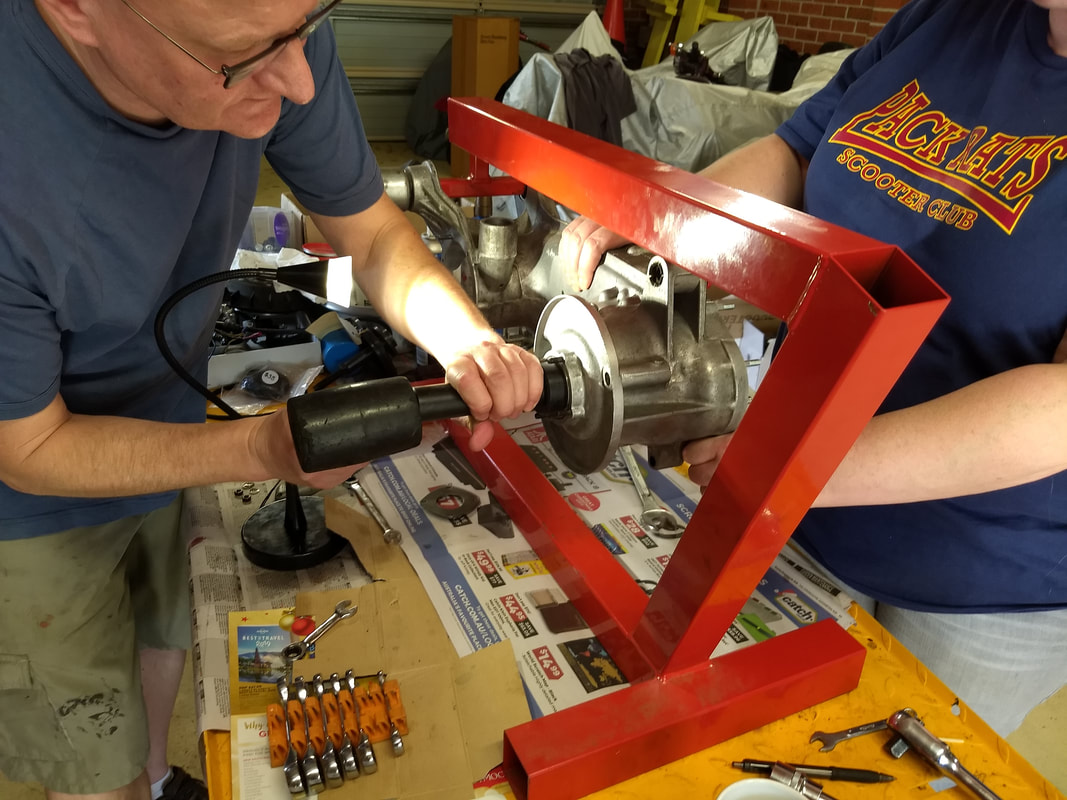
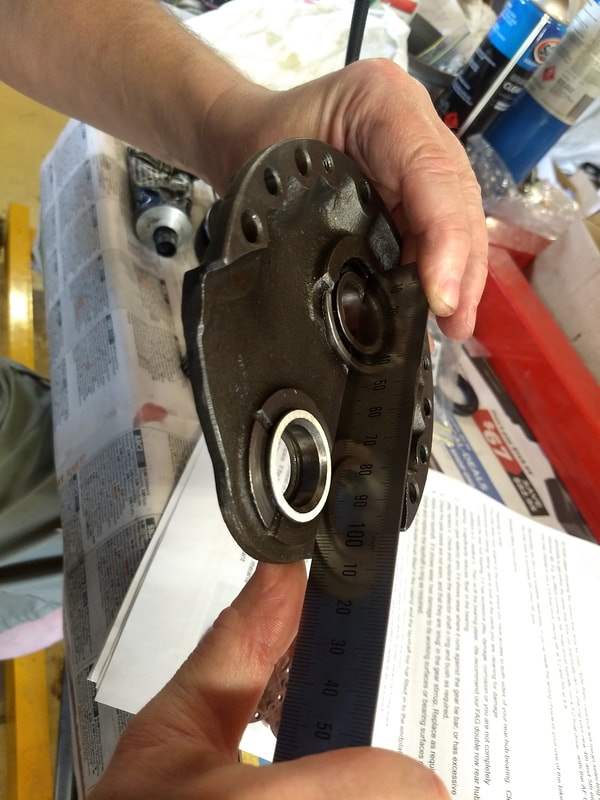
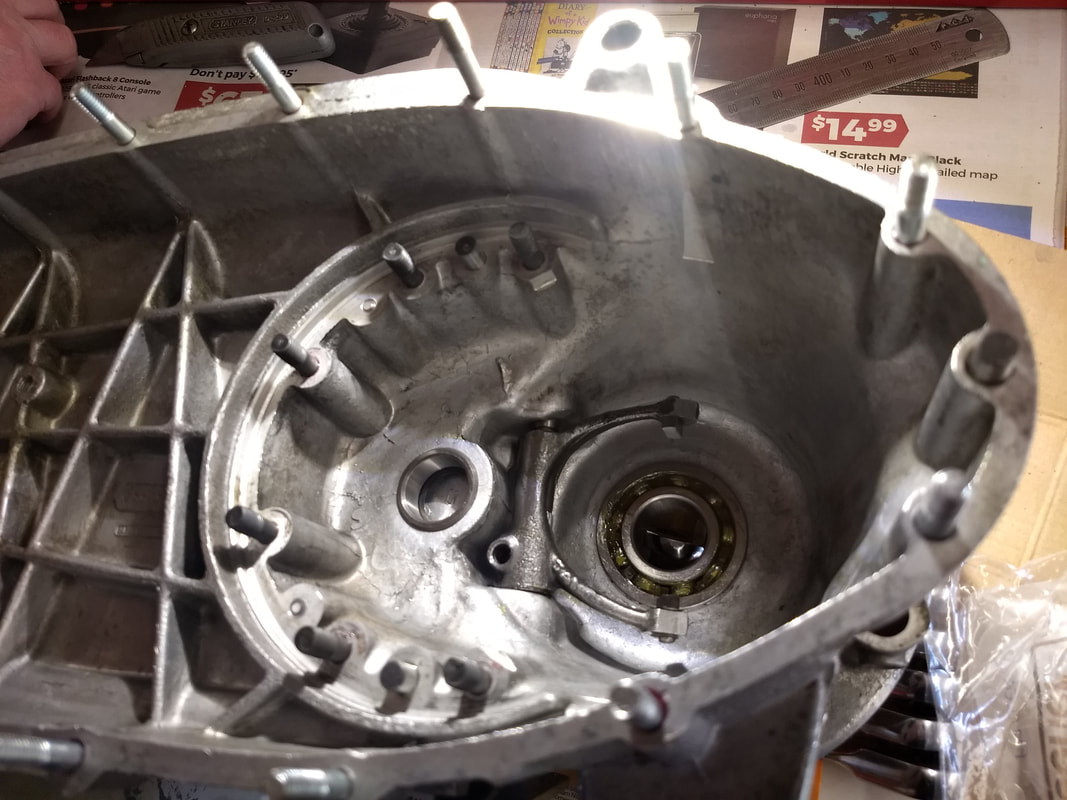
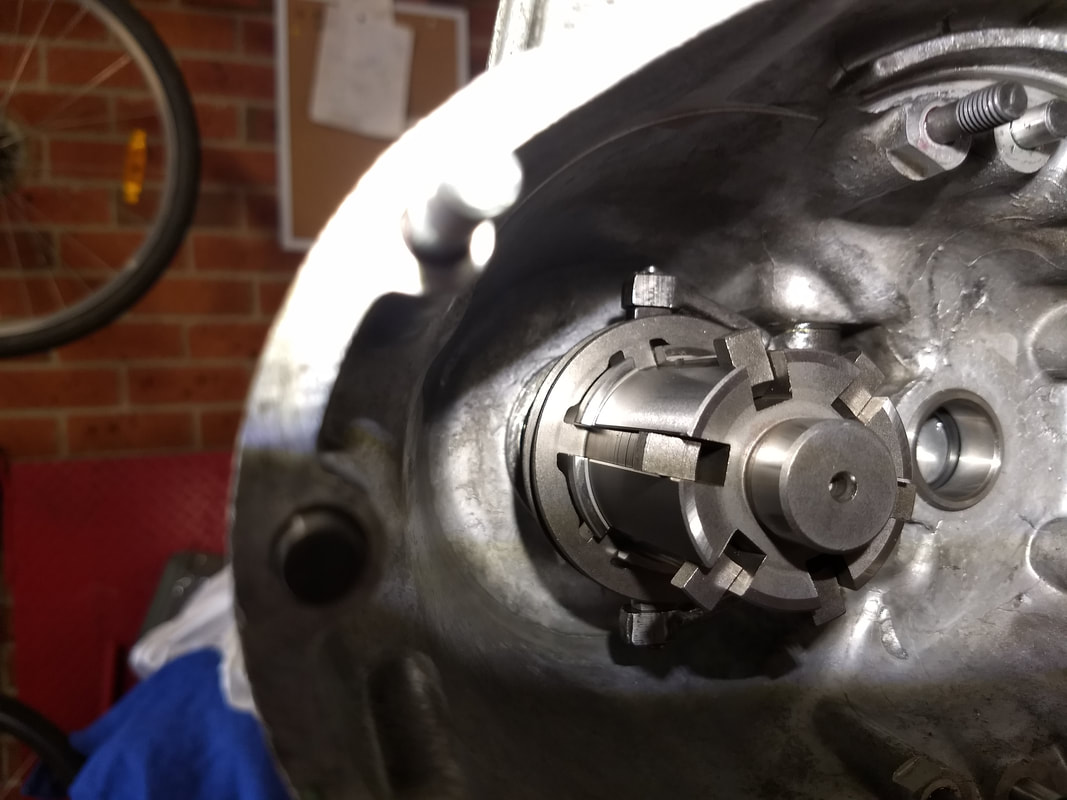
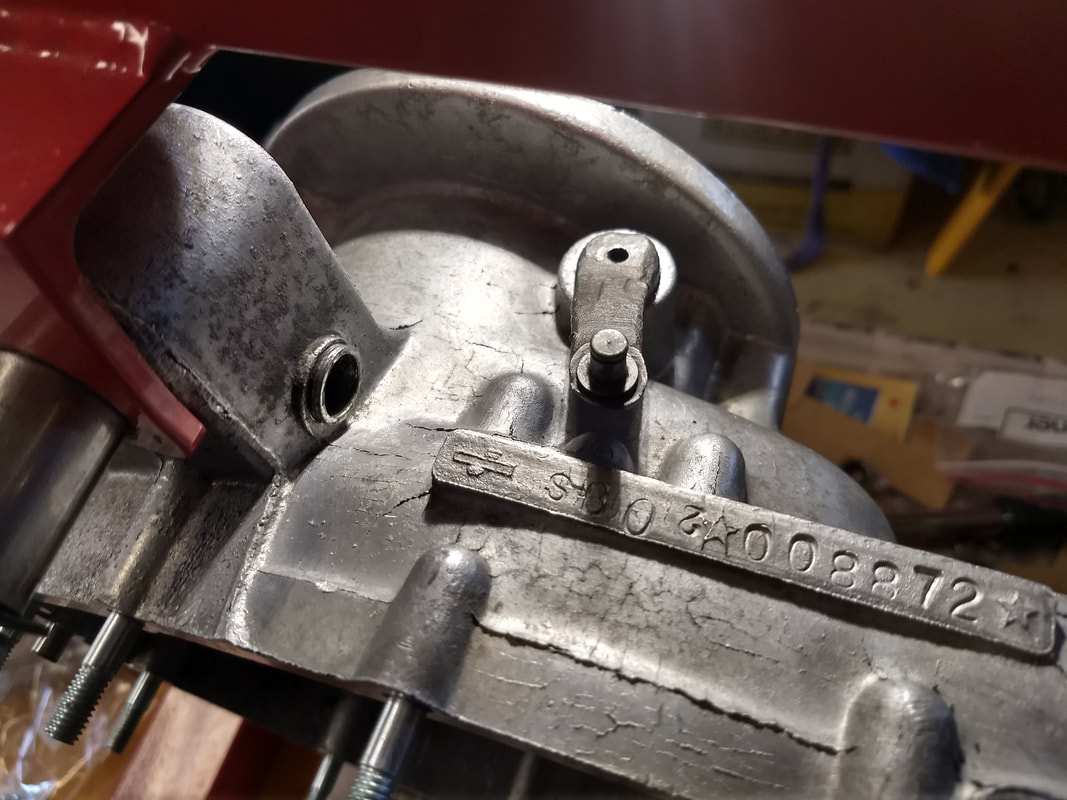
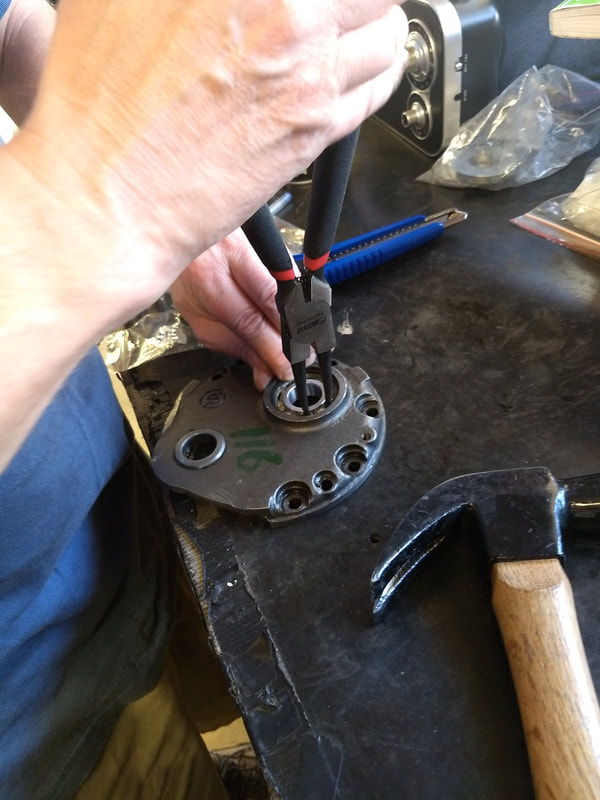
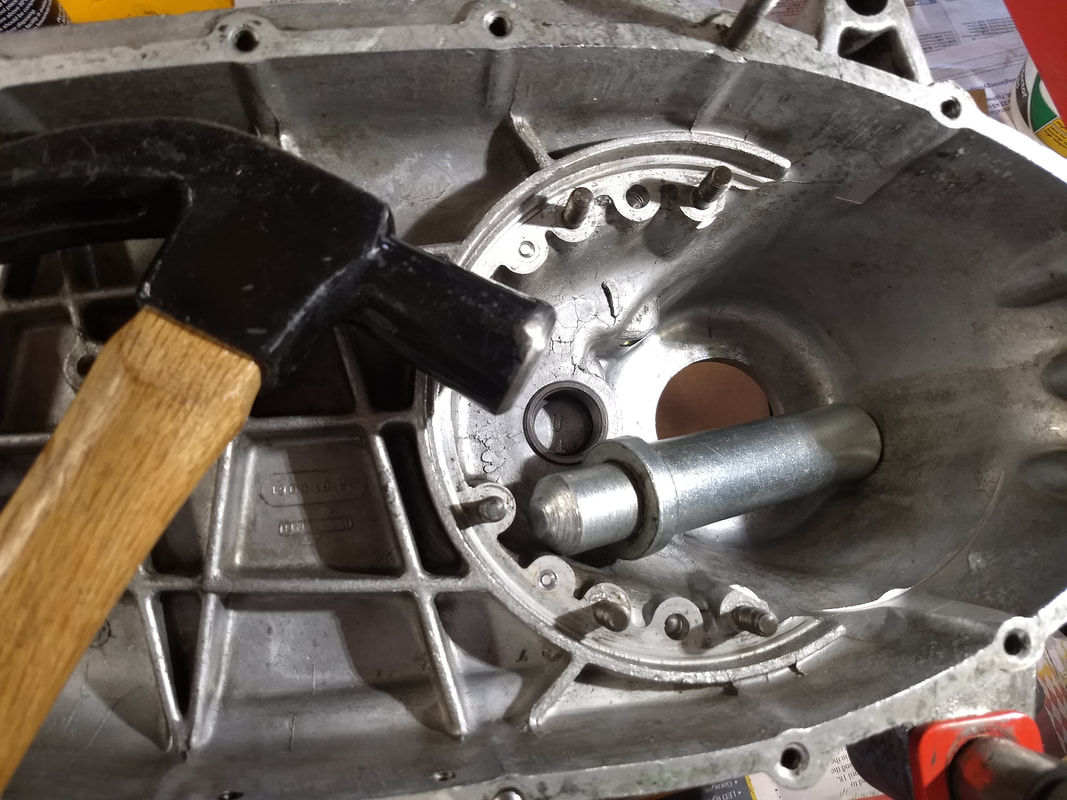
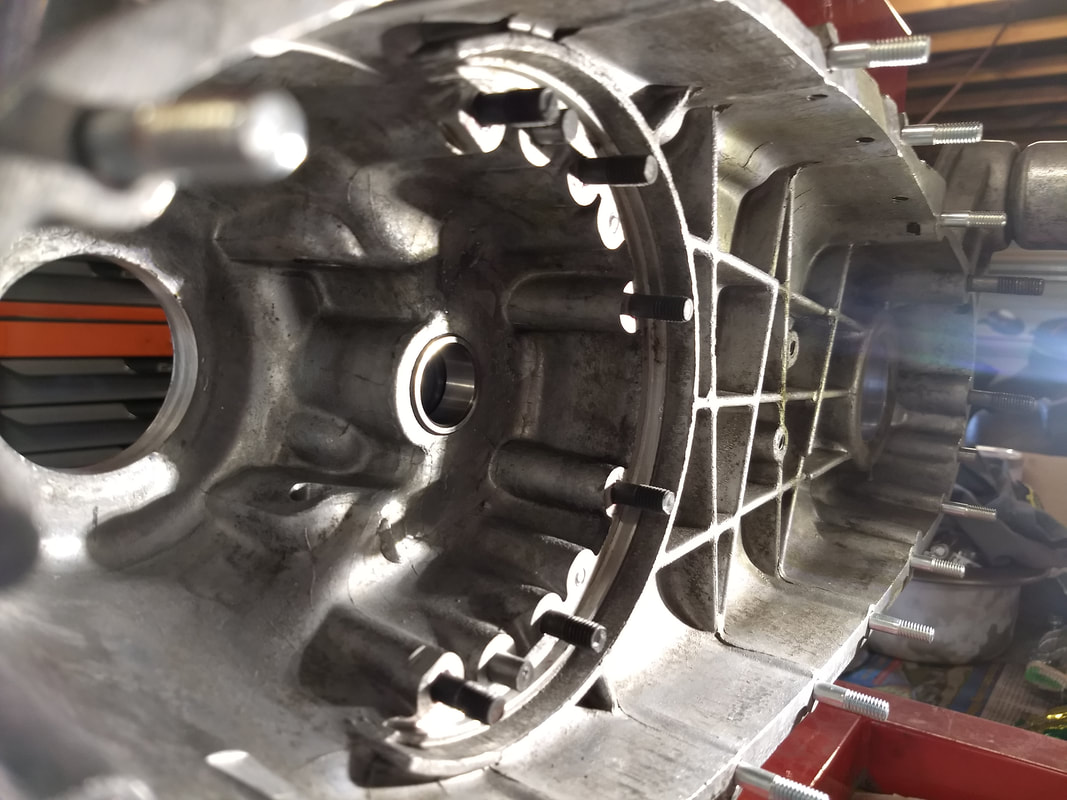
The end-plate is removed again ready for trying a 1.7mm shim. I use M6 allen bolts for this but other states have the proper T-Bar extractors in their toolkits (we don't have a full toolkit in the ACT, having only a few local members...). I'm an expert at this now! The best technique is to just start the plate moving with the extractors/bolts and then give it a sharp tap with a mallet on the thick lumpy bit next to the cluster bearing (marked with a blue arrow). Repeat until you can wobble it off. This tapping stops it going wonky - should have reread how to do it the other day...
Picture
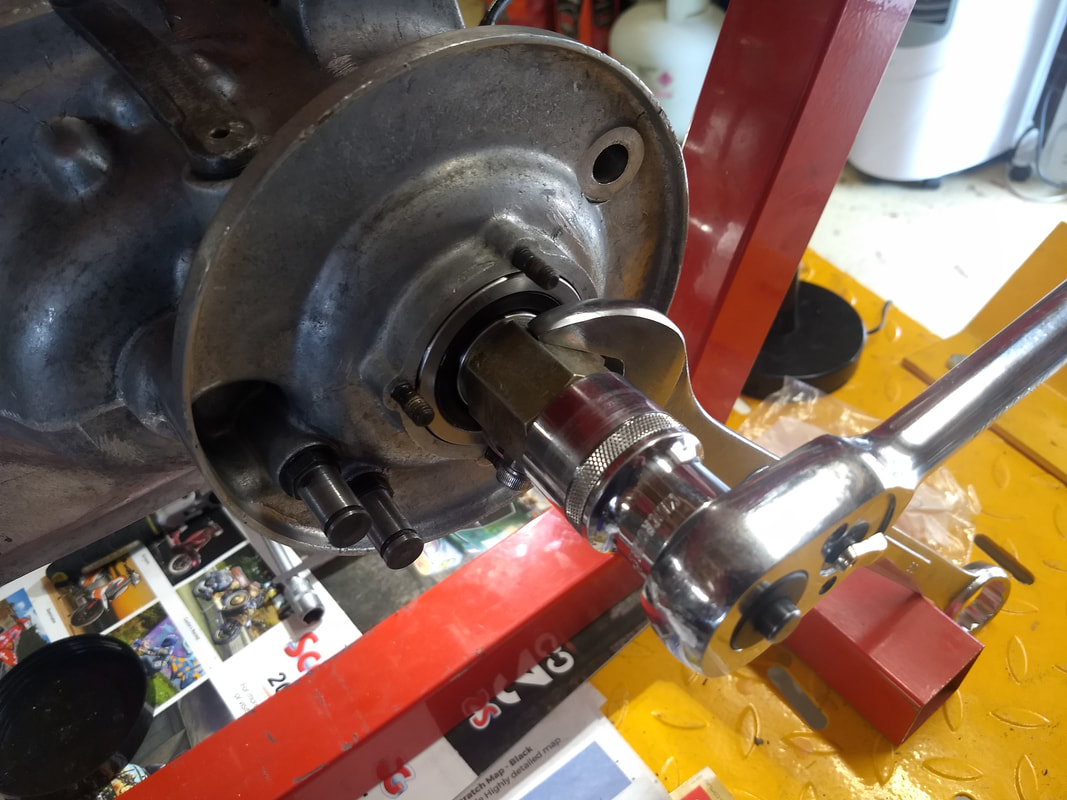
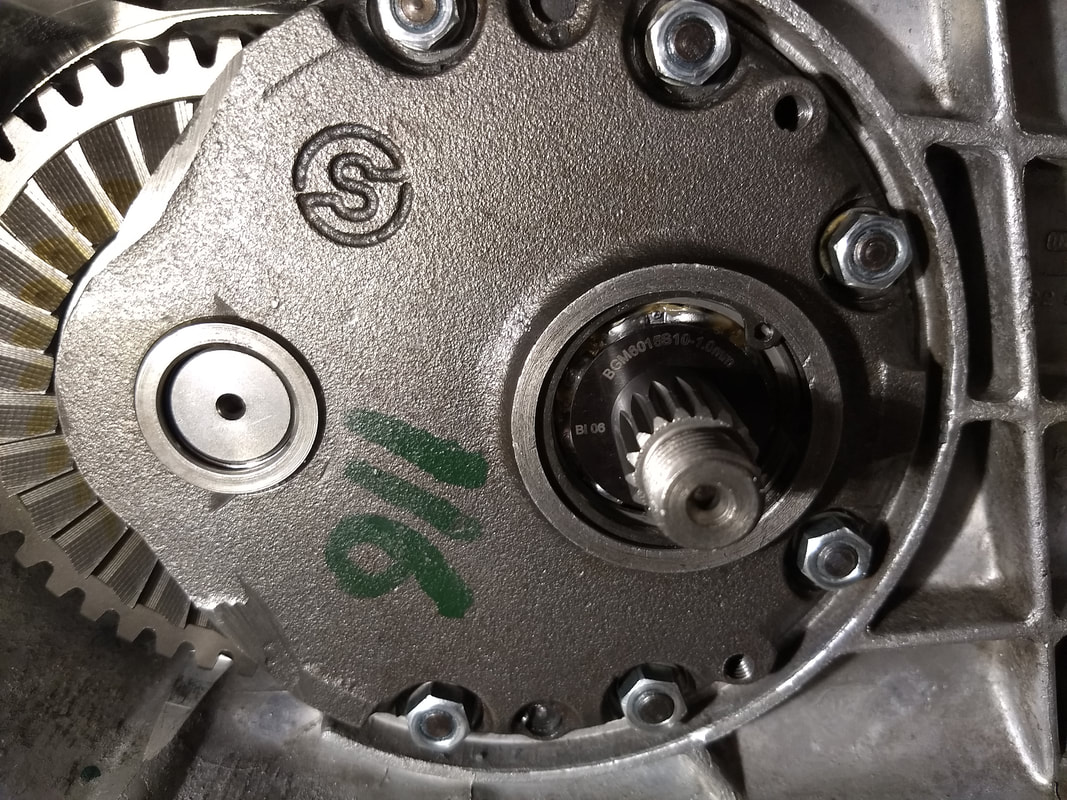
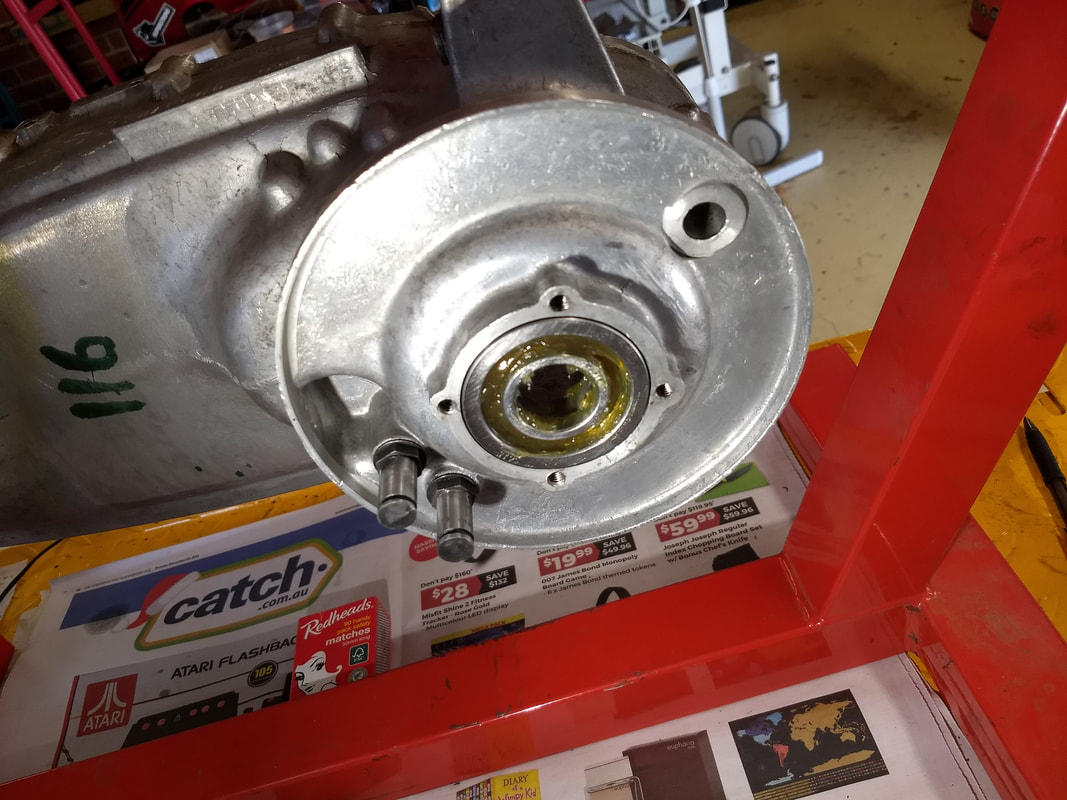
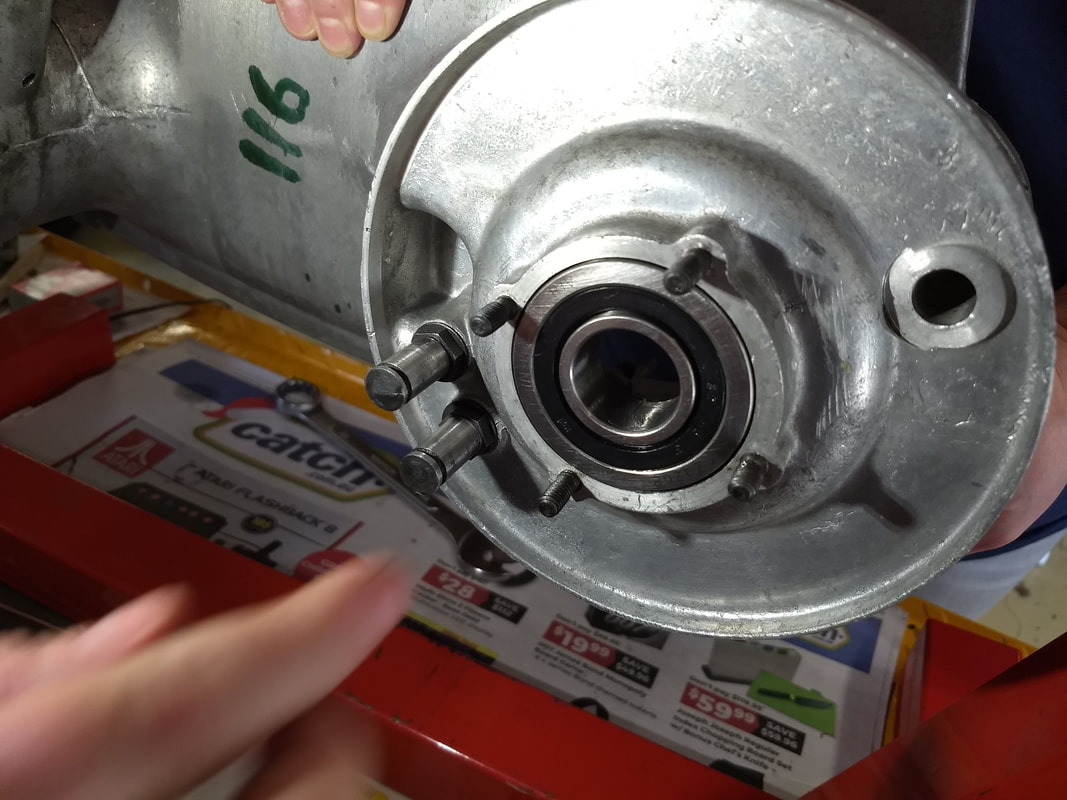
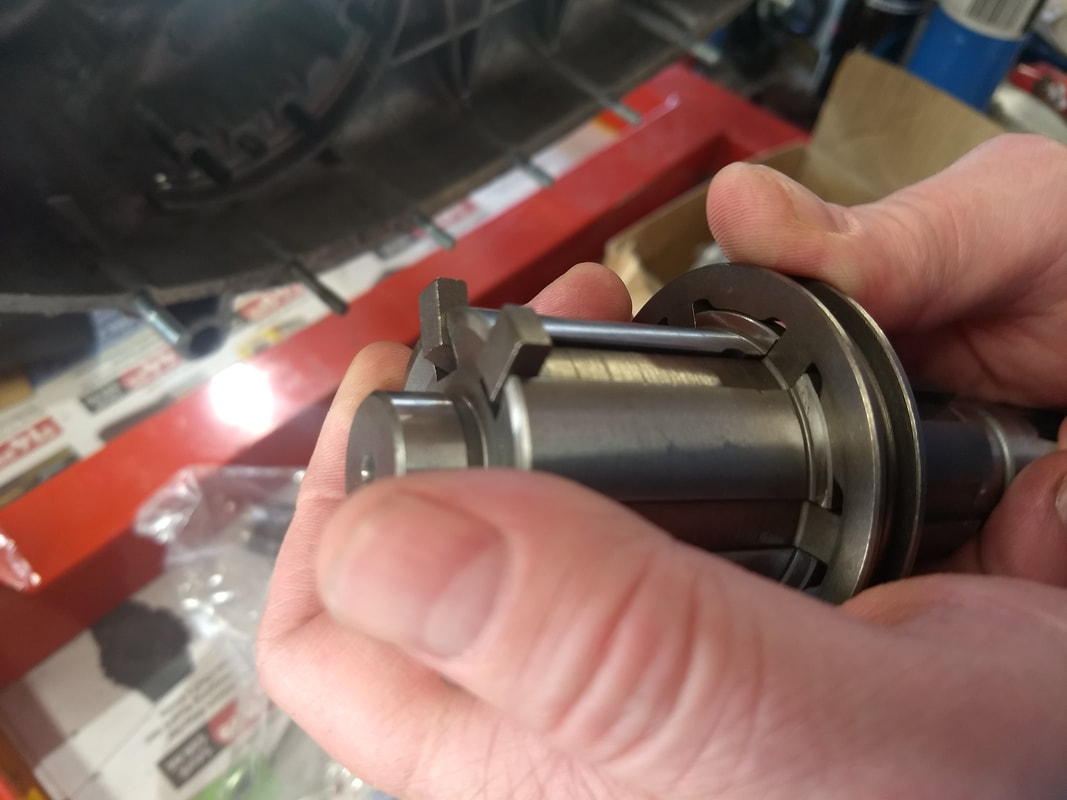
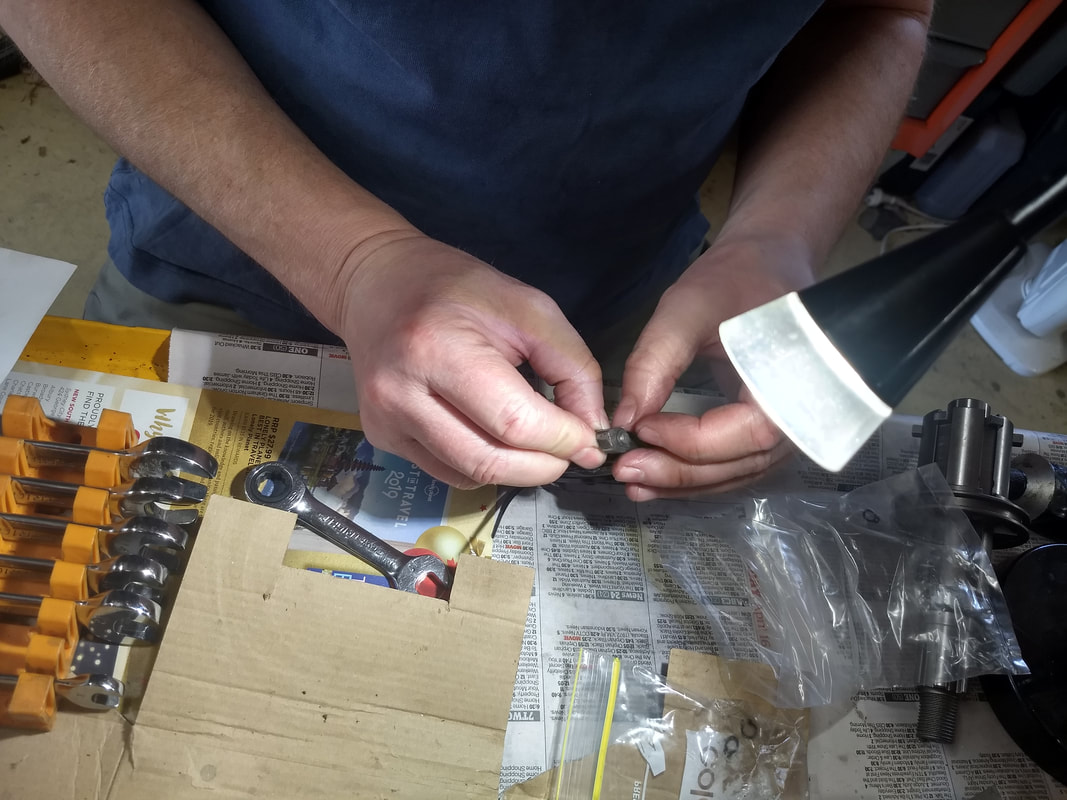
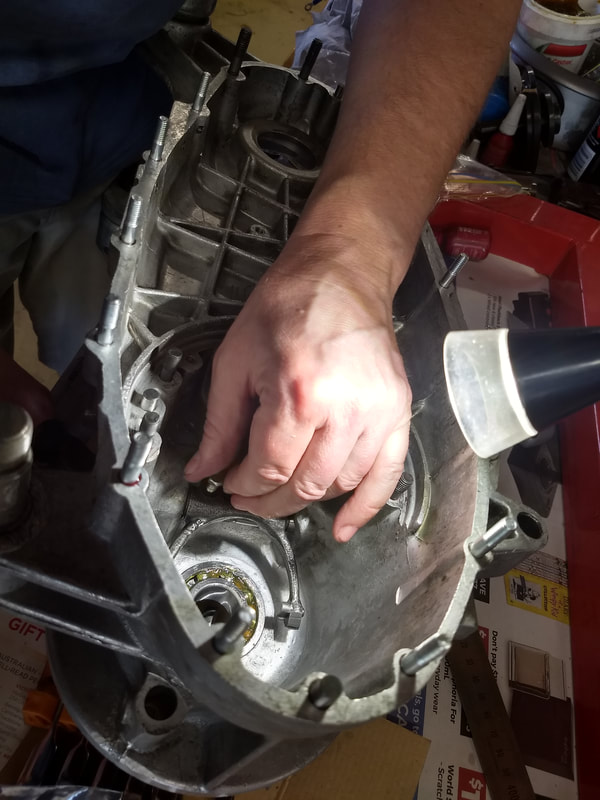
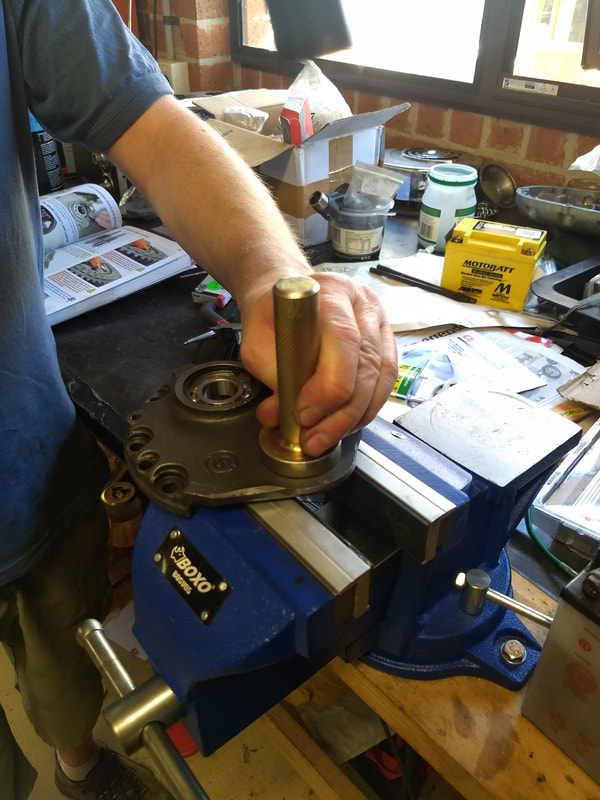
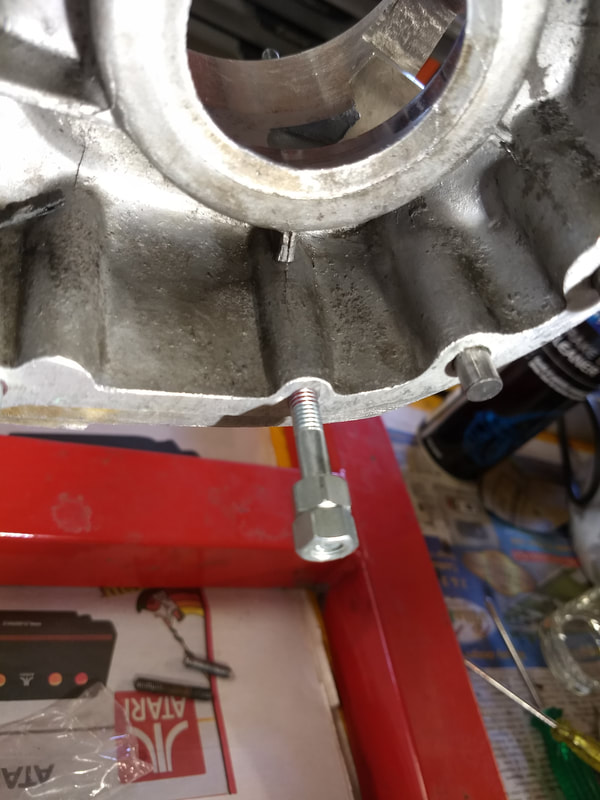
Before doing the final shimming I check to see that the layshaft is still tight through the bearing. Yep, all good.
Picture
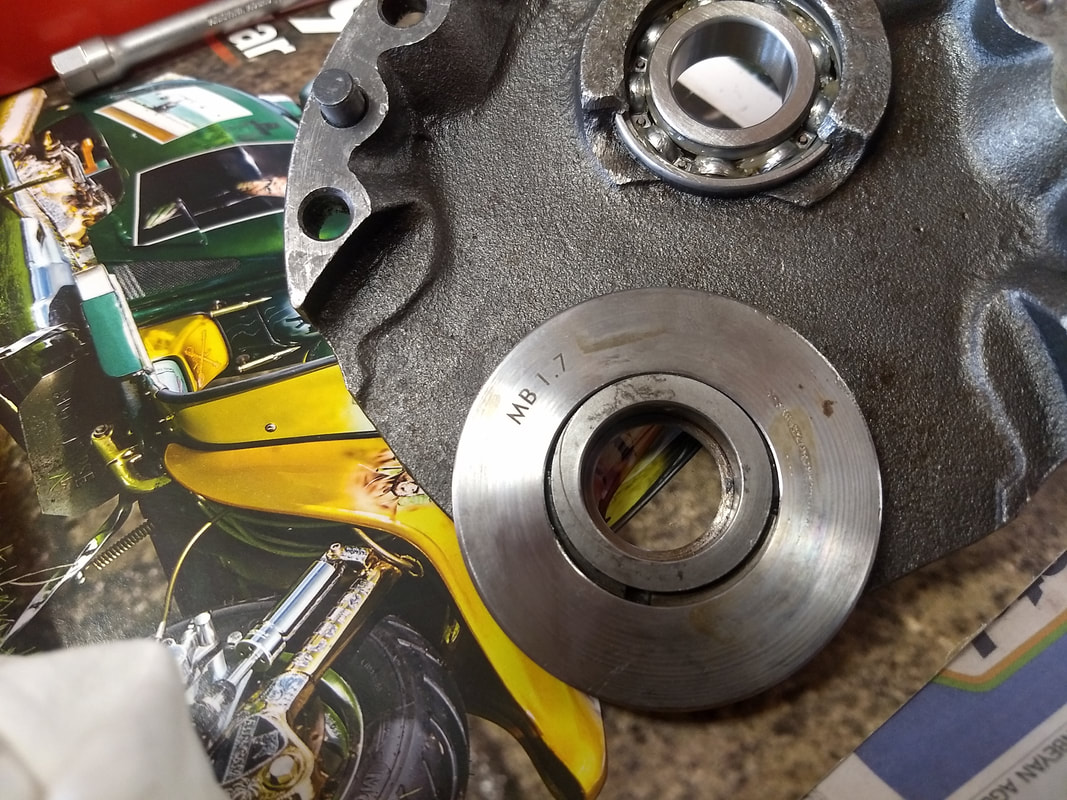
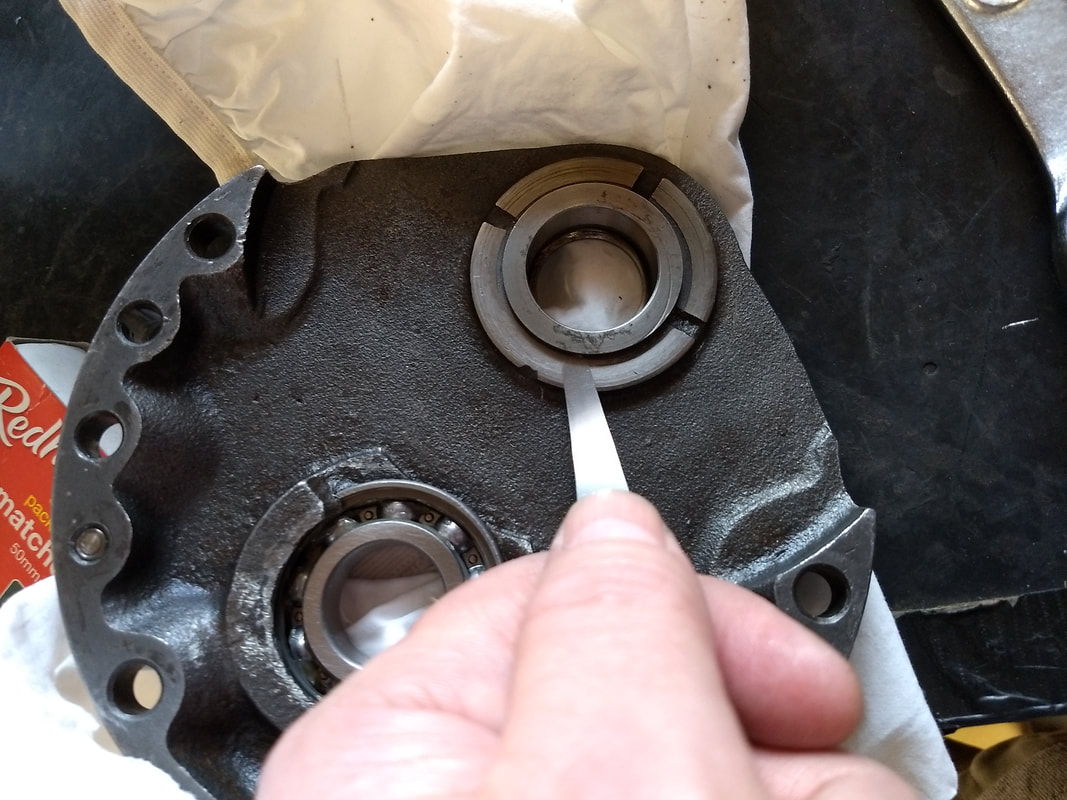
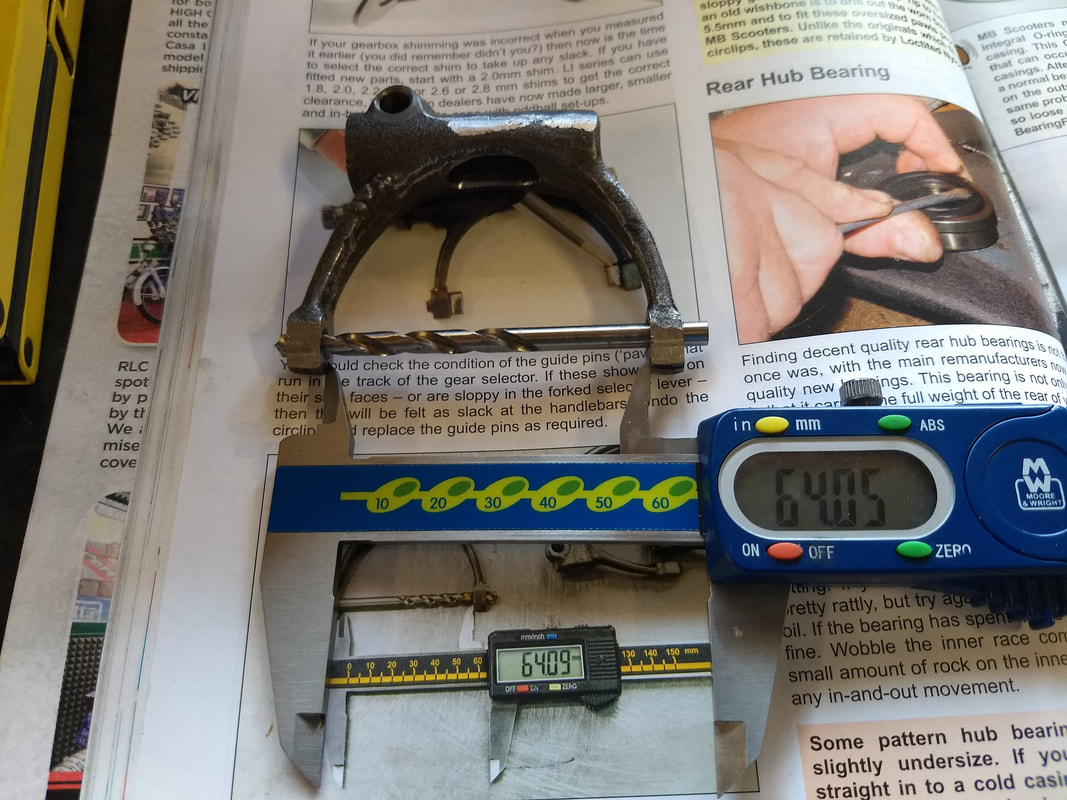
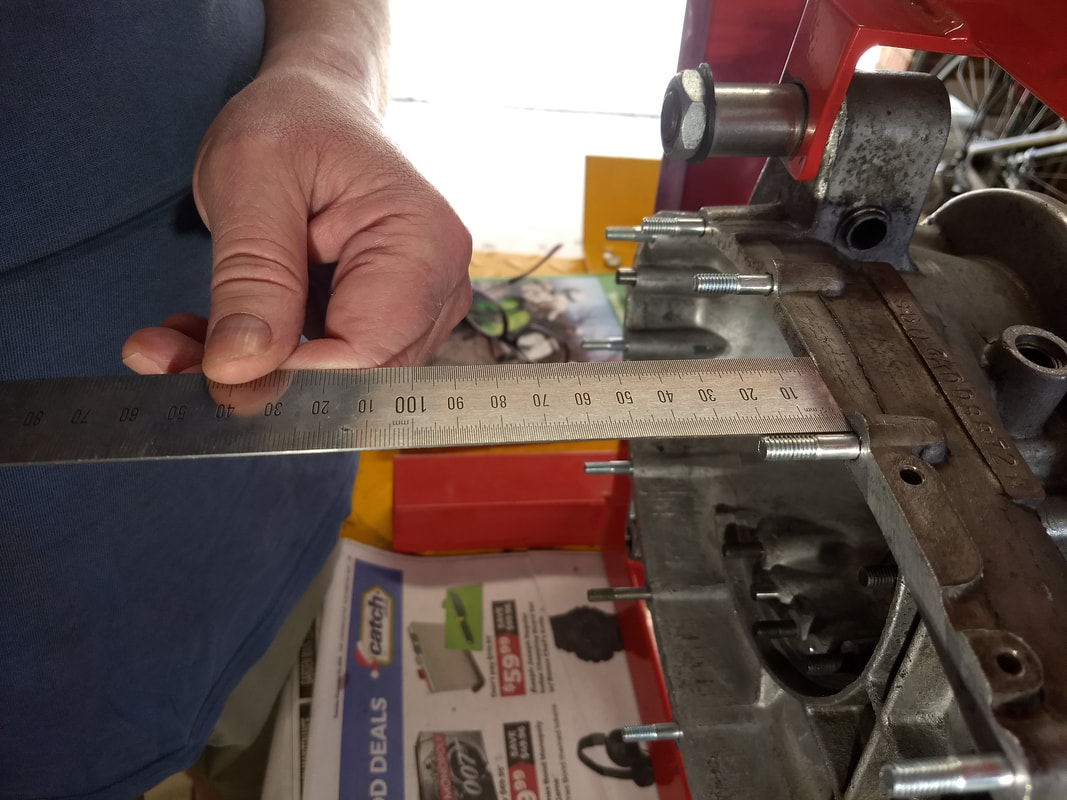
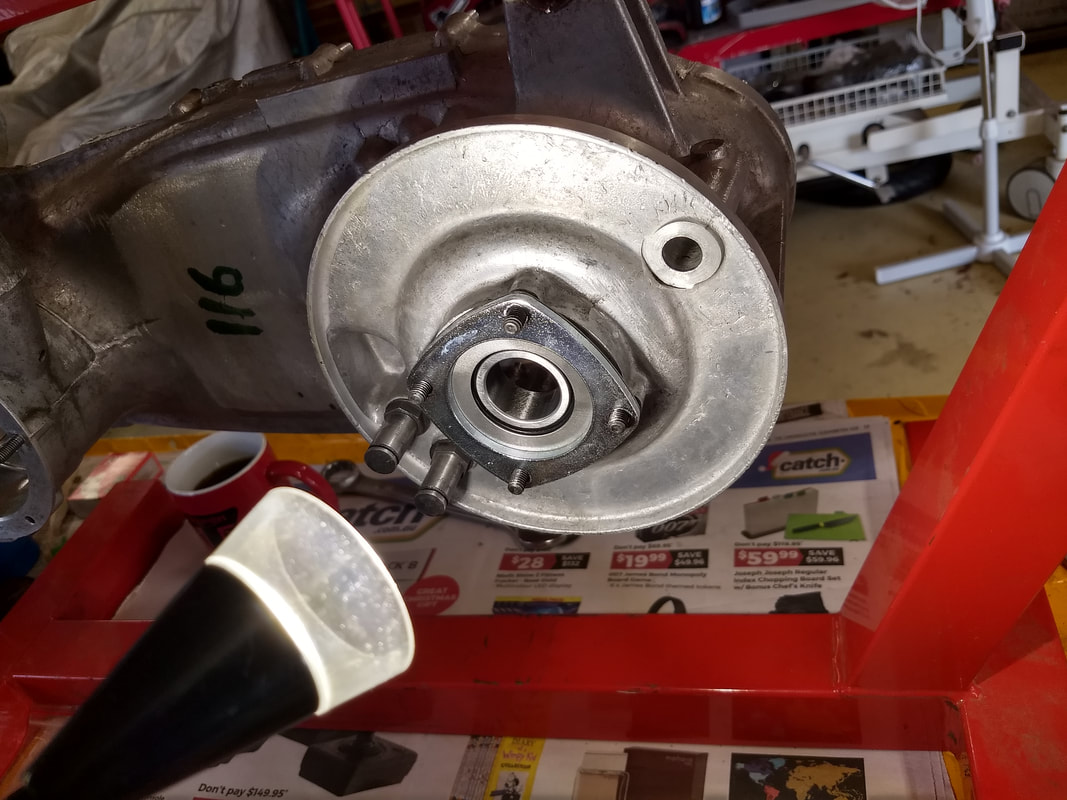
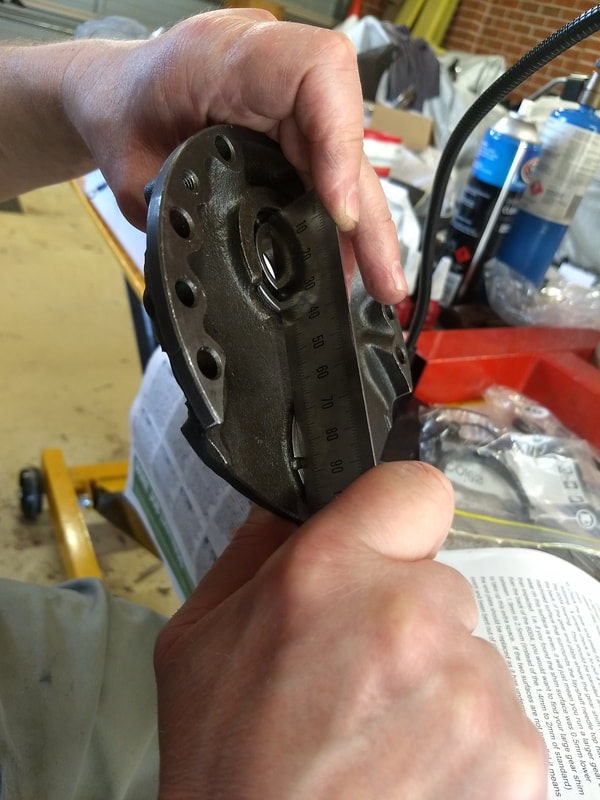
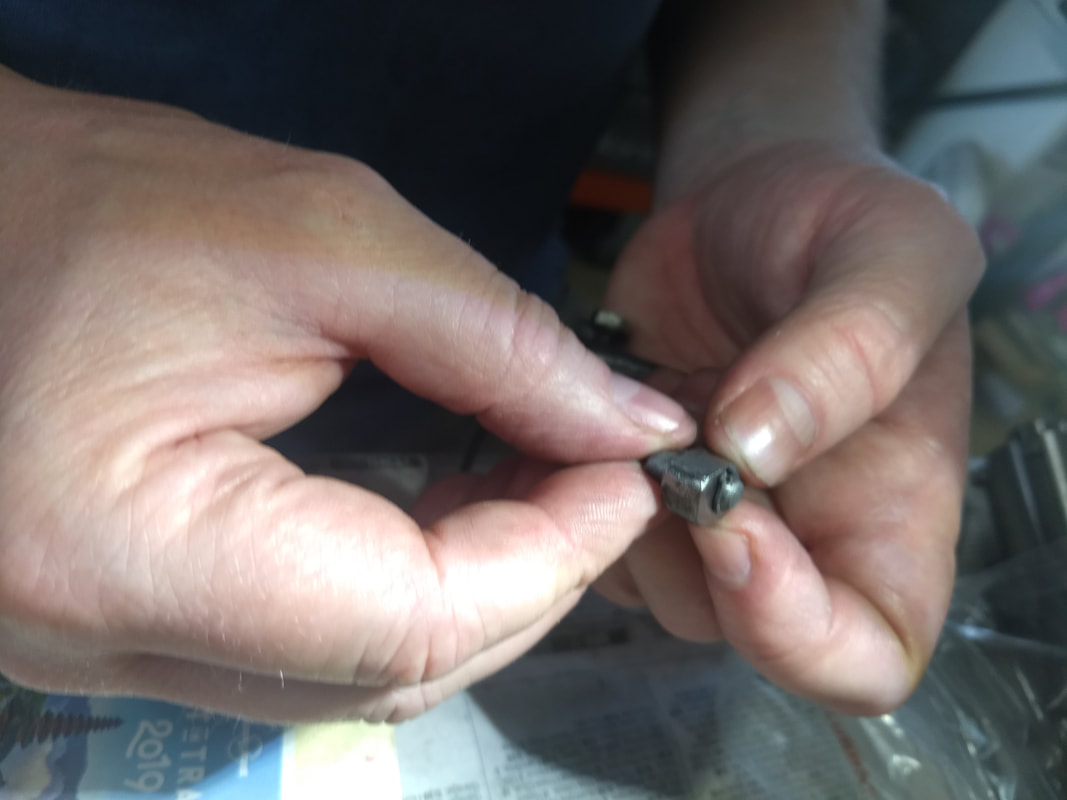
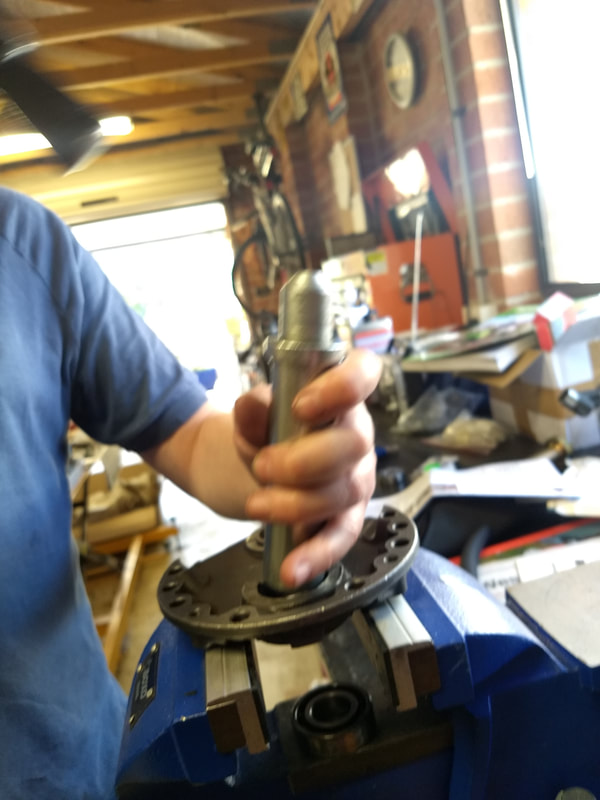
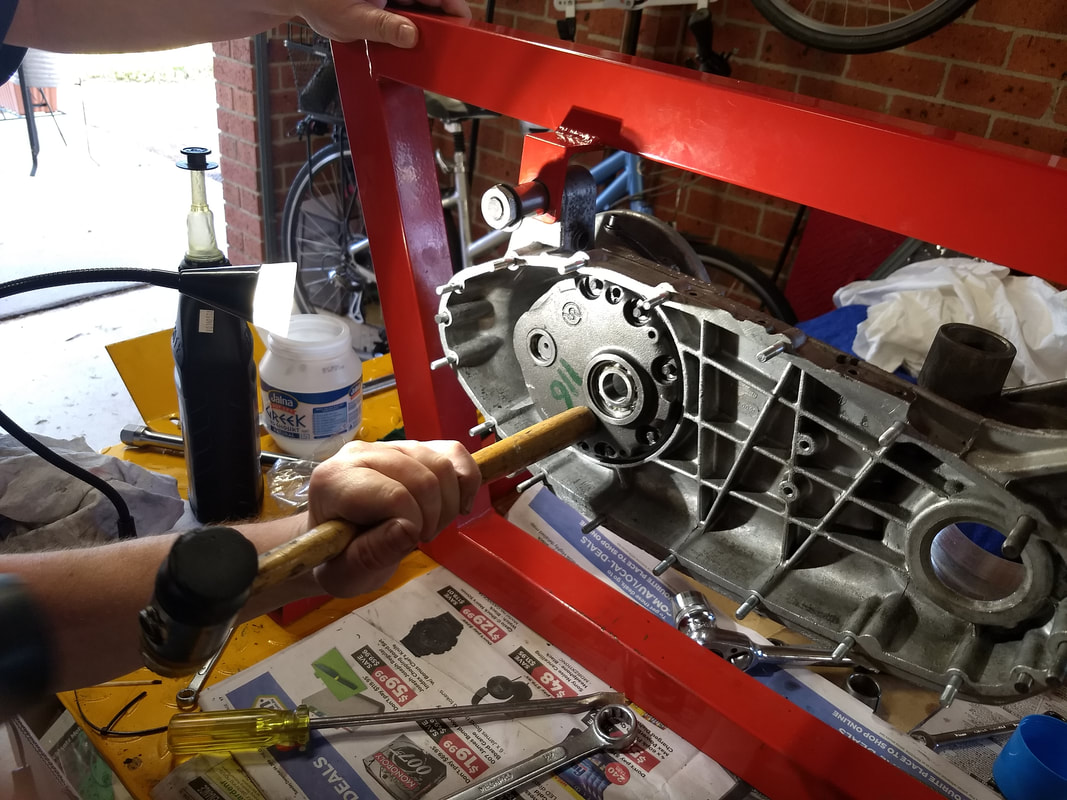
Back on with a 1.7mm shim, but it's too small when checked with a feeler gauge. Looking at the AF instructions and they recommend going up sizes until a shim locks the gearbox, and then going back one size, rather than trying to get an accurate measurement with a feeler gauge. The gearbox locks for me with a 1.9mm shim. Checking with a feeler gauge and a 1.8mm shim gives 4 thou clearance - looking good, and in line with the mental arithmetic I did before! Note, the max clearance in the instructions for the AF 5 speed is 5 thou. Much less than the 11 thou recommended for a standard box!
Picture
Picture
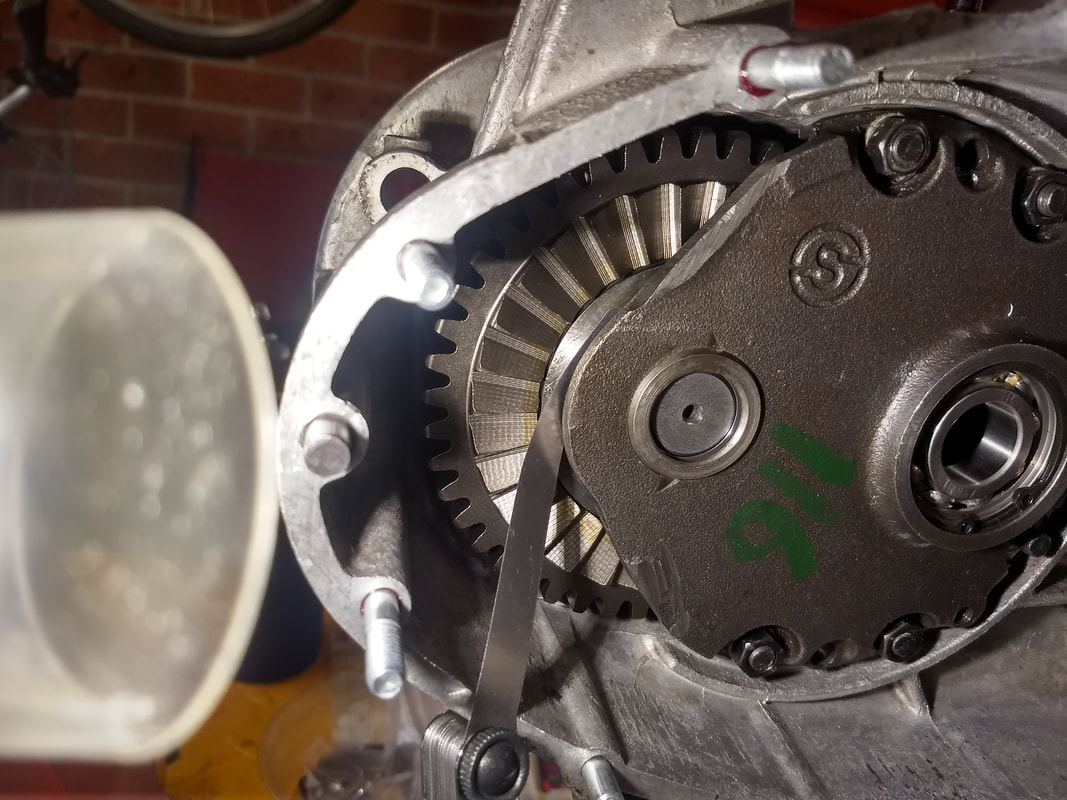
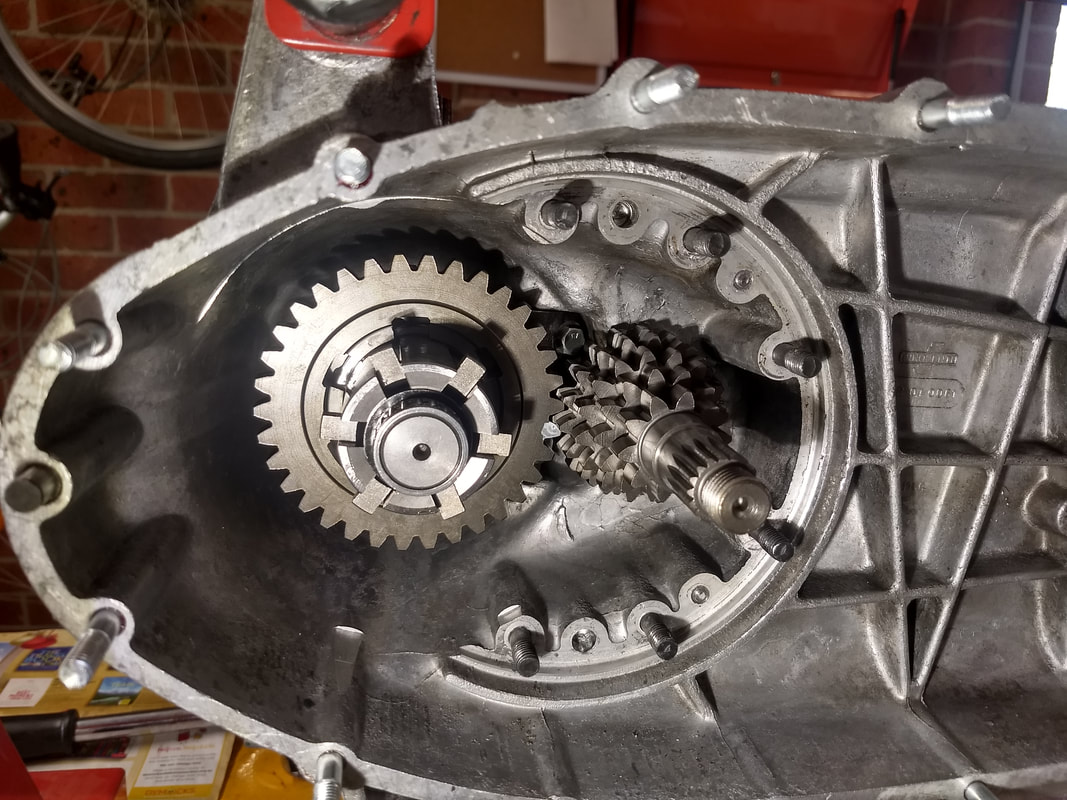
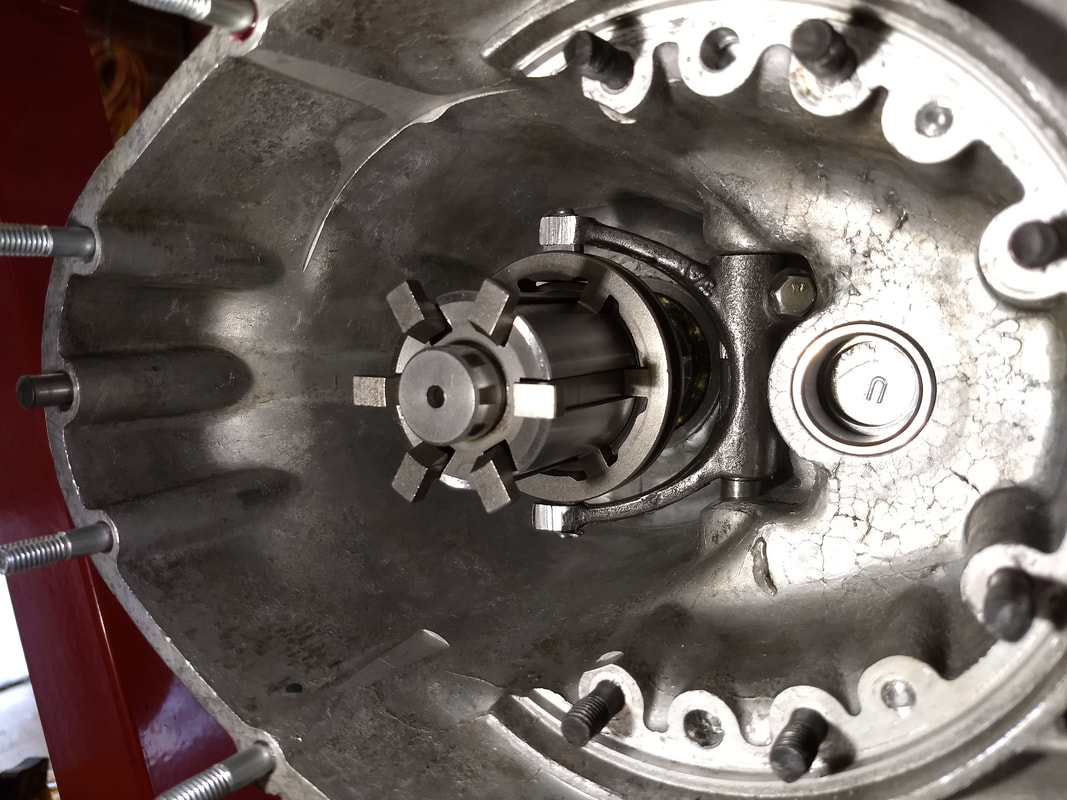
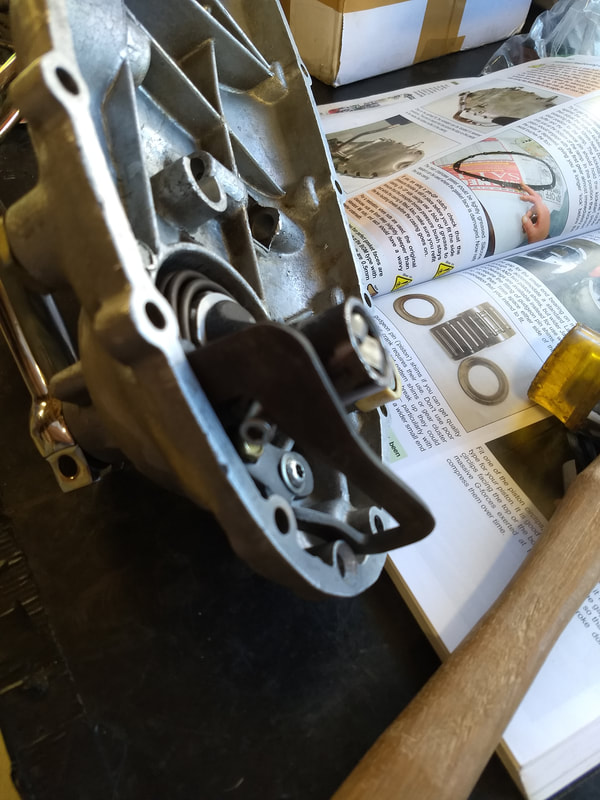
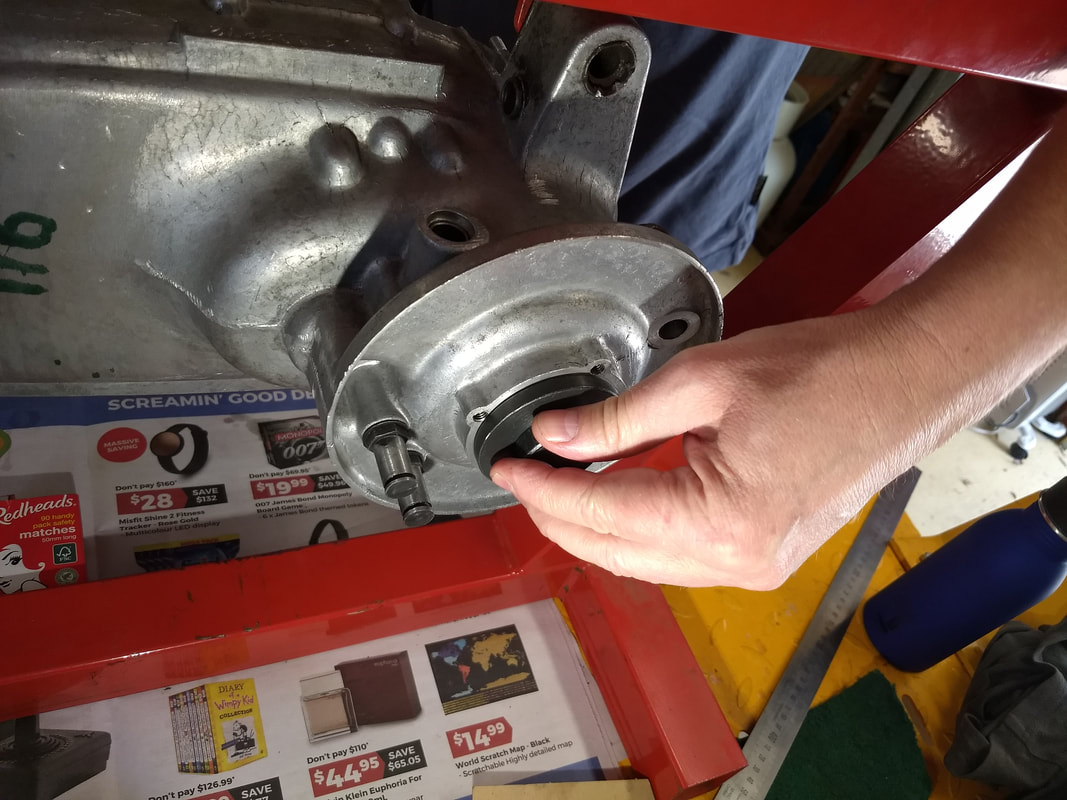
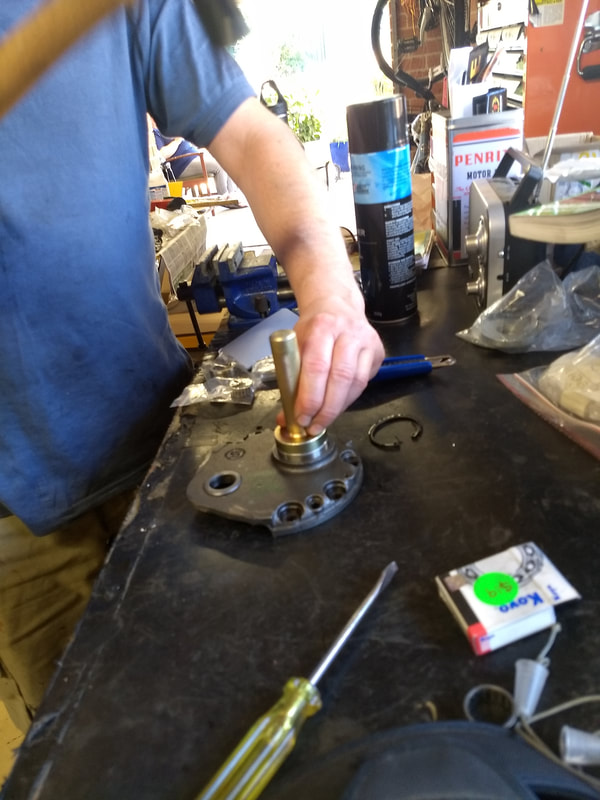
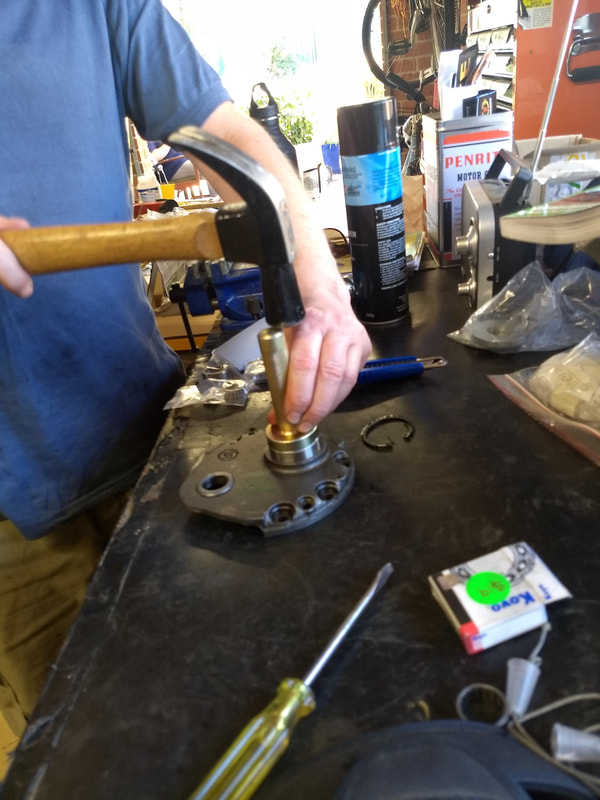
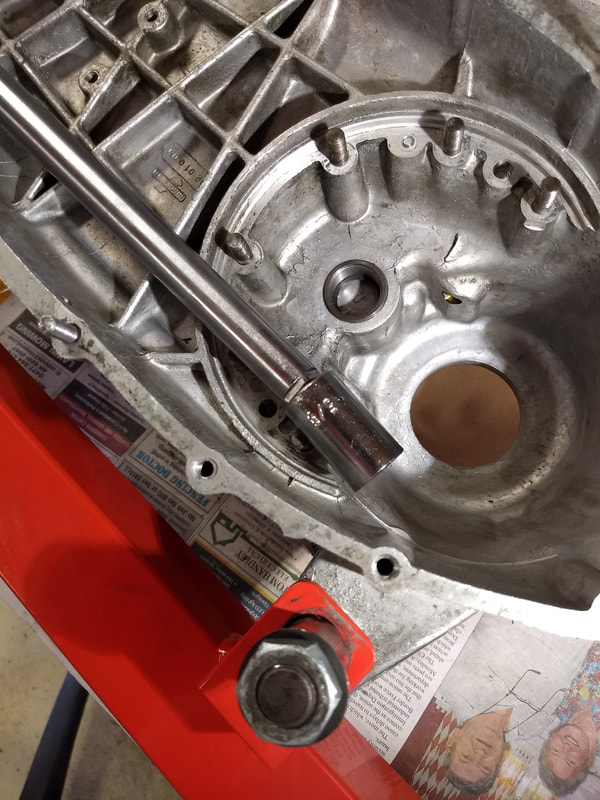
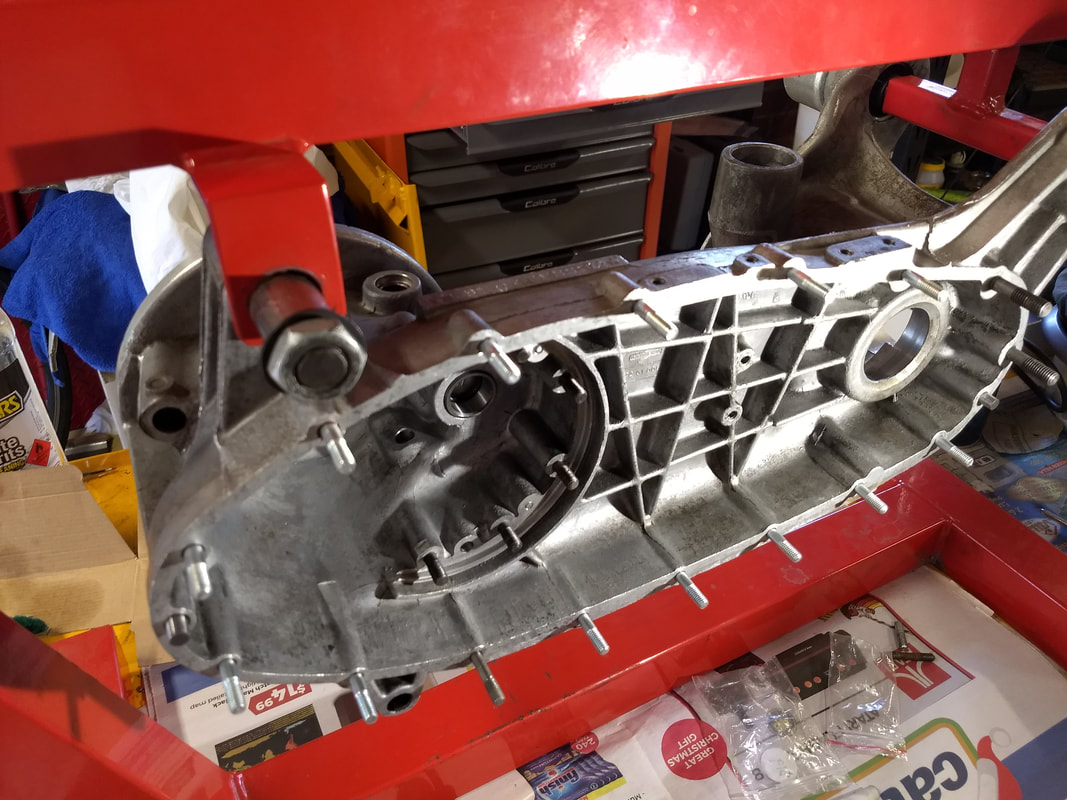
Now I'm happy with the shim size it's time to check that the rest of the box works. Paul Cain had recommended not fitting the cluster until after shimming because this makes it easier to take the end-plate on and off. Everything comes out again, I lube and fit the cluster bearing, and am chuffed to read in the AF instructions that the shim should not be fitted. There's obviously no room with a 5 speed cluster, but there is also a school of thought that the shim just stops oil getting to the bearing. I'd been in two  minds whether to fit it, but problem solved.
Picture
Cluster in and refit the loose gears...all looking good.
Picture
Picture
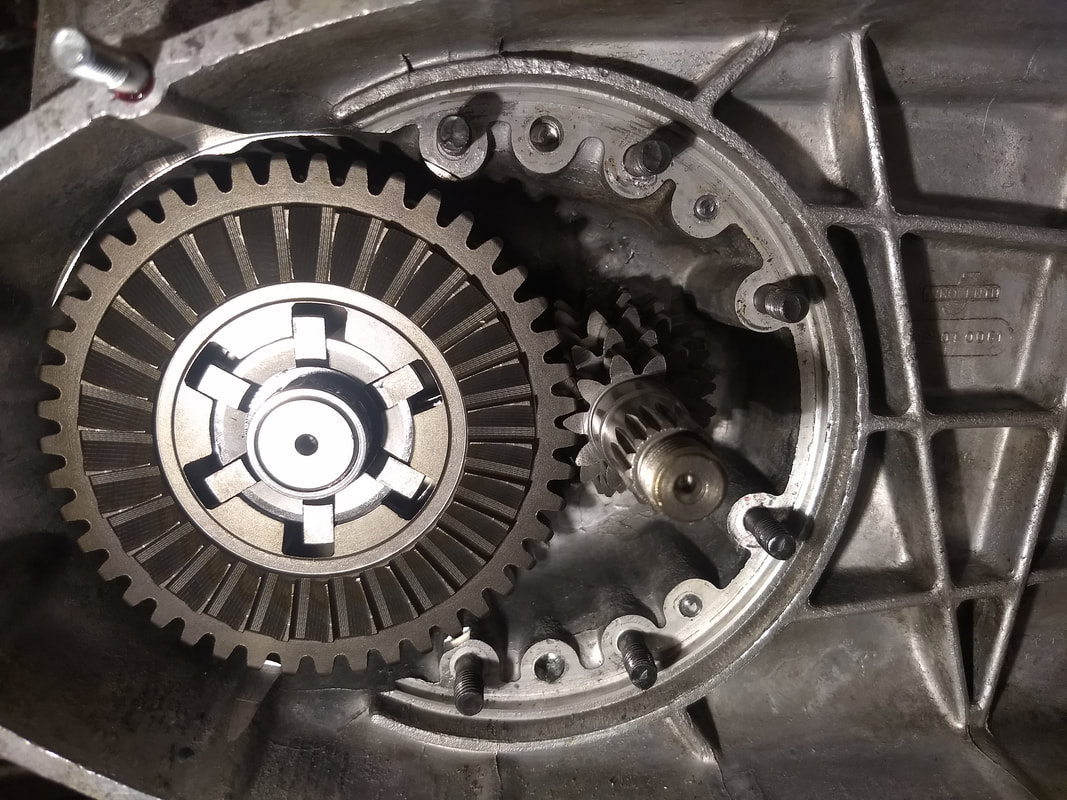
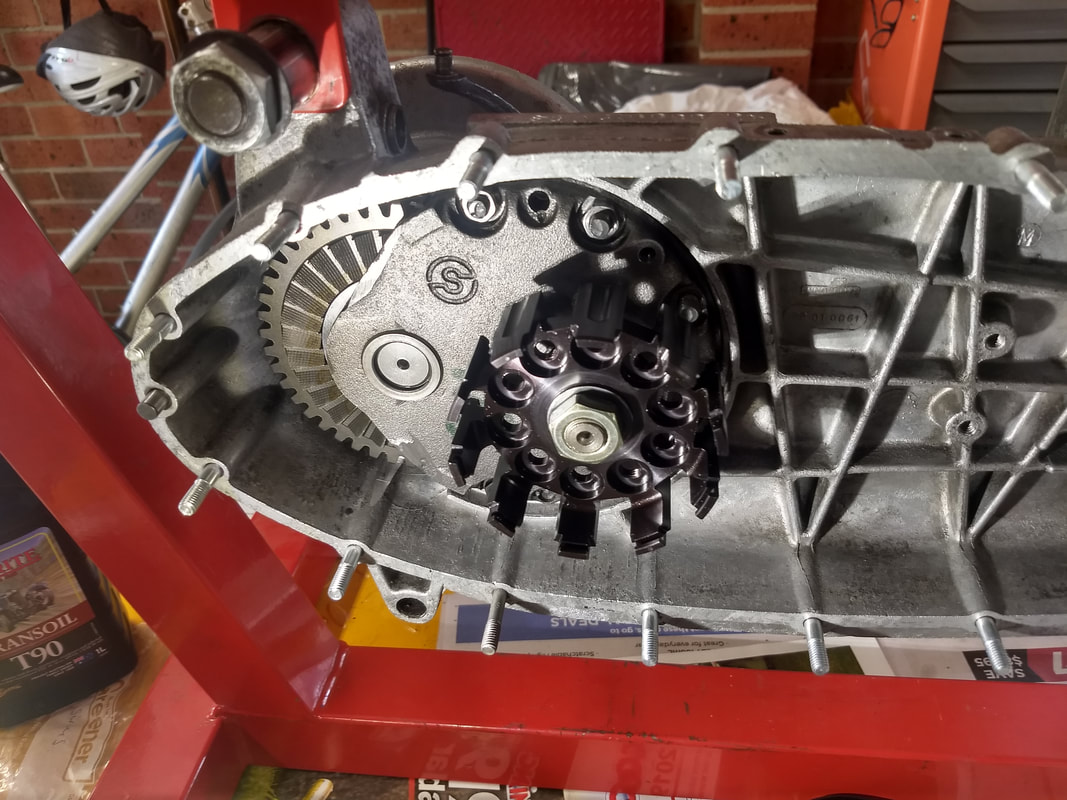
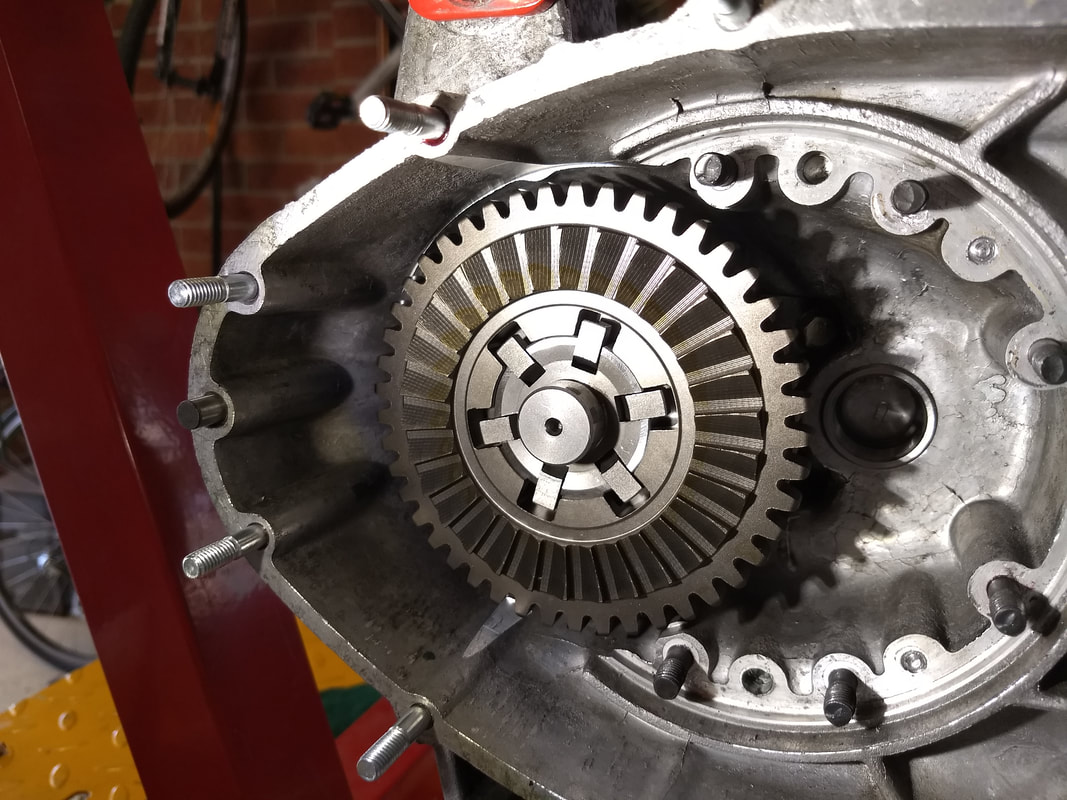
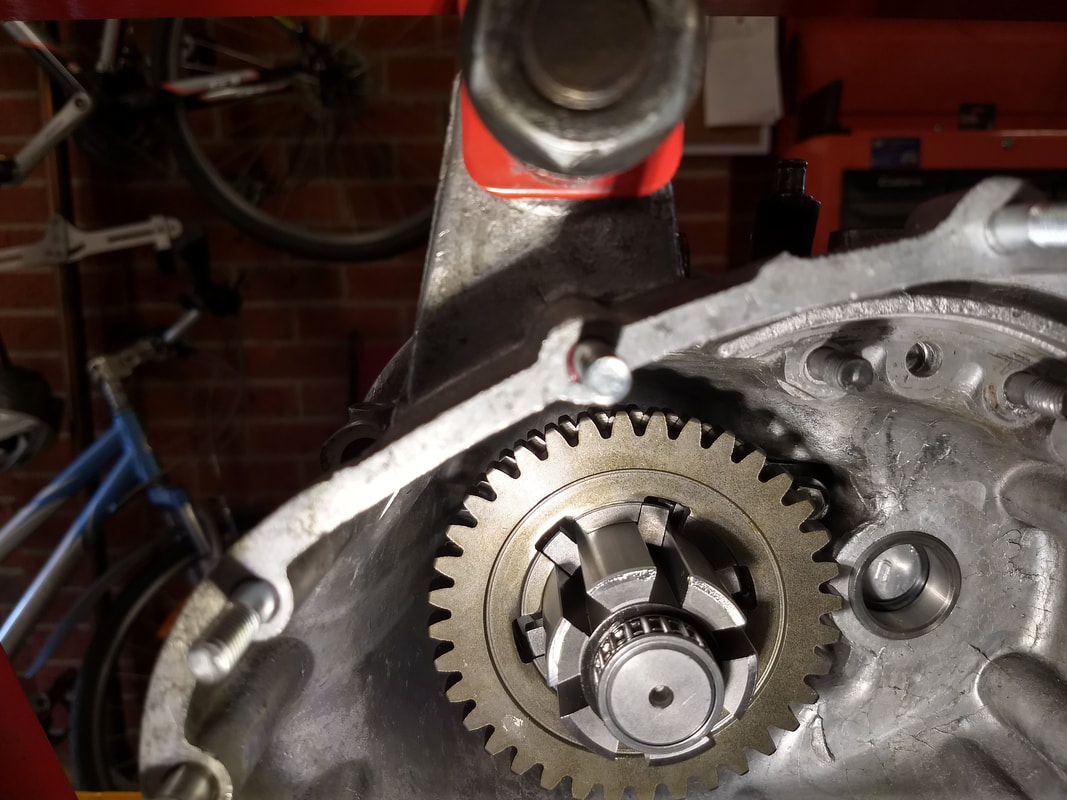
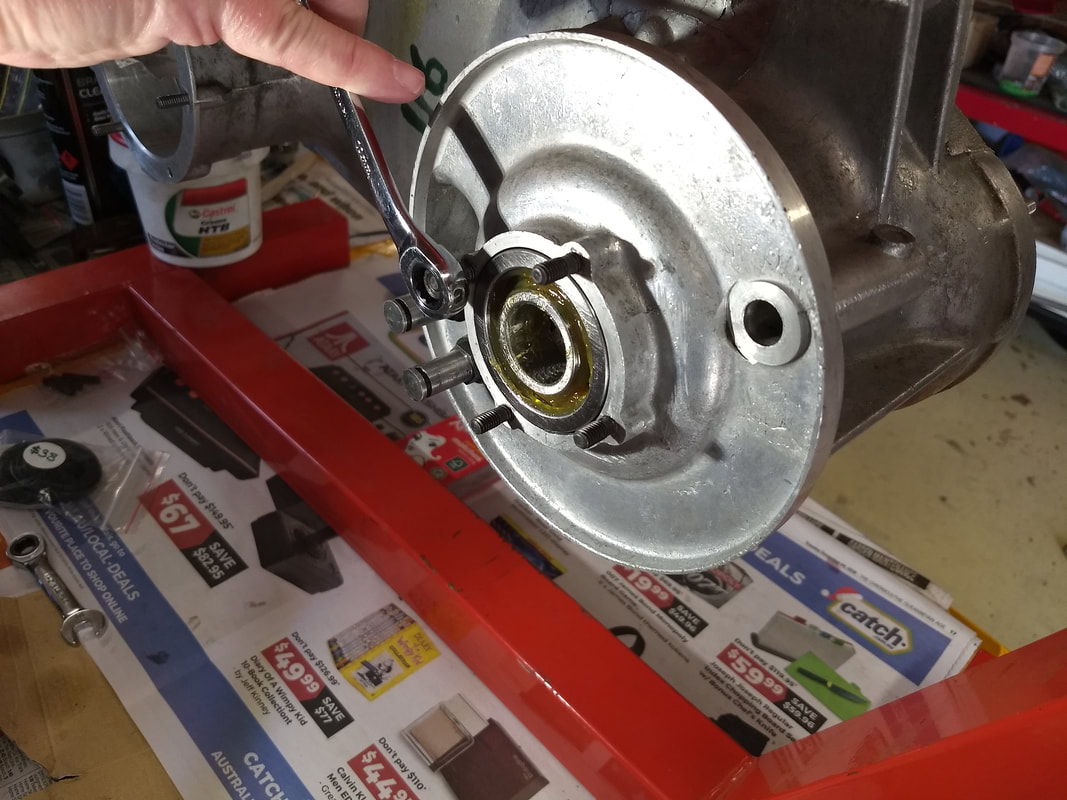
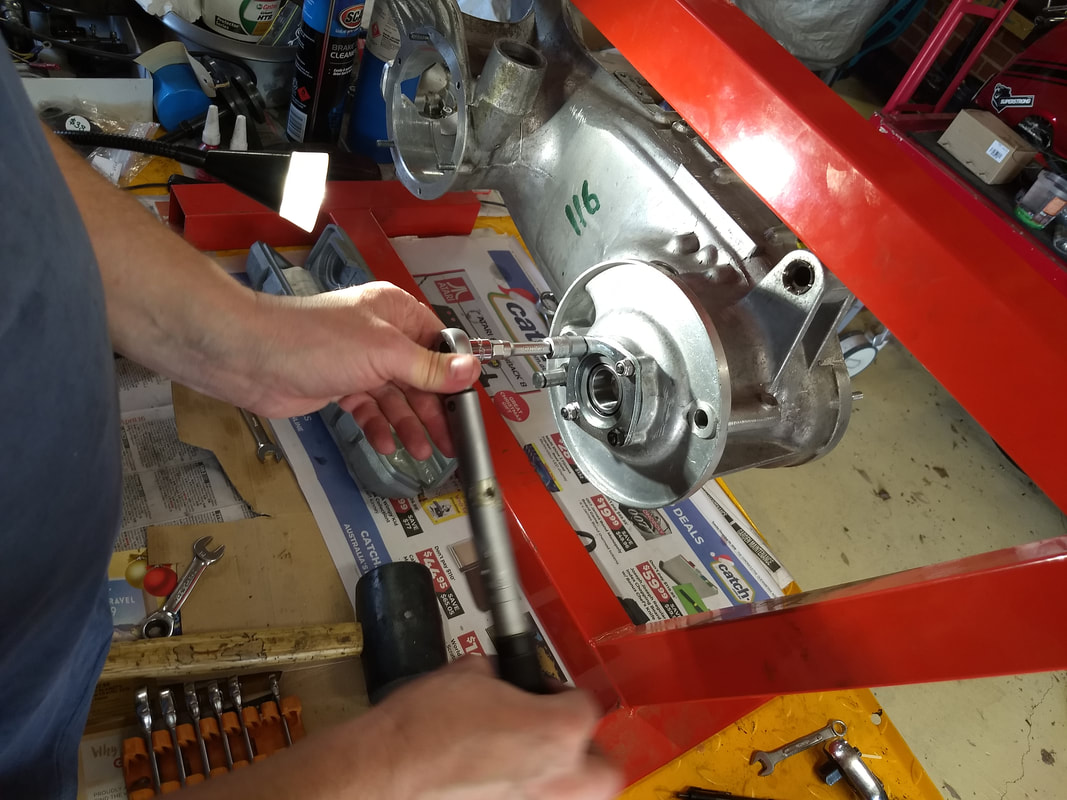
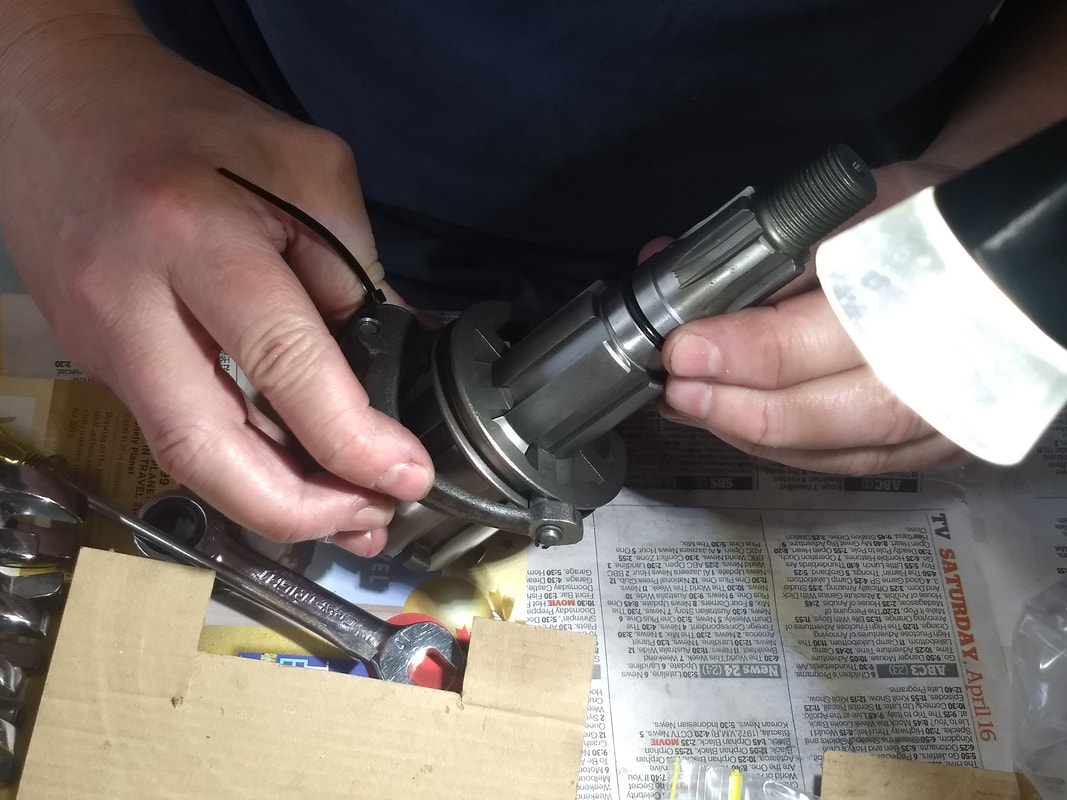
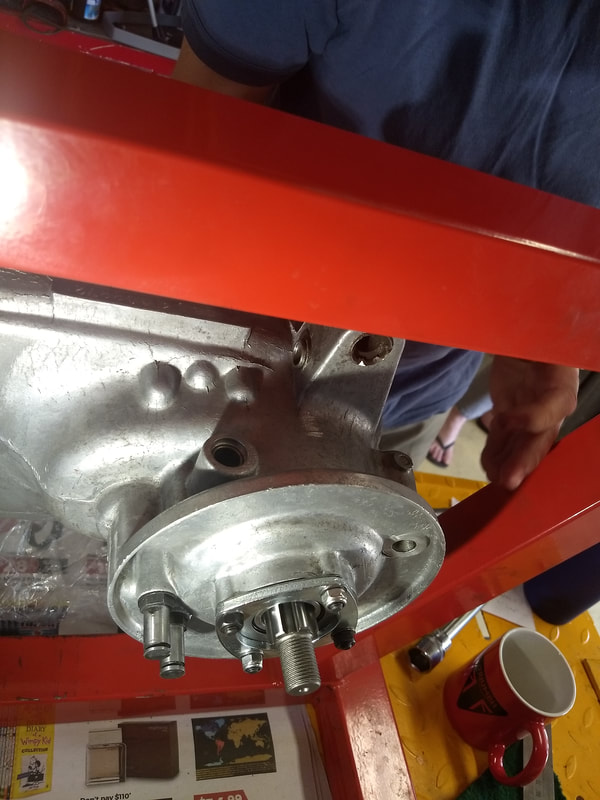
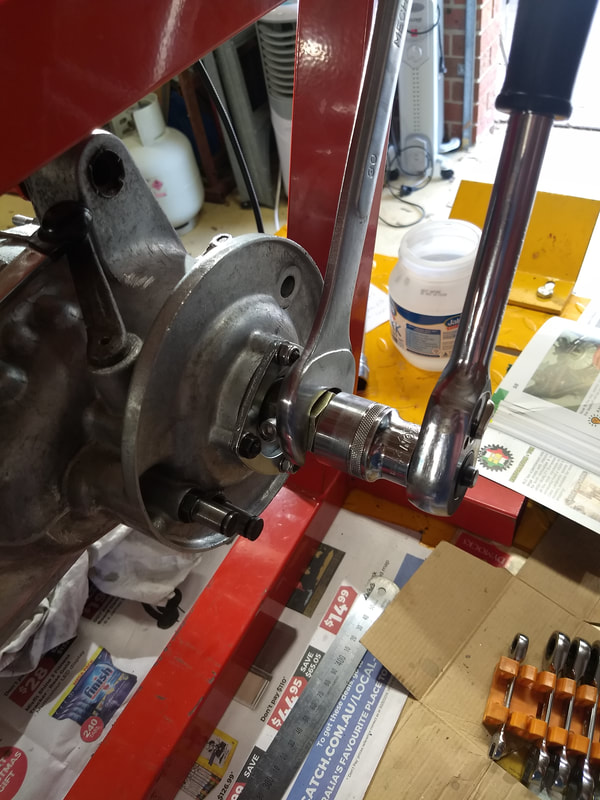
The final check is to fit the clutch spider, torque it up to 50 foot lbs, and see that all the gears mesh and work. Yep, they do.
Picture
Picture
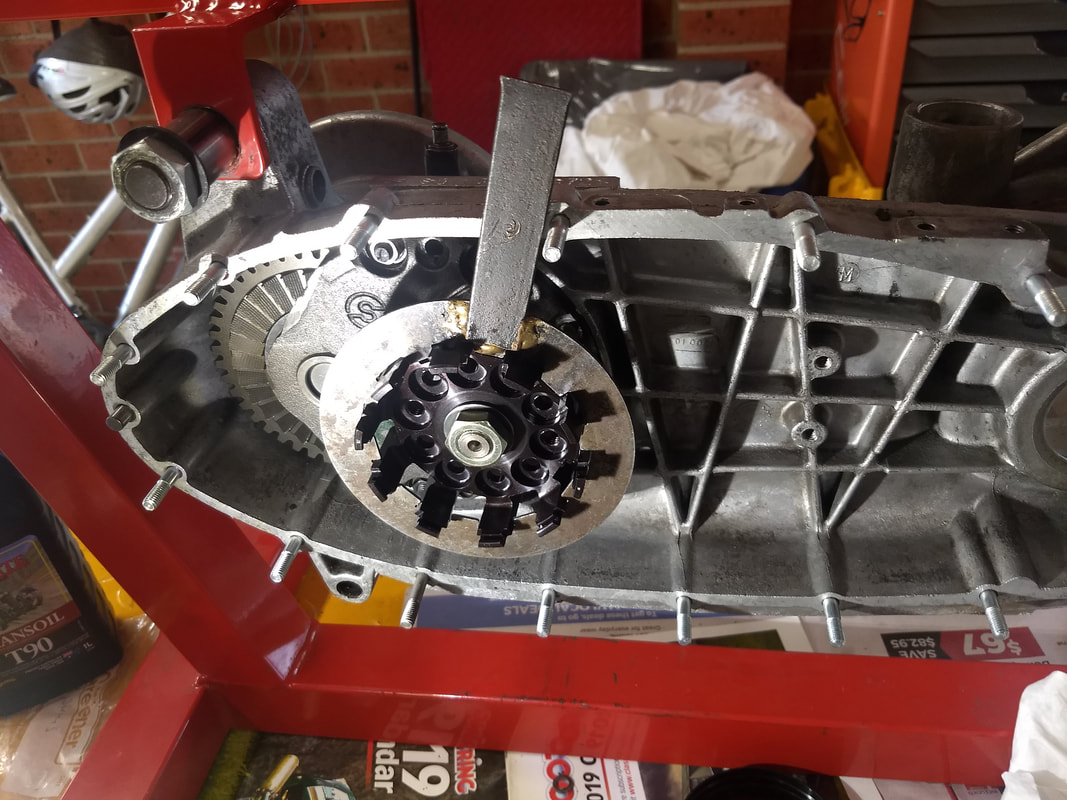
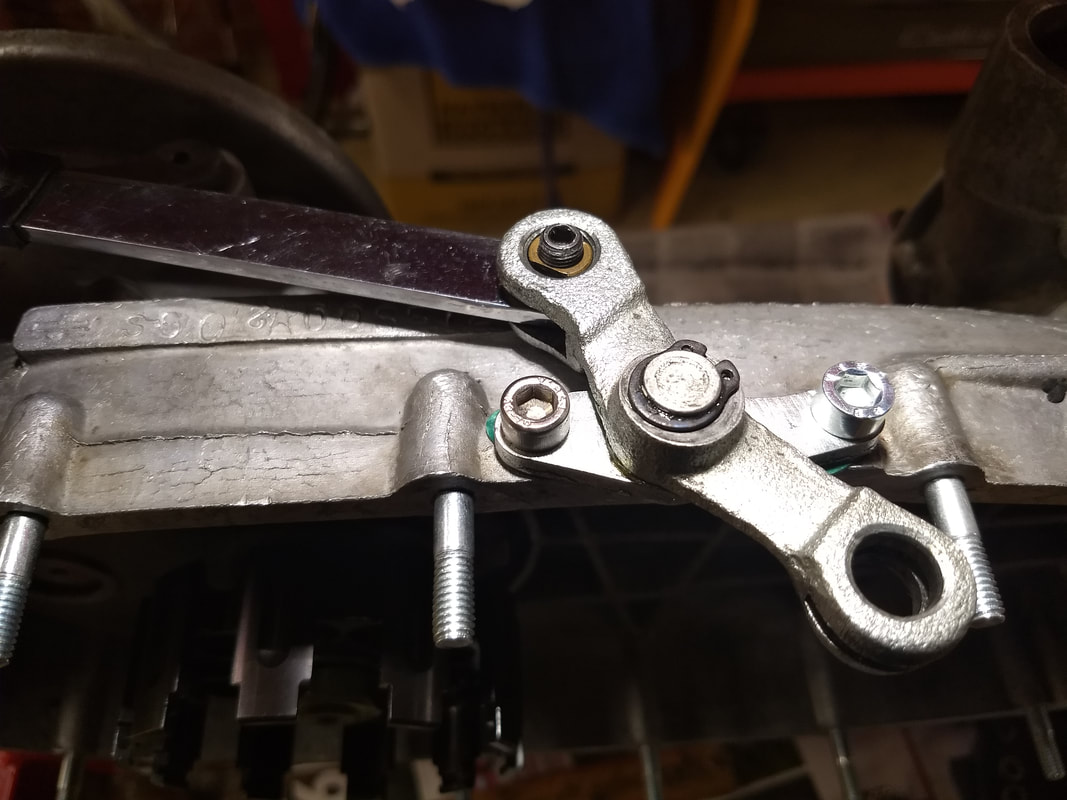
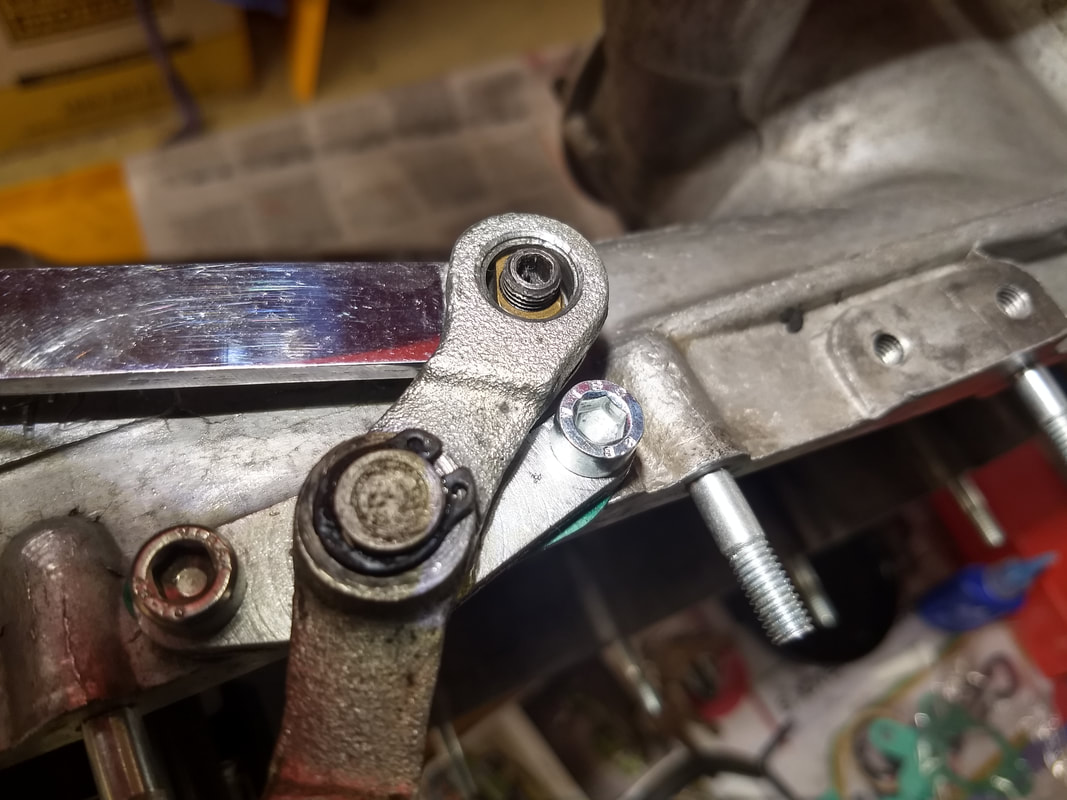
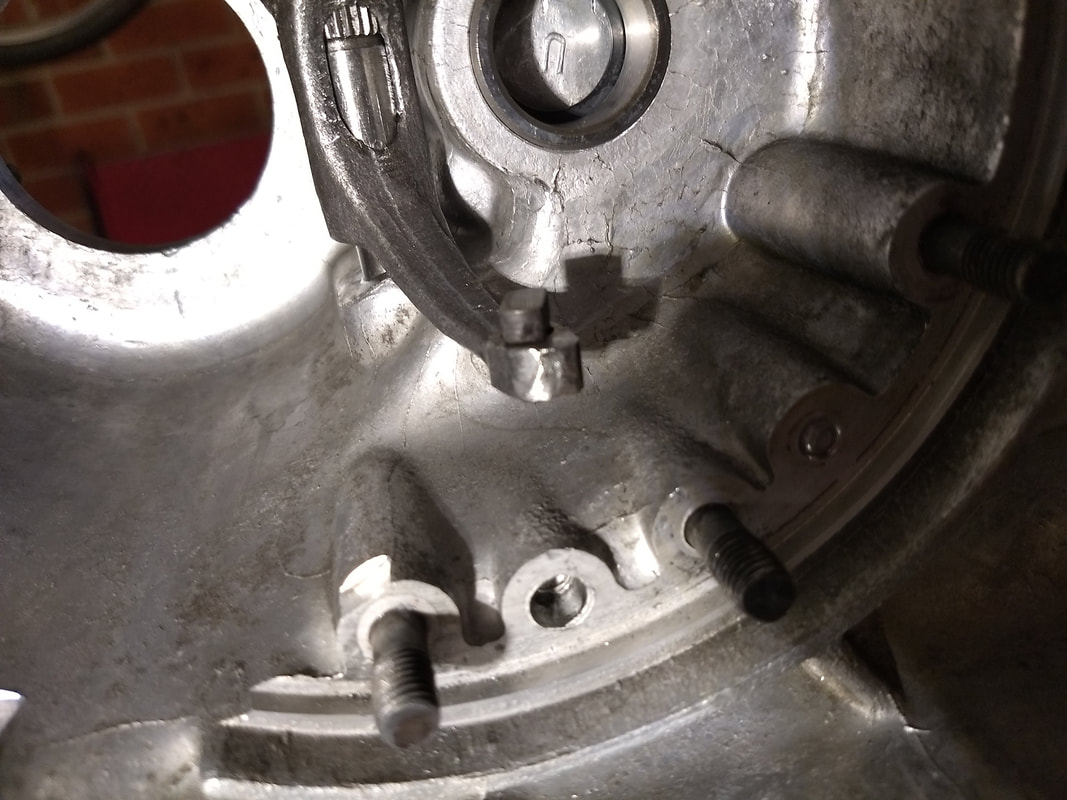
The last job for today is to fit the selector rod and bracket, using allen bolts to give more clearance, as suggested by Mark. Fifth is sweet. First is clear, just. All will be good until we get some more wear in the linkages...
Picture
Picture
Picture
Well that was a productive session. Building a 5 speed is much more involved than a standard box, and of course I have to remove the end-plate one last time, to replace the studs I damaged at the end of Part 2. Hopefully Steve Diffey has some in stock.
<Next> <Previous>
0 Comments

Indian GP Engine Build - Part 3.

27/1/2020

0 Comments

 
If a job's worth doing, it's worth doing three times.

Having had a couple of night's sleep, and an Australia Day run on the Jet for pizza with the Canberra Swarm, it's time to think about the previous build. I'm obviously going to have to use some of the supplied extra shims. With the selector in first touching on the end-plate the layshaft needs to move back. A shim in front of the bearing will sort this...
Picture
Equally, I'd noticed that the layshaft bearing track wasn't 100% flush with the end-plate, so the first job was to remove it again, put it in the freezer, heat the end-plate and refit (I'd just hit it in at room temperature before). Anyway, result, it's now absolutely tight in.
Picture
My brain had wandered over what I'd down before, and I'd pondered on why the selector fork would have been hard against the dog? Then I remembered that I'd already "adjusted" it, while inspecting parts against the recommendations in Sticky's manual. Basically the recommendation was that you should be able to fit a 5mm drill bit through the holes and the gap between the legs should be approximately 64mm. This I'd done, but then we'd bent the top leg out again so that it cleared the dog...I'm now thinking that the top pawl may be sitting too high. Reading back though the AF instructions and they recommend moving the selector shims in order to adjust it's position, rather than bending one arm. Out comes the arm again, and sure enough the legs are out of line and over 65mm apart! So, fixed again...
Picture
Refitting the selector and following the AF instructions, I now use both shims above the O-ring, which gives a smooth movement and keeps the 64mm gap between the arms. This I recon optimises the contact area between the pawls and the sliding dog. Will this matter at the end of the day? Buggered if I know... 
Picture
Picture
Hmm, before I remove the hub bearing and put a shim behind it I should check that the loose gears align okay, just in case something drastic is required. Yep, they're pretty bloody good.
Picture
Onwards. Heating the casings and tapping on the layshaft brings the whole lot out in one. I'd decided to do this because the layshaft had been so tight in the bearing, so why remove it unless I have to...

The picture shows the shim. I opted to use the larger 0.5mm shim in front of the bearing because it seemed like I needed to move the layshaft a decent amount.
Picture
For refitting I froze the bearing and layshaft, and heated the casings. Yeah, Nicky is a proper scooter girl and doesn't bat an eyelid at bearings in the freezer (or casings in the oven).
Picture
Picture
Once the bearing and layshaft are back in all 5 gears are checked again. First now clears lovely, WAHOO!, but fifth has the selector hard up against the casings and no clearance between the dog and hub bearing, ARSE!

What now? File the offending selector arm, remove the layshaft again and refit using the smaller 0.2mm shim this time...
Picture
Third time lucky! The shaft is back in, after another round of heating and freezing. A feeler gauge proves there is a gap between the selector arm and the casings, and between the sliding dog and rear hub bearing. In first there is a clear gap to the end-plate. All is looking good. Next the loose gears are checked, and they all align perfectly!
Picture
Picture
If everything can shim up then we're home (probably). The smallest shim I have is 1.4mm, so let's use this and see how it looks. The end-plate is bolted down (using the 4 good studs - yes, yes, I know I buggered the other two...). Measuring the gap I can get a 20 thou feeler gauge in. Some head-scratching and mental arithmetic later and I figure a 1.7mm or 1.8mm shim will result in a perfectly shimmed gearbox, within the AF recommended limits of 1.4mm to 2.0mm. Well, that's the theory (why are we using thous and metric? Thank god the gauges have both written on them!)

Anyway, it's definitely time to leave the proof to another day. We've run out of beer so it has to be gin and tonic before packing the tools away. Hard life.
Picture
<Next> <Previous>
0 Comments
<<Previous

    Pacemaker

    The LCoA online Blog. Write-ups, reviews and general bulldust

    Archives

    April 2023
    January 2023
    July 2021
    January 2021
    July 2020
    April 2020
    March 2020
    February 2020
    January 2020
    November 2019
    August 2019
    June 2019
    September 2018
    July 2018
    June 2018
    February 2018
    December 2017
    June 2017
    May 2017
    July 2016
    April 2016
    March 2016
    January 2016
    December 2015

    Categories

    All

    RSS Feed

© The Lambretta Club of Australia 2015 - 2023 Incorporated in the State of Victoria under the Associations Incorporation Reform Regulations 2012 . Reg No: A0051726A