If a job's worth doing, it's worth doing three times.
Having had a couple of night's sleep, and an Australia Day run on the Jet for pizza with the Canberra Swarm, it's time to think about the previous build. I'm obviously going to have to use some of the supplied extra shims. With the selector in first touching on the end-plate the layshaft needs to move back. A shim in front of the bearing will sort this...
Having had a couple of night's sleep, and an Australia Day run on the Jet for pizza with the Canberra Swarm, it's time to think about the previous build. I'm obviously going to have to use some of the supplied extra shims. With the selector in first touching on the end-plate the layshaft needs to move back. A shim in front of the bearing will sort this...
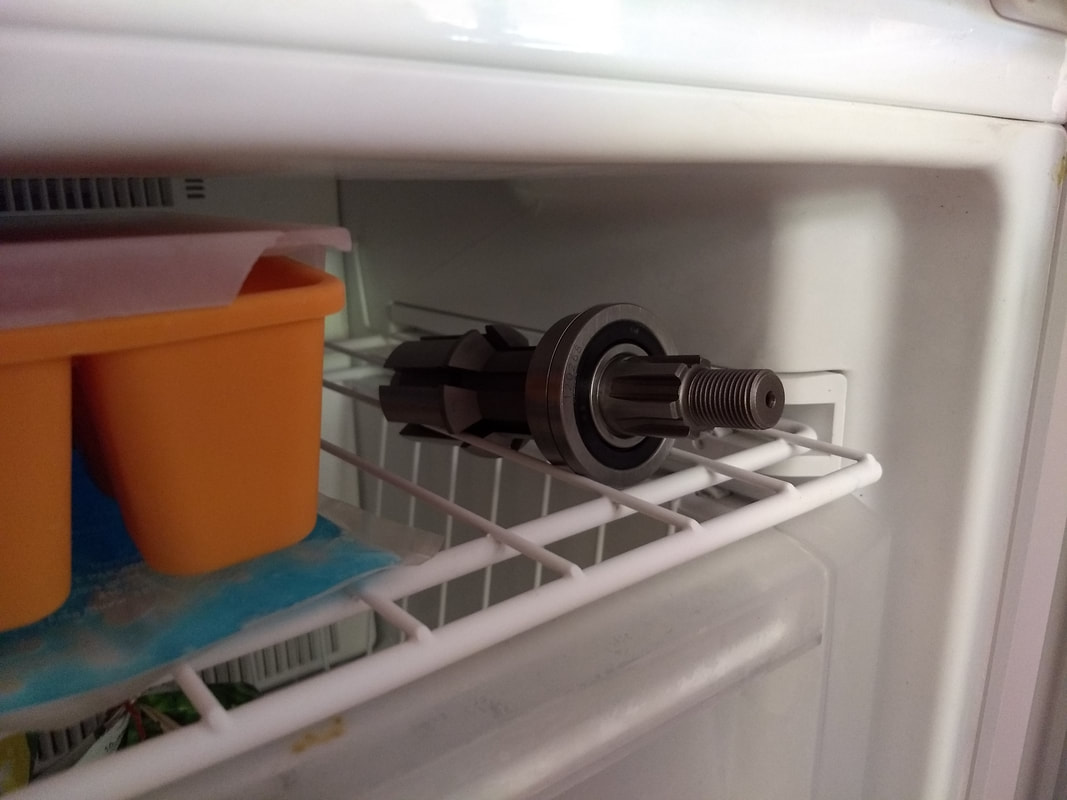
Equally, I'd noticed that the layshaft bearing track wasn't 100% flush with the end-plate, so the first job was to remove it again, put it in the freezer, heat the end-plate and refit (I'd just hit it in at room temperature before). Anyway, result, it's now absolutely tight in.
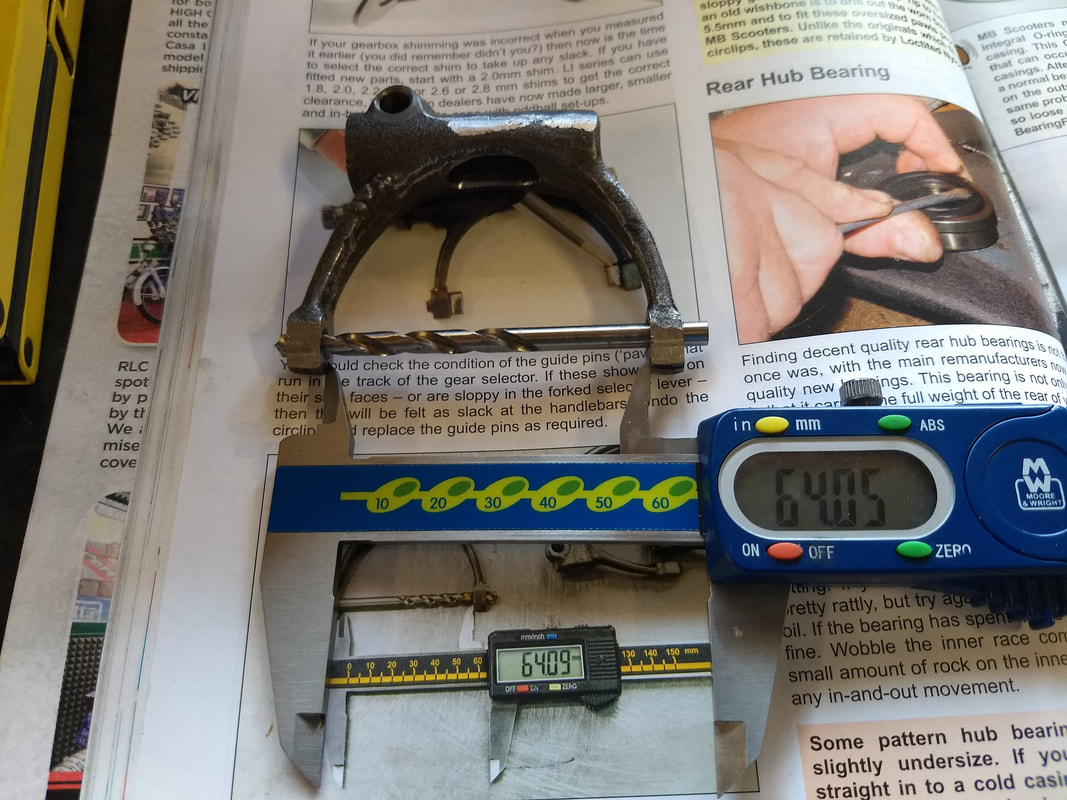
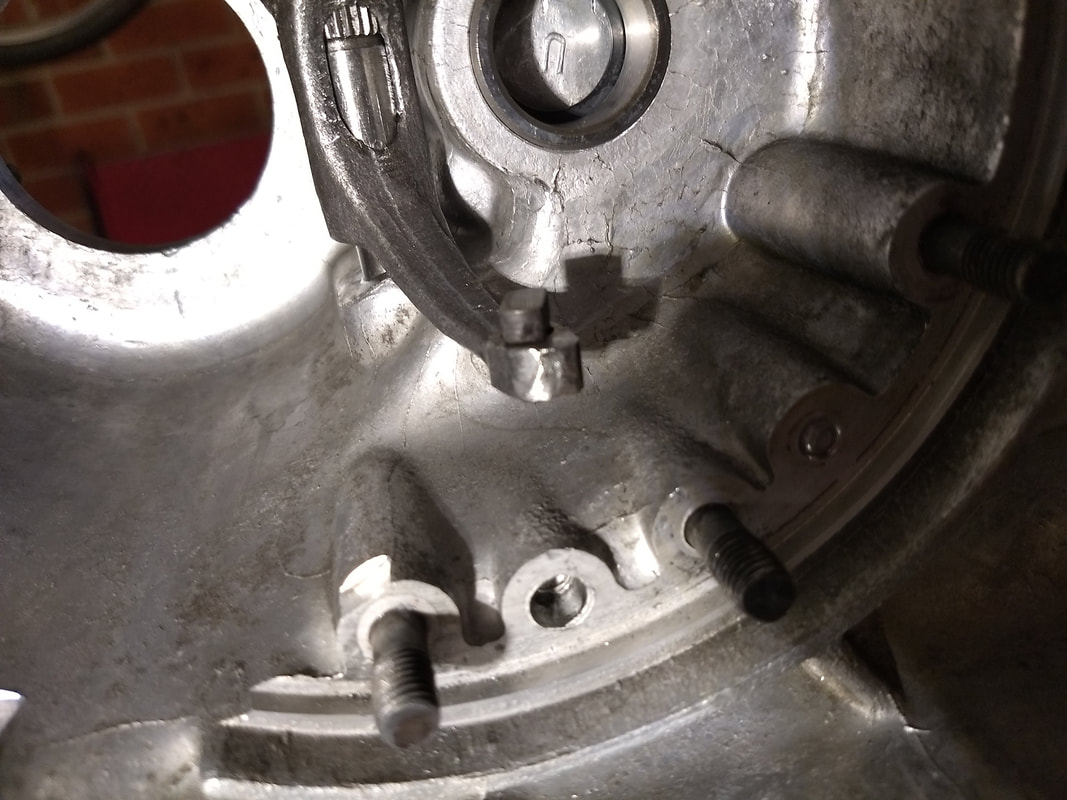
My brain had wandered over what I'd down before, and I'd pondered on why the selector fork would have been hard against the dog? Then I remembered that I'd already "adjusted" it, while inspecting parts against the recommendations in Sticky's manual. Basically the recommendation was that you should be able to fit a 5mm drill bit through the holes and the gap between the legs should be approximately 64mm. This I'd done, but then we'd bent the top leg out again so that it cleared the dog...I'm now thinking that the top pawl may be sitting too high. Reading back though the AF instructions and they recommend moving the selector shims in order to adjust it's position, rather than bending one arm. Out comes the arm again, and sure enough the legs are out of line and over 65mm apart! So, fixed again...
Refitting the selector and following the AF instructions, I now use both shims above the O-ring, which gives a smooth movement and keeps the 64mm gap between the arms. This I recon optimises the contact area between the pawls and the sliding dog. Will this matter at the end of the day? Buggered if I know...
 | 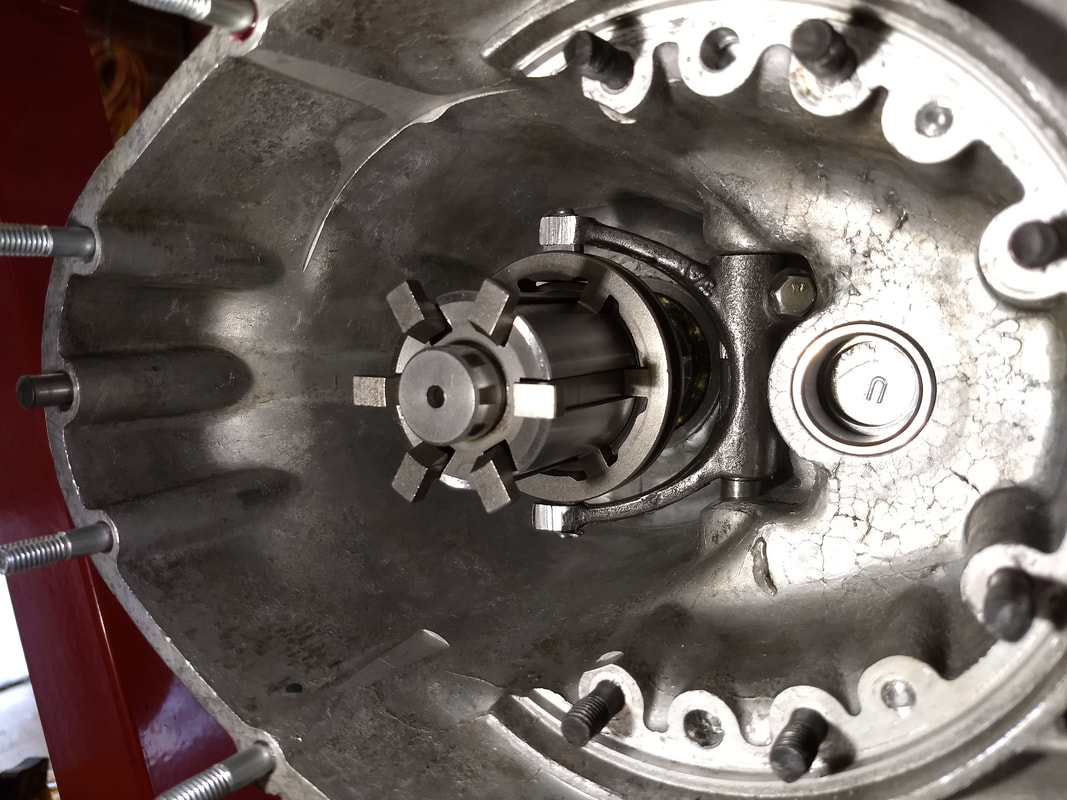 |
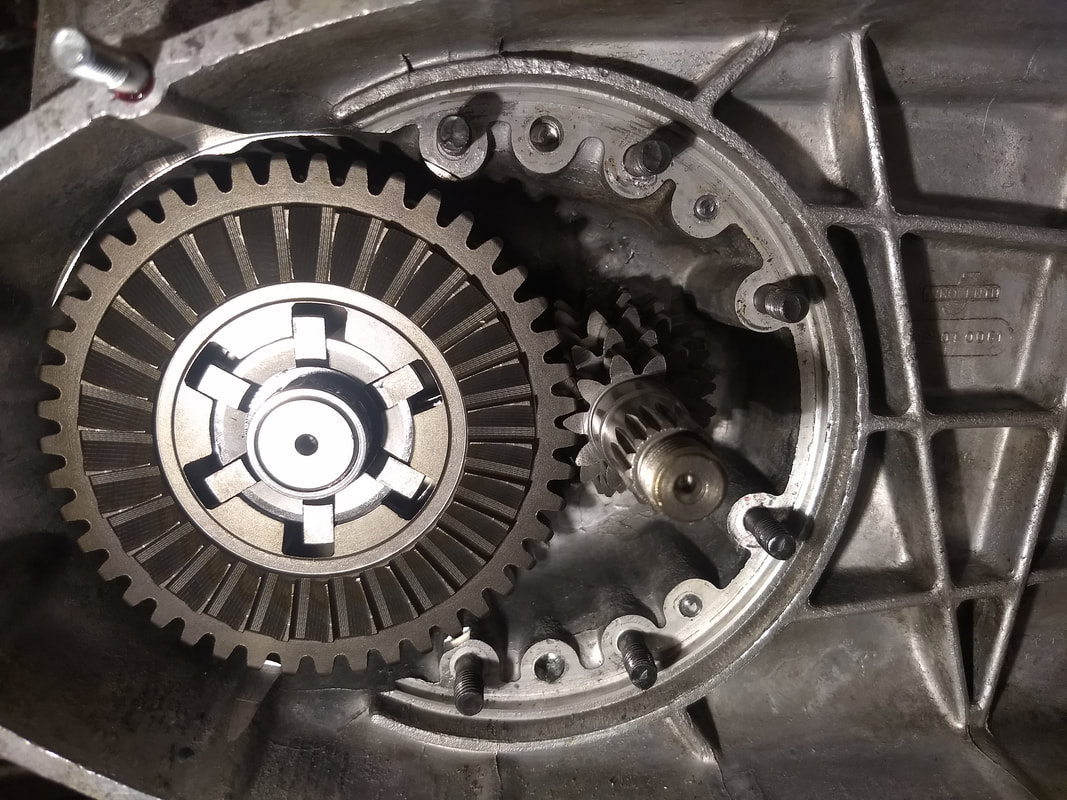
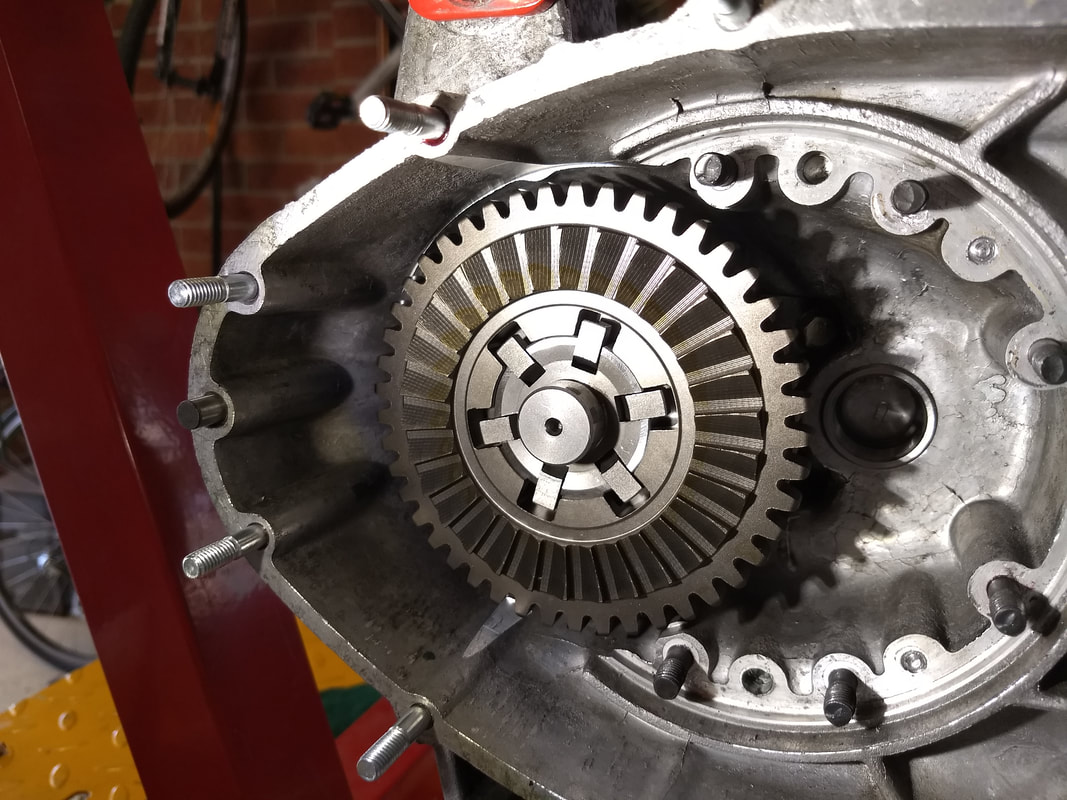
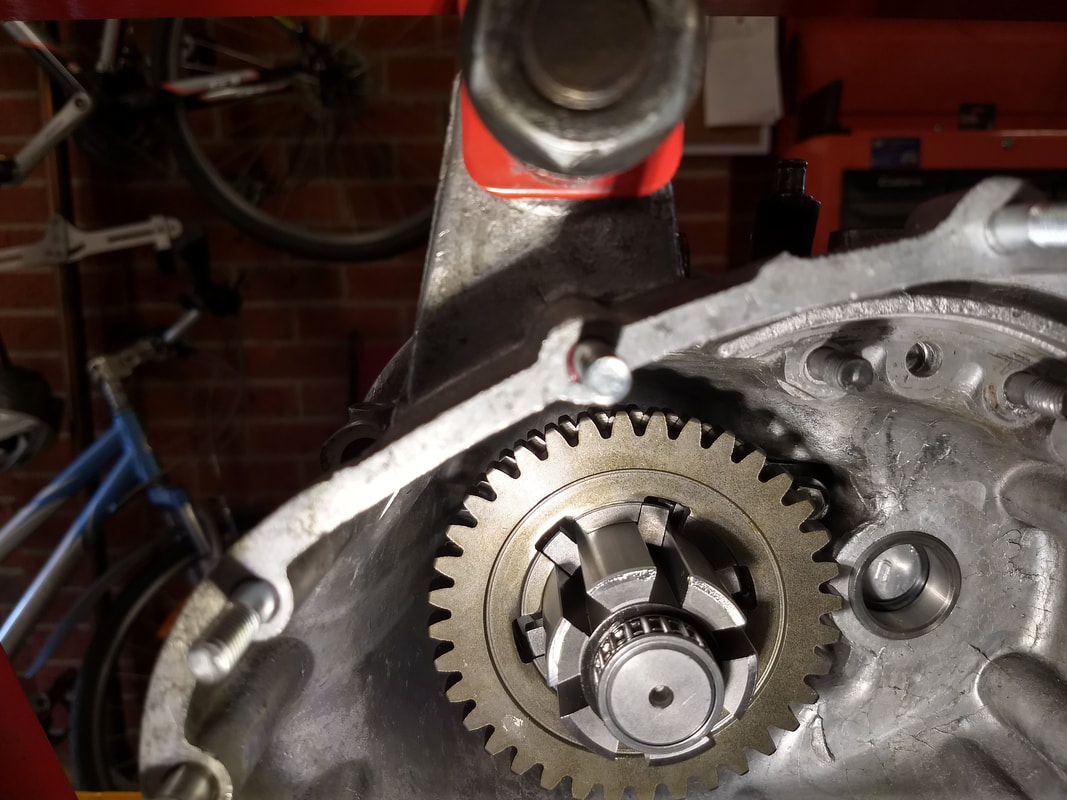
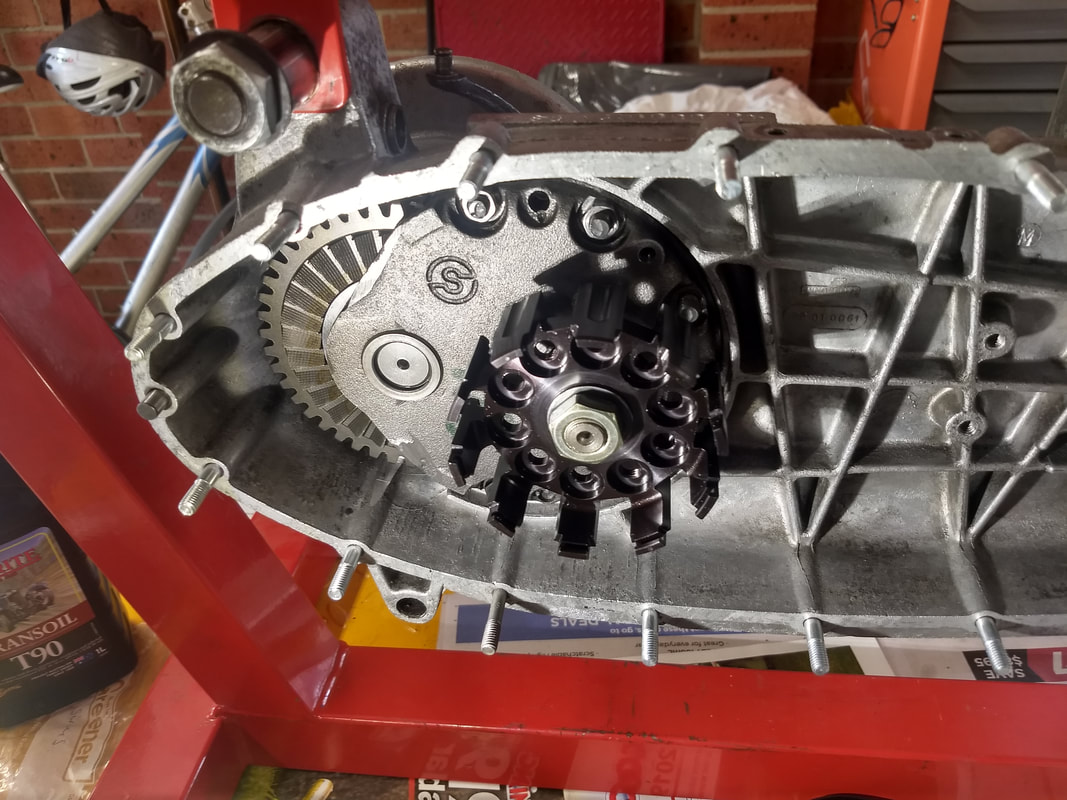
Hmm, before I remove the hub bearing and put a shim behind it I should check that the loose gears align okay, just in case something drastic is required. Yep, they're pretty bloody good.
Onwards. Heating the casings and tapping on the layshaft brings the whole lot out in one. I'd decided to do this because the layshaft had been so tight in the bearing, so why remove it unless I have to...
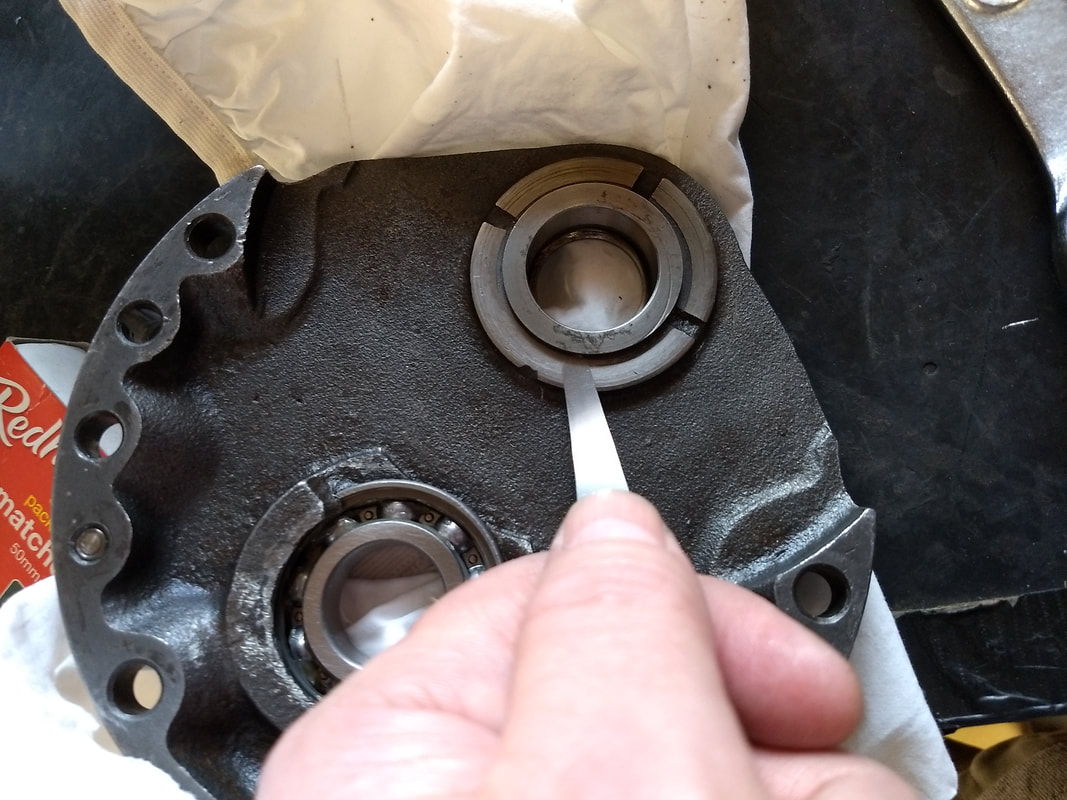
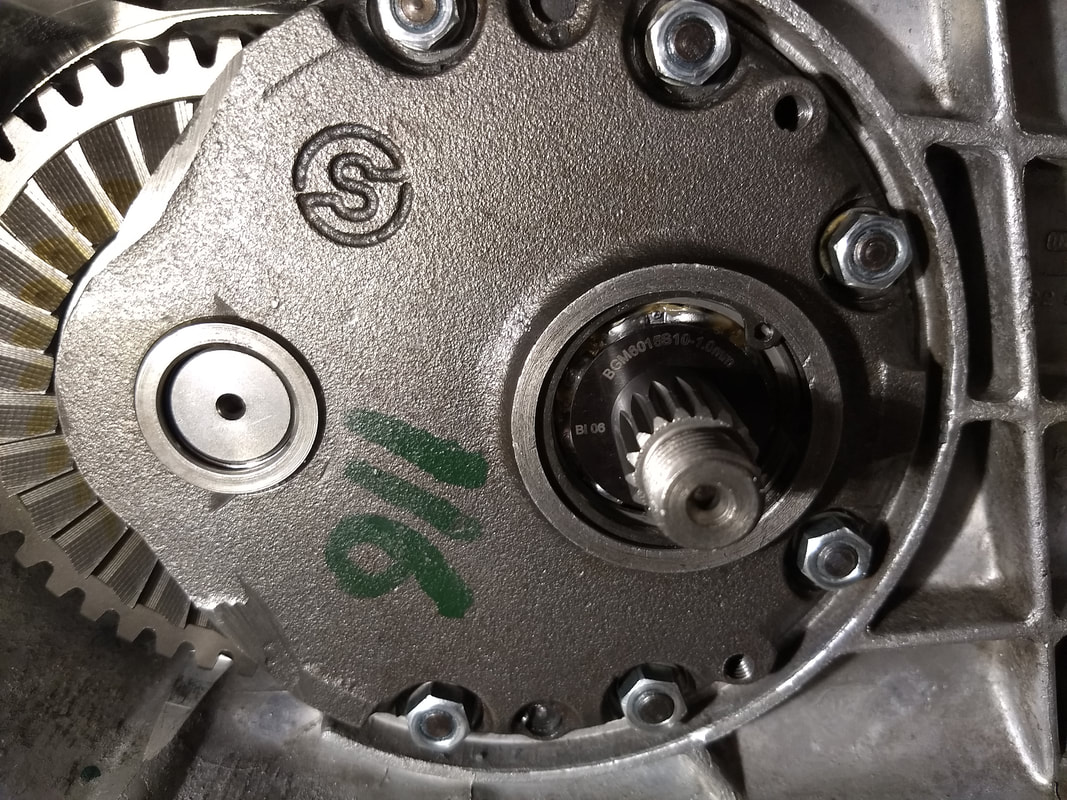
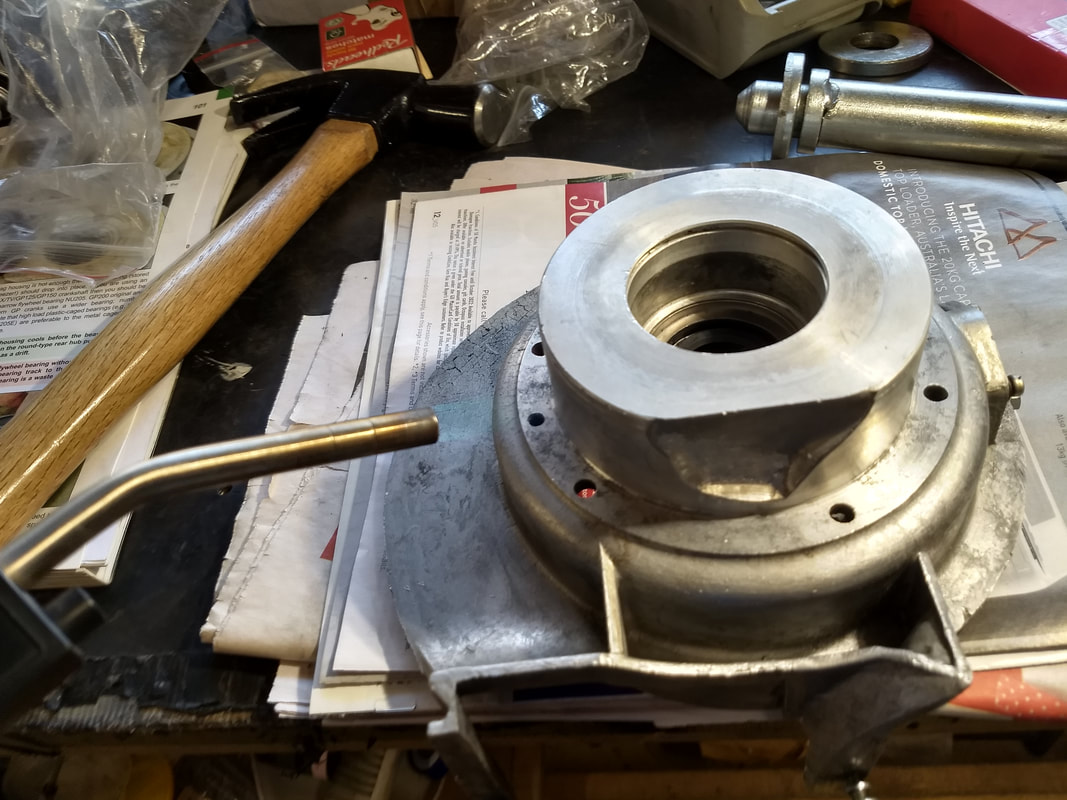
The picture shows the shim. I opted to use the larger 0.5mm shim in front of the bearing because it seemed like I needed to move the layshaft a decent amount.
The picture shows the shim. I opted to use the larger 0.5mm shim in front of the bearing because it seemed like I needed to move the layshaft a decent amount.
For refitting I froze the bearing and layshaft, and heated the casings. Yeah, Nicky is a proper scooter girl and doesn't bat an eyelid at bearings in the freezer (or casings in the oven).
 |  |
Once the bearing and layshaft are back in all 5 gears are checked again. First now clears lovely, WAHOO!, but fifth has the selector hard up against the casings and no clearance between the dog and hub bearing, ARSE!
What now? File the offending selector arm, remove the layshaft again and refit using the smaller 0.2mm shim this time...
What now? File the offending selector arm, remove the layshaft again and refit using the smaller 0.2mm shim this time...
Third time lucky! The shaft is back in, after another round of heating and freezing. A feeler gauge proves there is a gap between the selector arm and the casings, and between the sliding dog and rear hub bearing. In first there is a clear gap to the end-plate. All is looking good. Next the loose gears are checked, and they all align perfectly!
 | 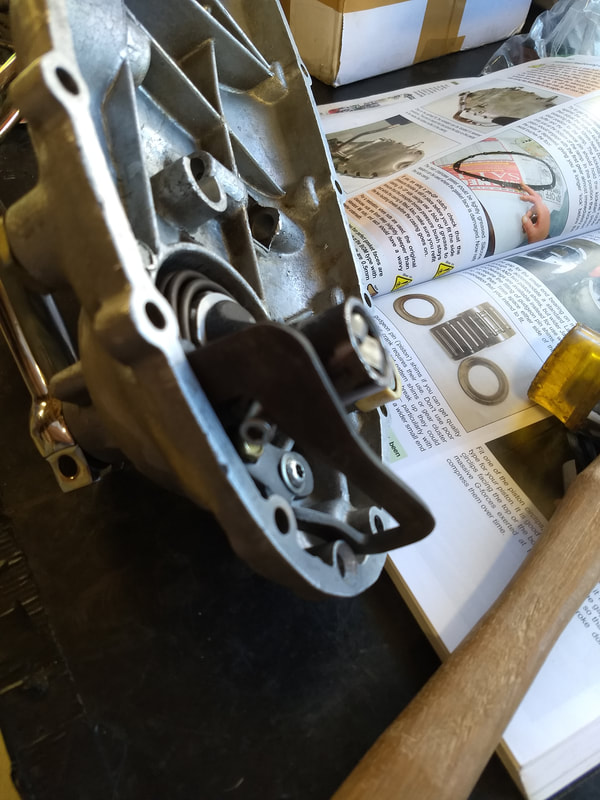 |
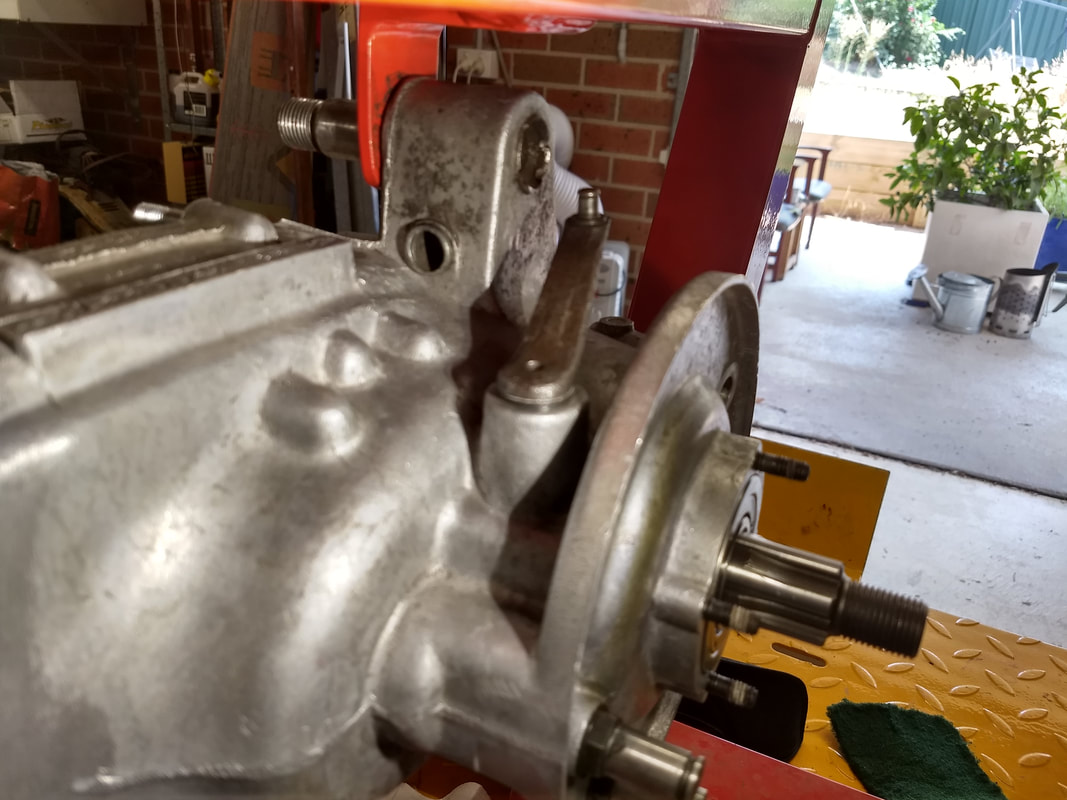
If everything can shim up then we're home (probably). The smallest shim I have is 1.4mm, so let's use this and see how it looks. The end-plate is bolted down (using the 4 good studs - yes, yes, I know I buggered the other two...). Measuring the gap I can get a 20 thou feeler gauge in. Some head-scratching and mental arithmetic later and I figure a 1.7mm or 1.8mm shim will result in a perfectly shimmed gearbox, within the AF recommended limits of 1.4mm to 2.0mm. Well, that's the theory (why are we using thous and metric? Thank god the gauges have both written on them!)
Anyway, it's definitely time to leave the proof to another day. We've run out of beer so it has to be gin and tonic before packing the tools away. Hard life.
Anyway, it's definitely time to leave the proof to another day. We've run out of beer so it has to be gin and tonic before packing the tools away. Hard life.
 RSS Feed