That's All Folks!
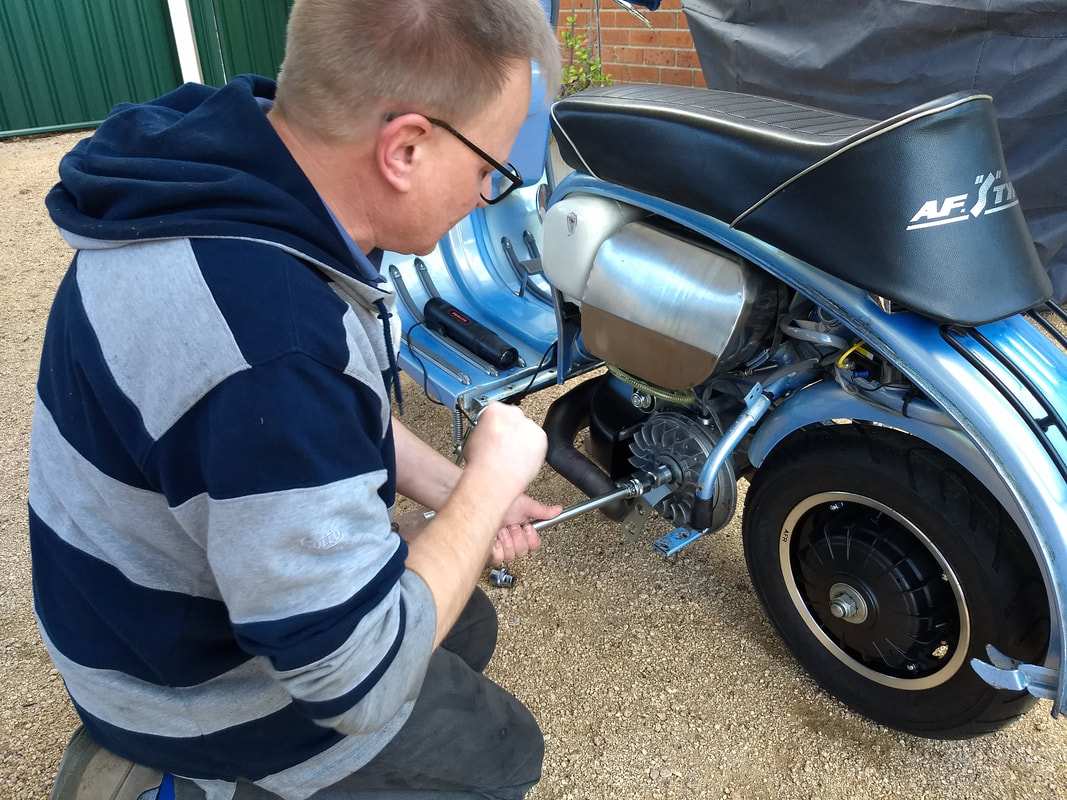
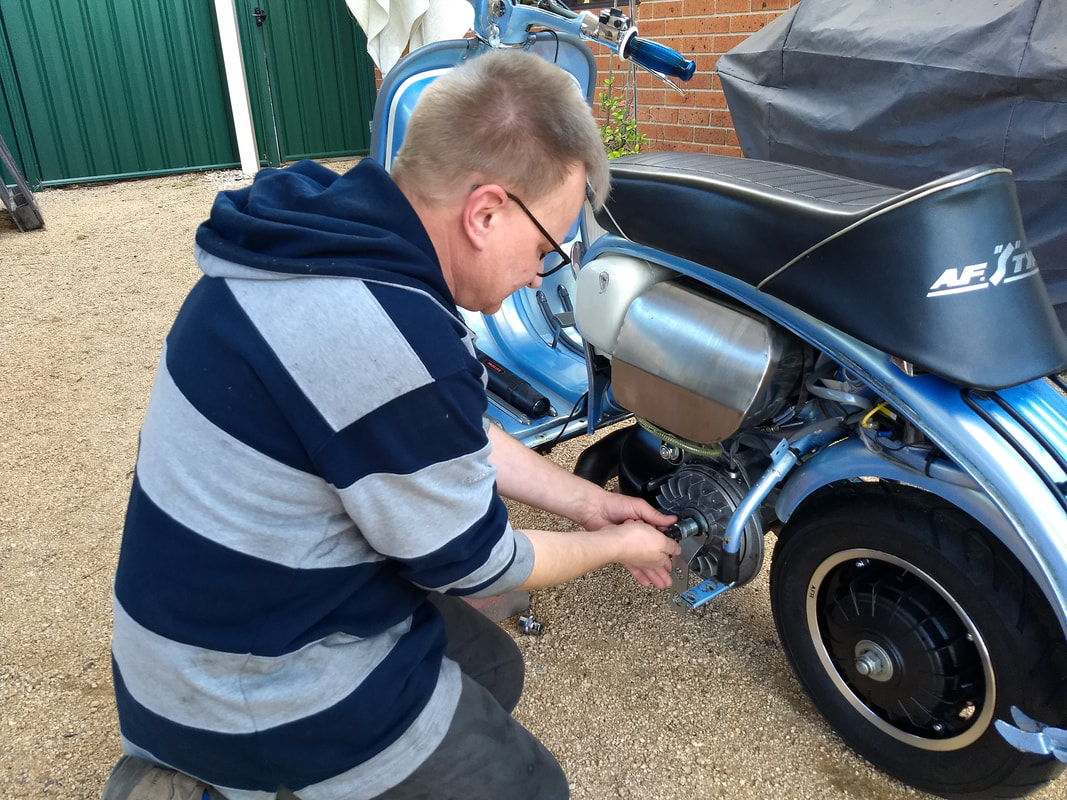
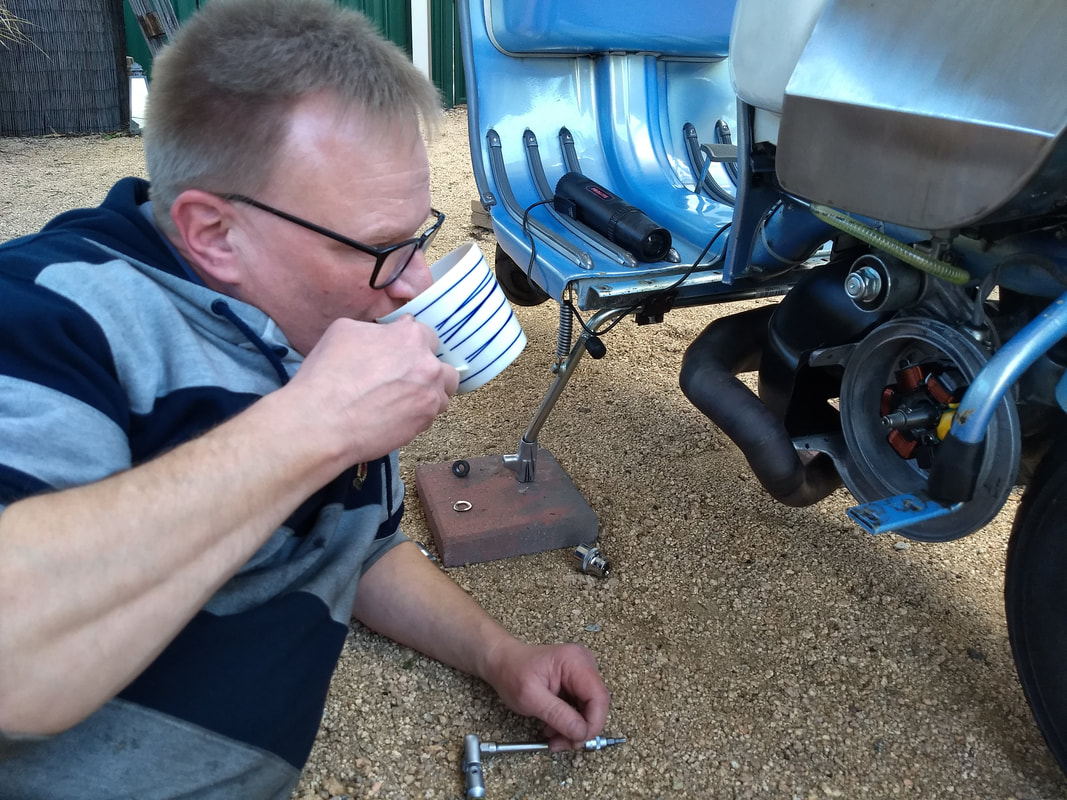
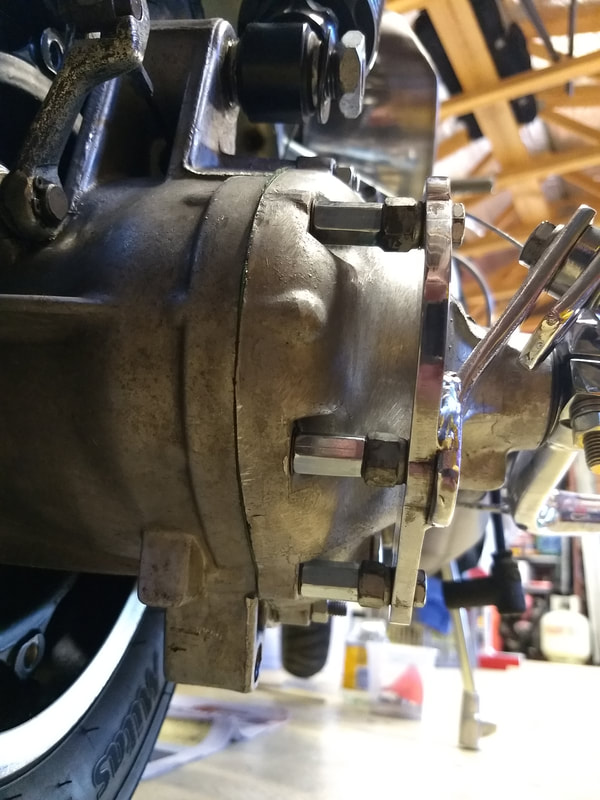
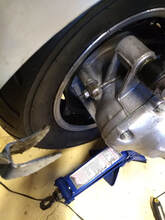
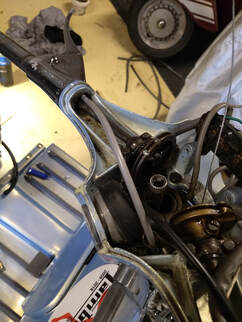
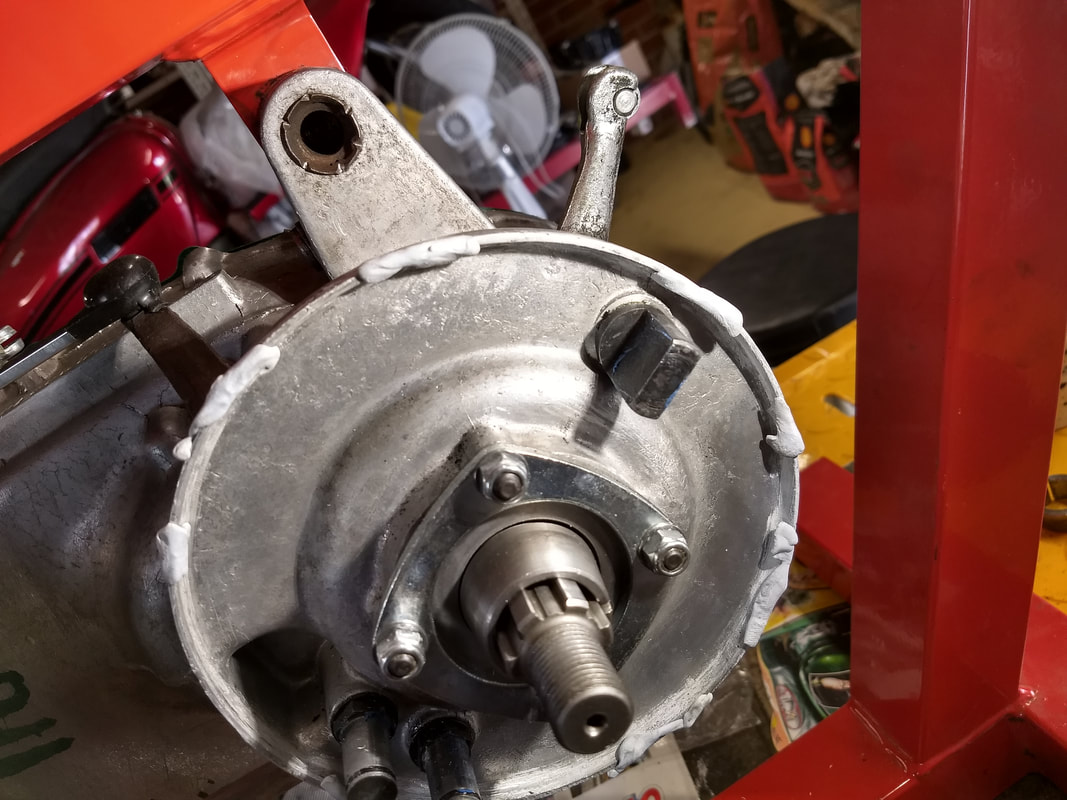
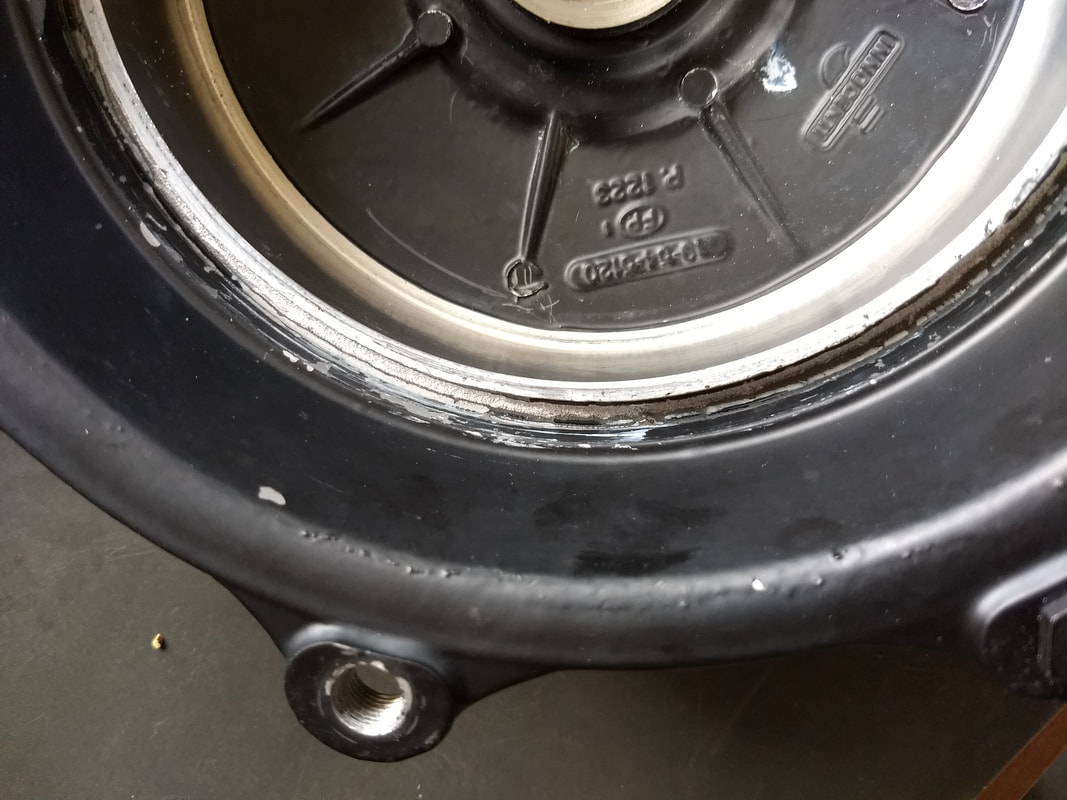
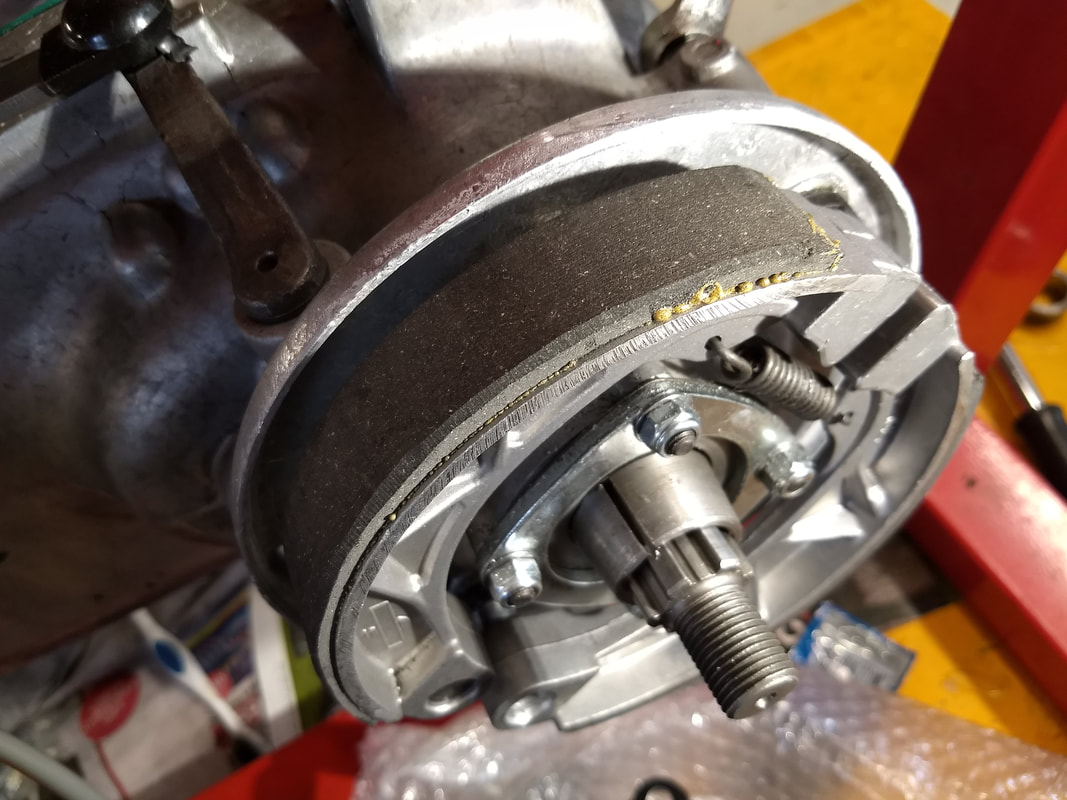
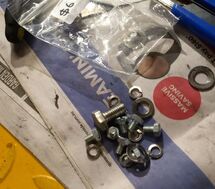
The offset cones and other bits have arrived from Mr Diffey. Time to get these last few jobs done! I use a scissor jack to support the engine while I remove the old engine bolt and cones. I find as long as you leave the rear suspension connected the jack makes this a one person job. The only real trick is to use a drift or long screwdriver to roughly line the engine mounts up with the cones as you jack the engine back up.
The offset cones and other bits have arrived from Mr Diffey. Time to get these last few jobs done! I use a scissor jack to support the engine while I remove the old engine bolt and cones. I find as long as you leave the rear suspension connected the jack makes this a one person job. The only real trick is to use a drift or long screwdriver to roughly line the engine mounts up with the cones as you jack the engine back up.
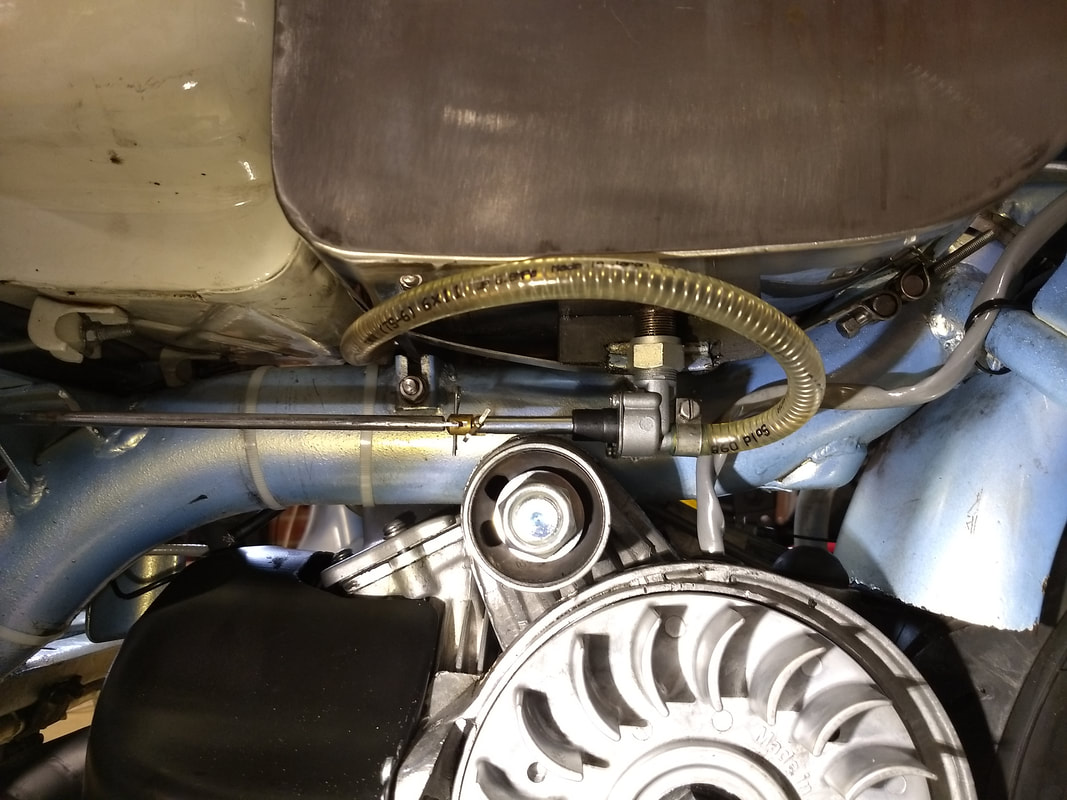
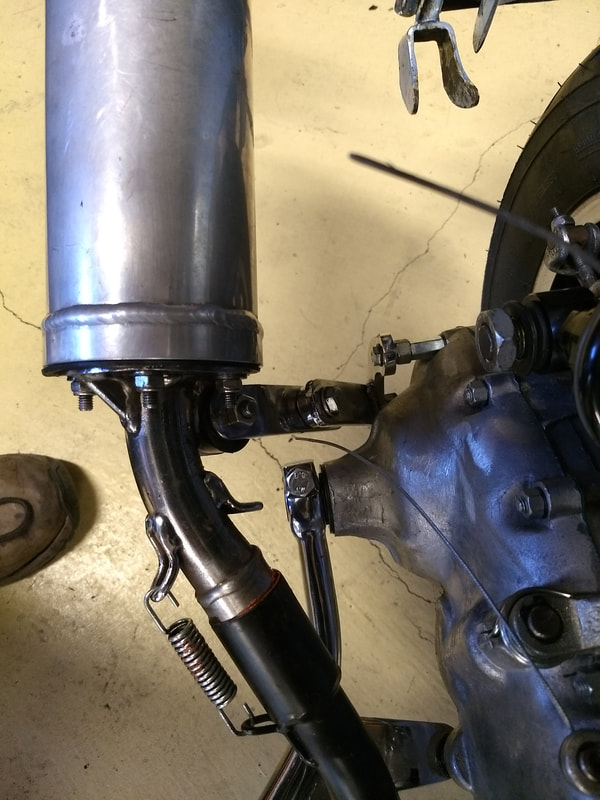
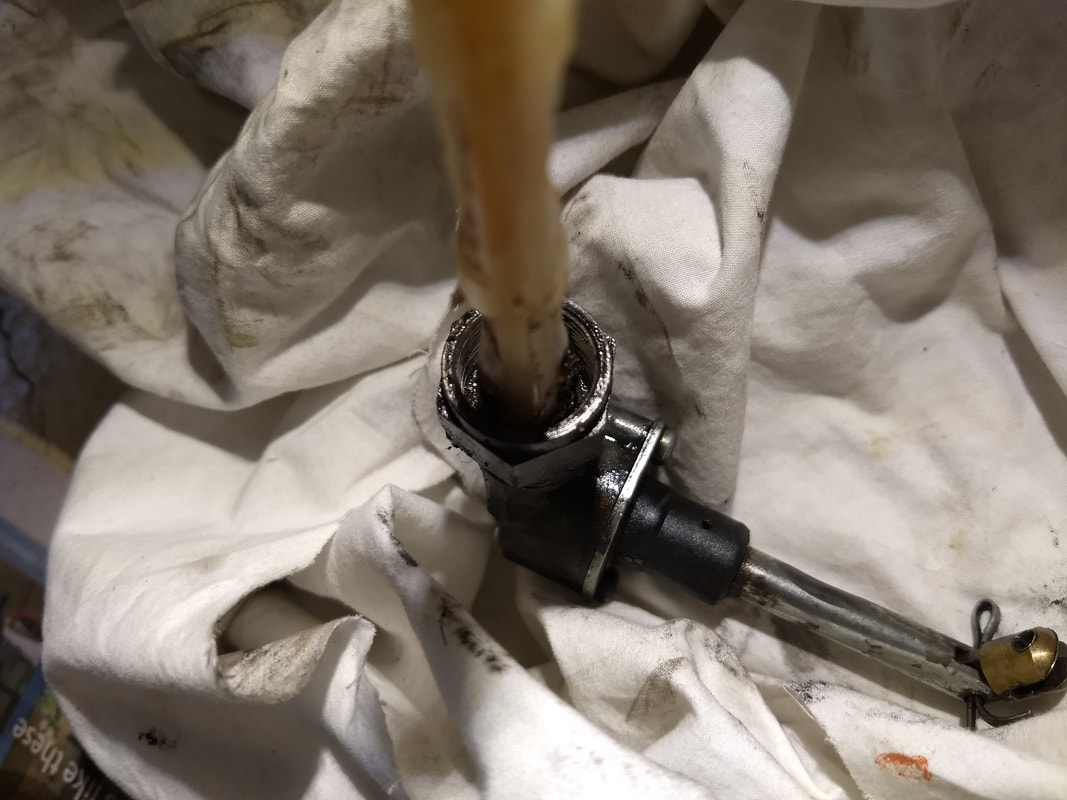
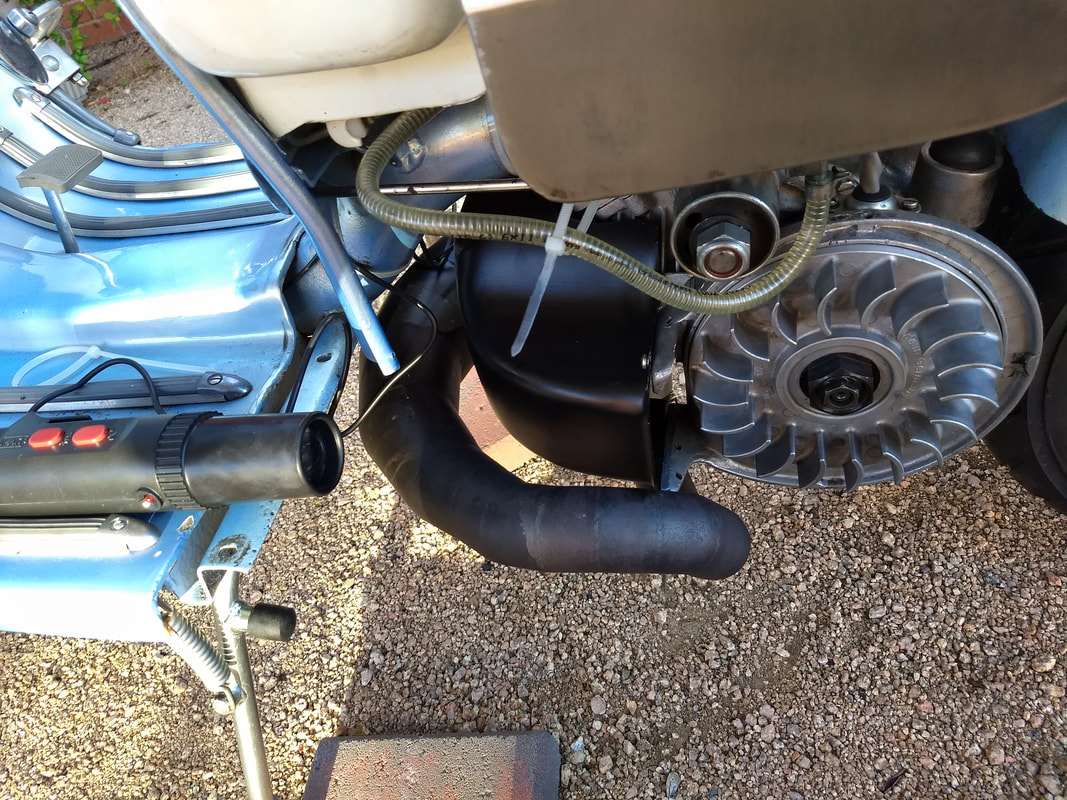
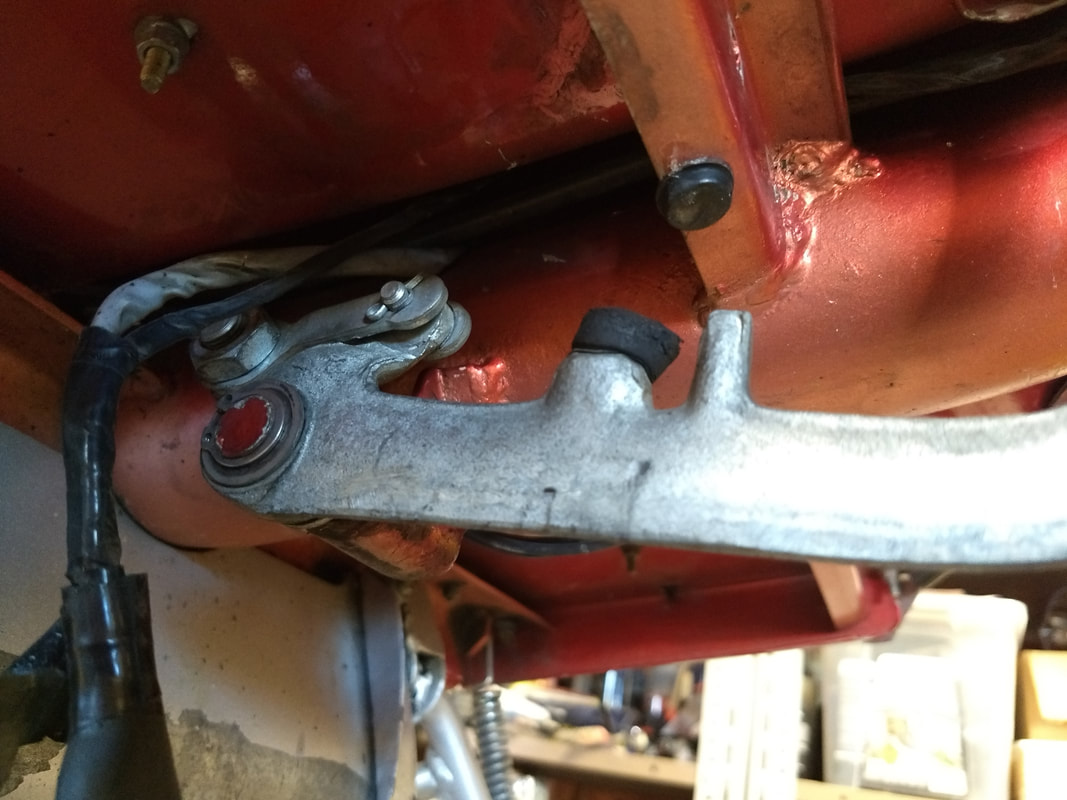
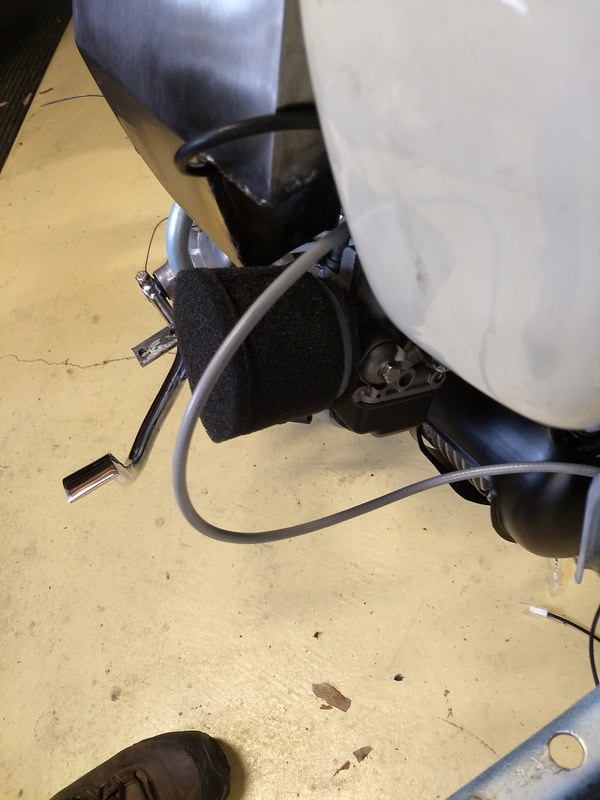
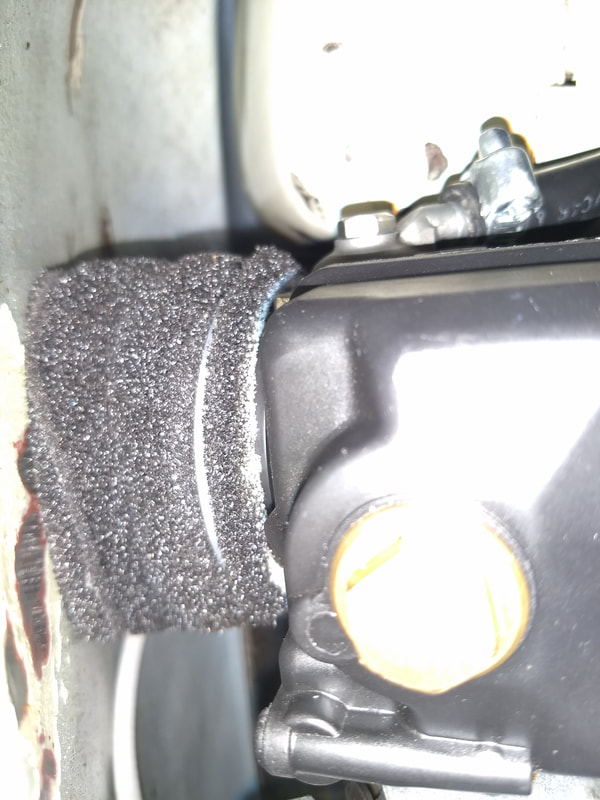
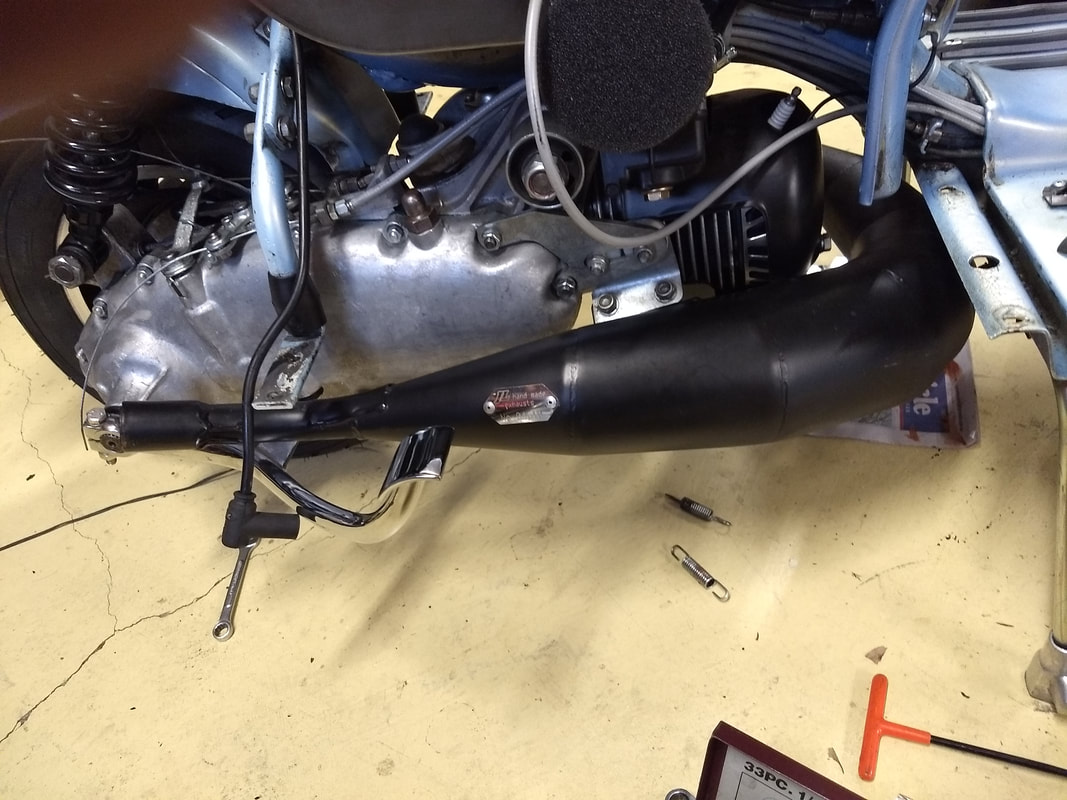
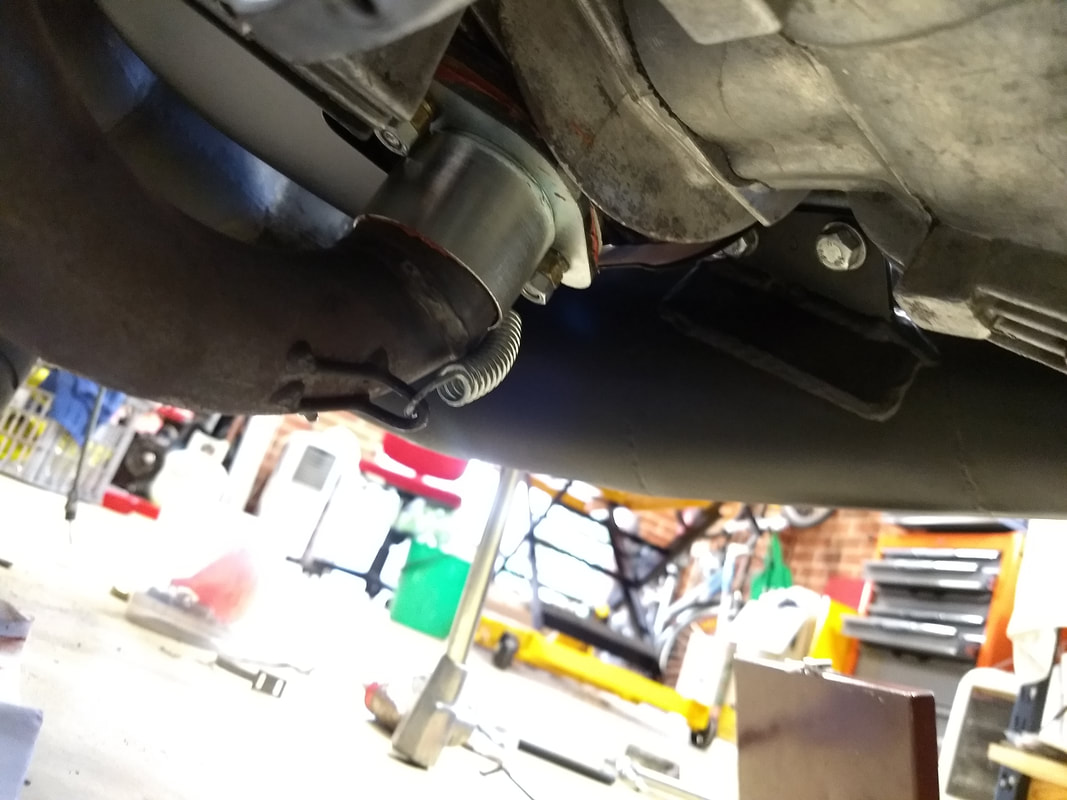
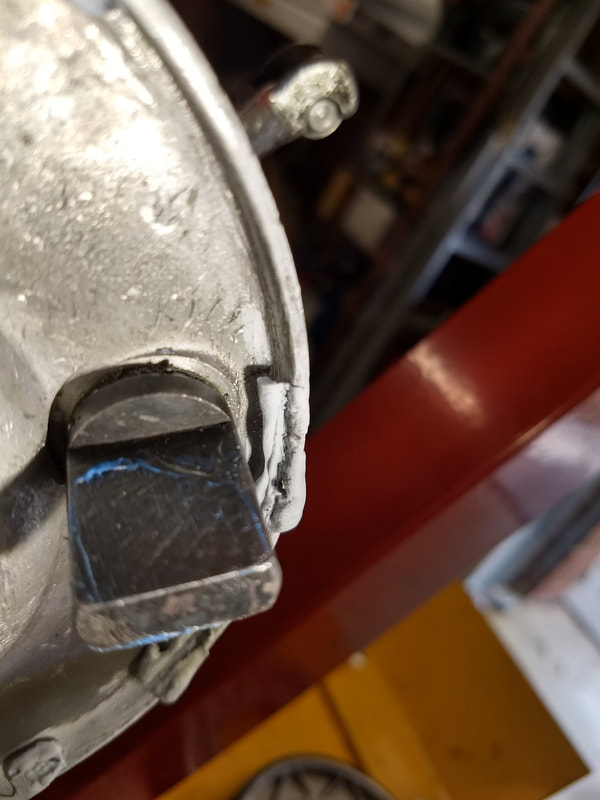
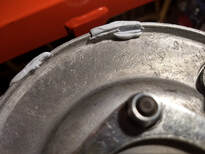
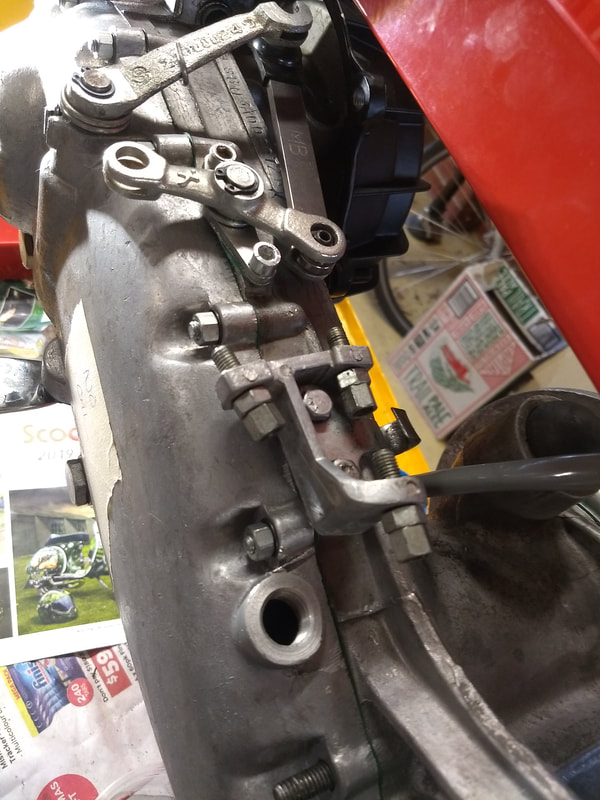
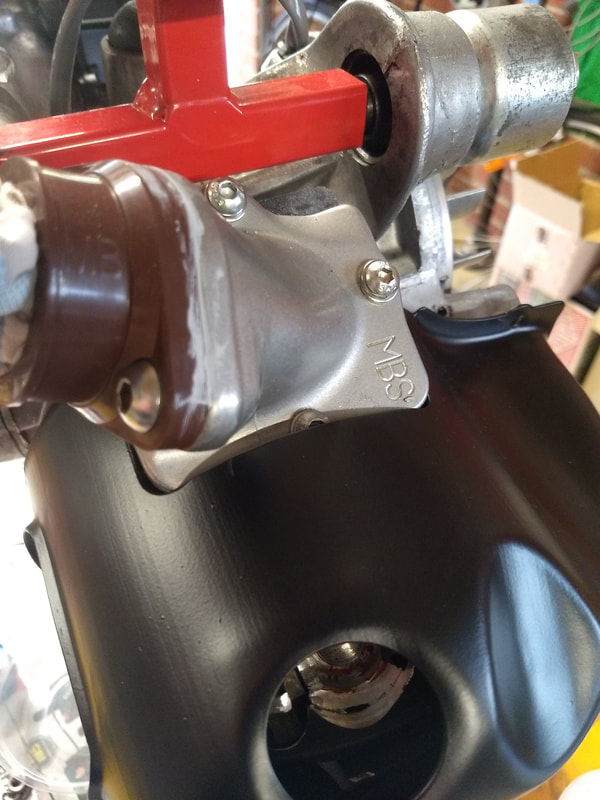
Now it's time to replace the old leaky fuel tap with a new rear exit one. No danger of the line coming in to contact with the flywheel cowling now and with the offset cones the tap clears the engine mount as well.
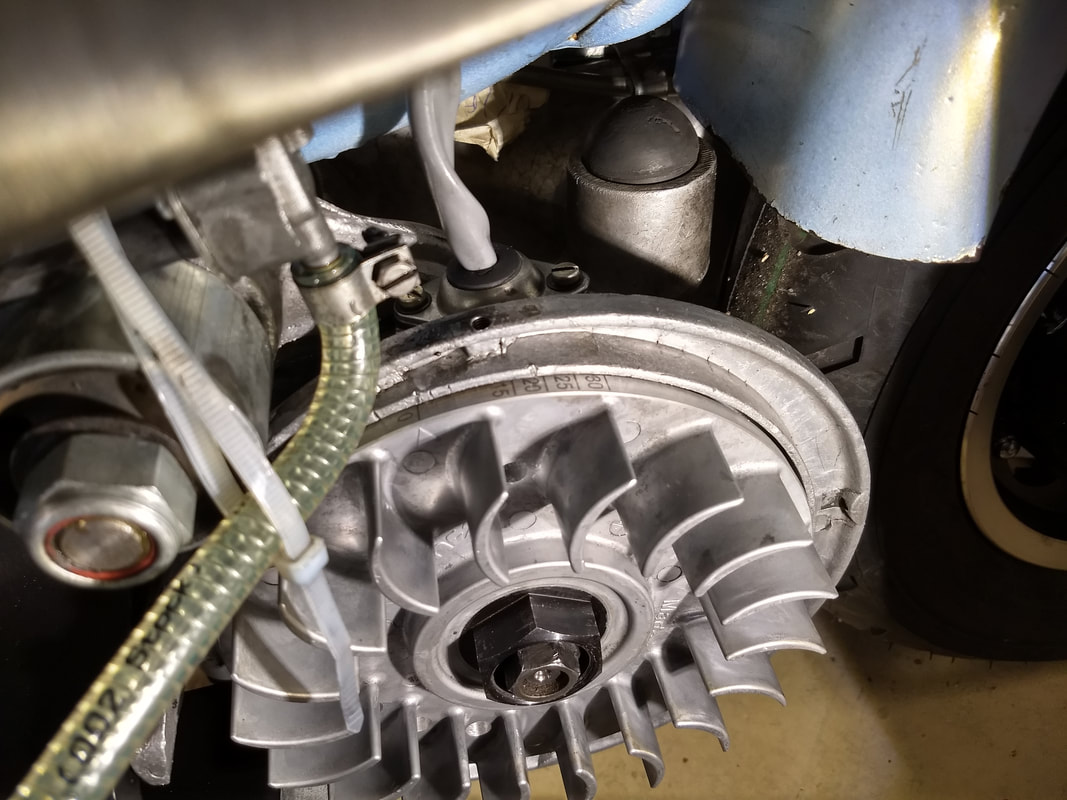
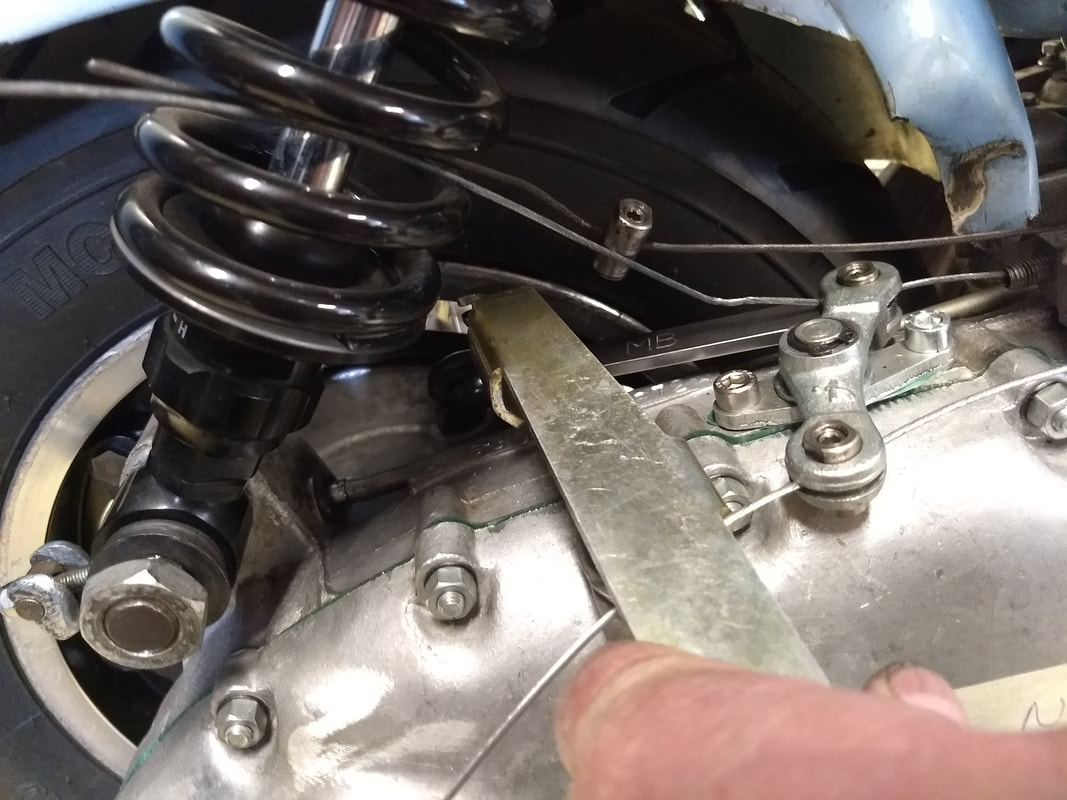
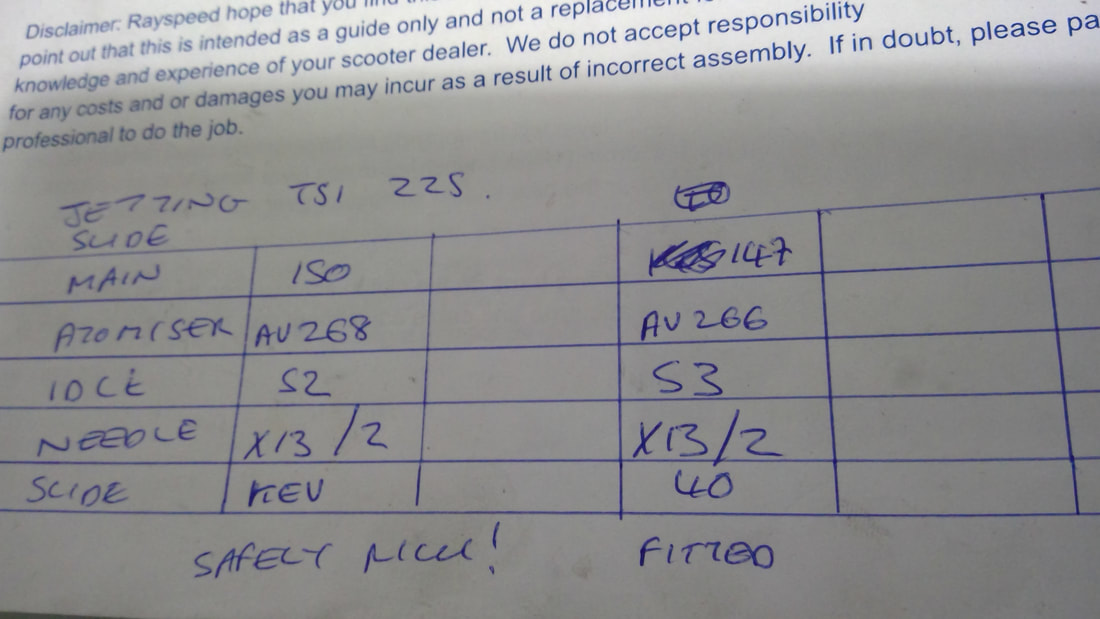
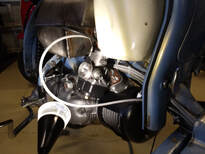
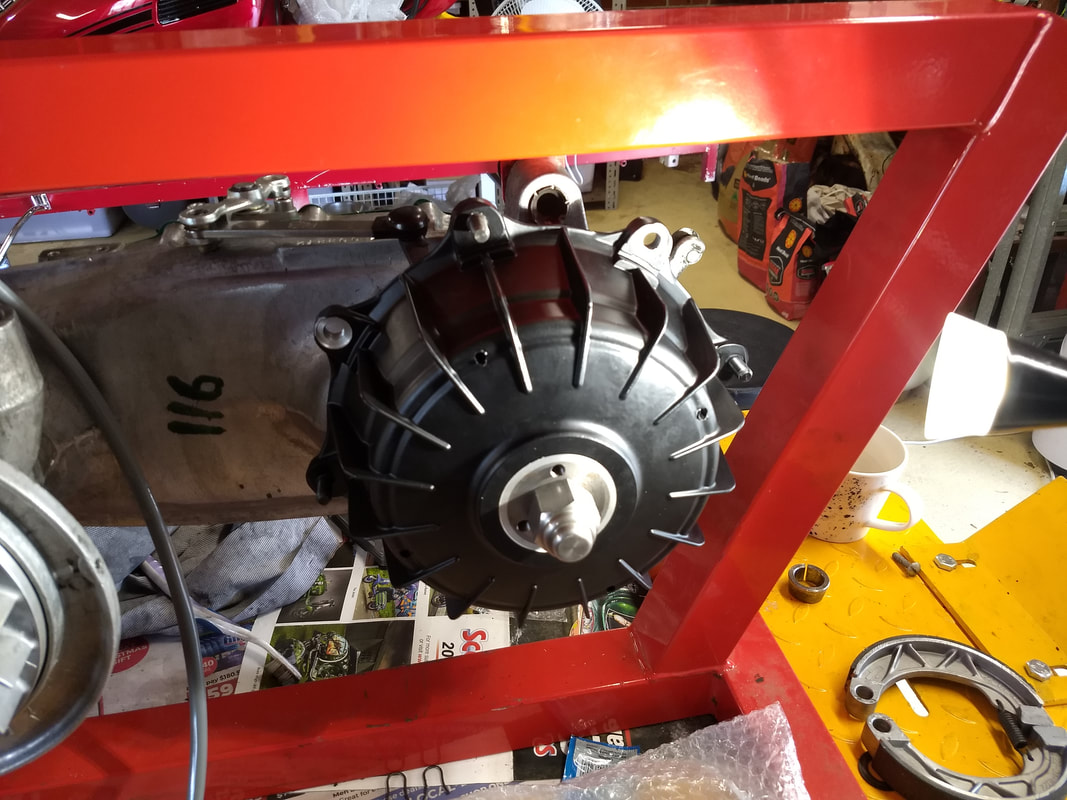
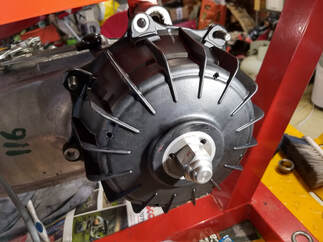
The last job for the day is to retard the ignition timing. The BGM flywheel has timing marks on the side so you don't even have to put a mark on your casing for your desired ignition timing. Just use the flywheel marks against you TDC mark - nice. I'm going for 17 initially. Might advance it to 19 later depending on how things go temperature wise.


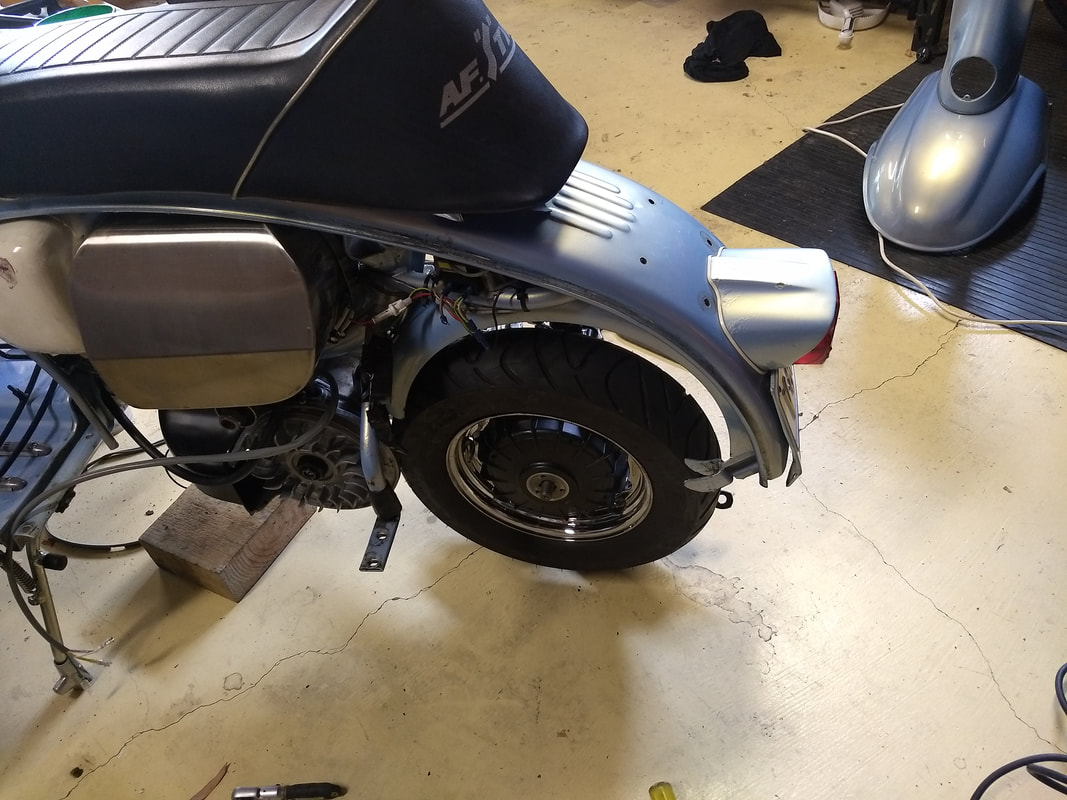
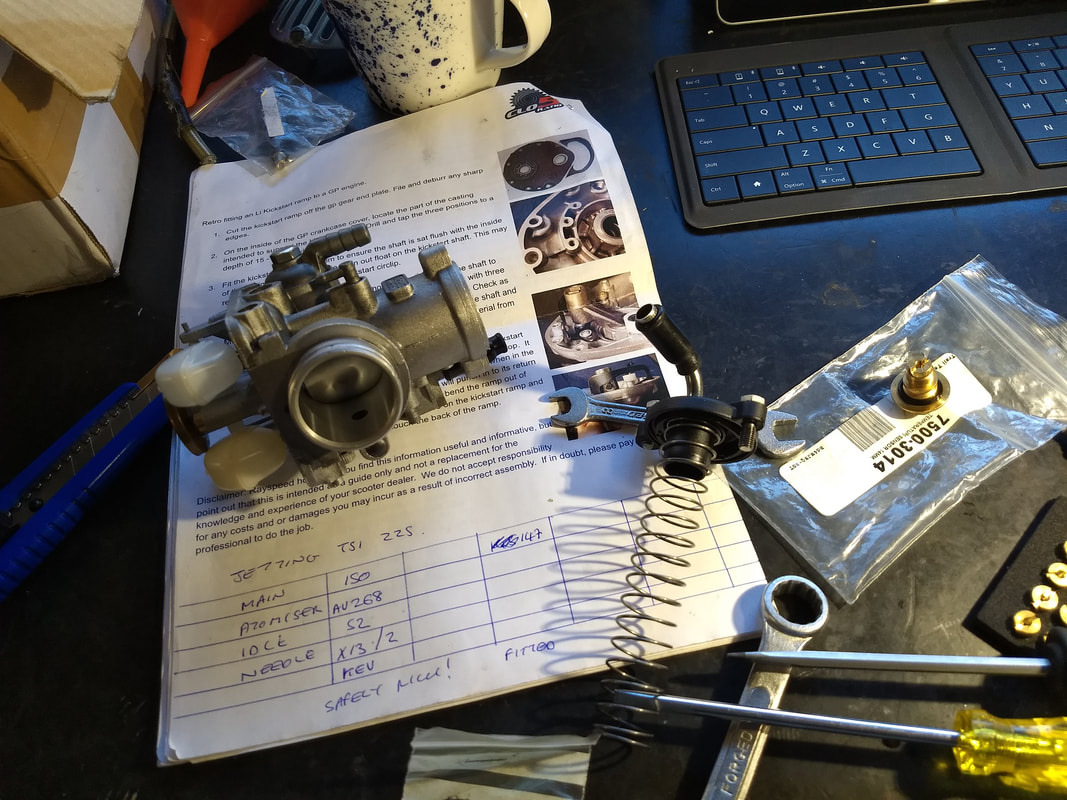
Well that's it. Got to put the headset on, set the idle jetting and start running it in, but in terms of the GP engine build I've finished. Hopefully I can get out and ride with some other Swarmers soon if the ACT allows 10 people to get together. Otherwise, it's essential visits to wherever, while I plug-chop, run-in, etc, etc.
<Previous>

 RSS Feed