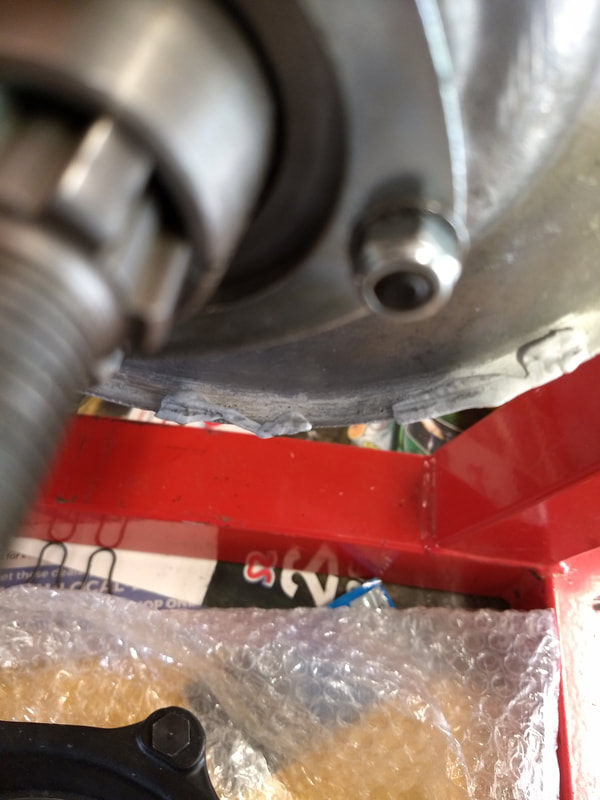
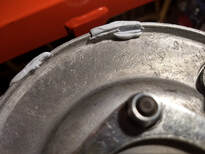
It's been a while. After the problems with the hub last time I left the engine on one side and turned my attention to the frame, not least so I could remove the LI150 engine and try the hub from that. Sure enough the hub fitted to the LI150 works perfectly, and the CASA hub locks up on the LI150 casings...So the problem is the hub not the Indian casings. I'm 90% certain it's the inside edge that is rubbing but to be sure I put some blu-tack around at a few points and tighten it on.
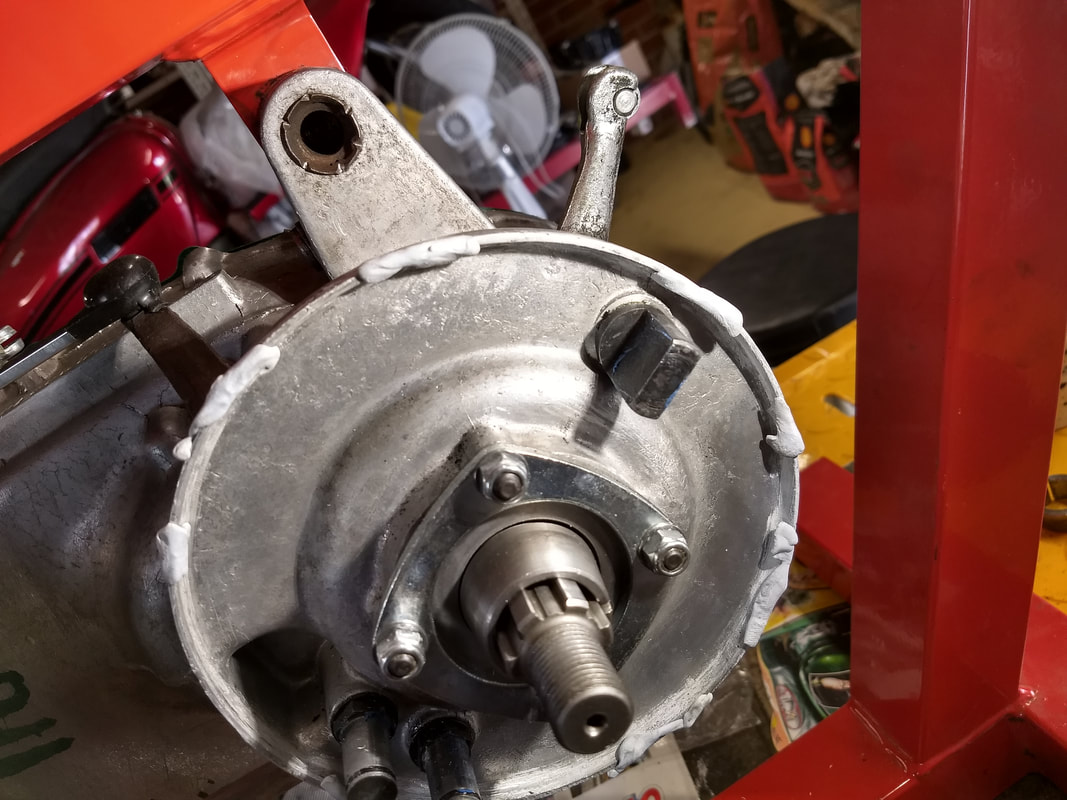 |  |
Yep, that seems to confirm it.
 | 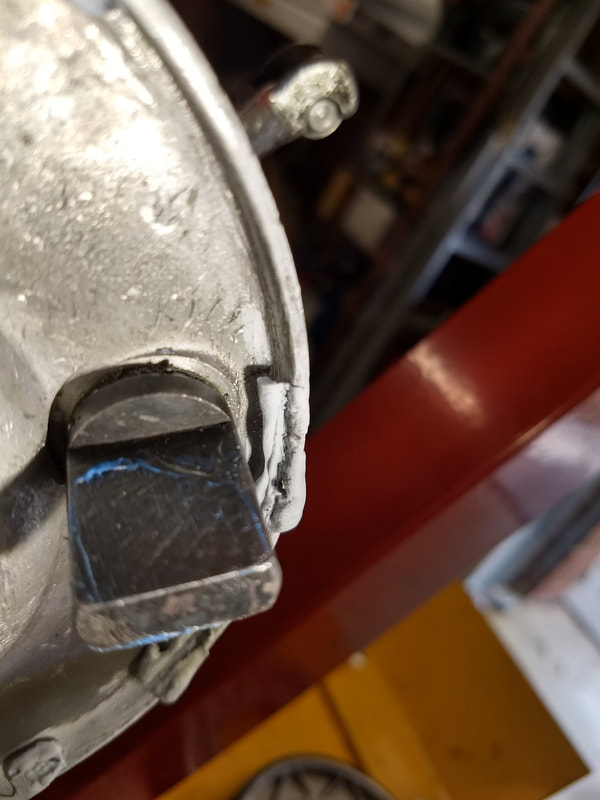 |  |
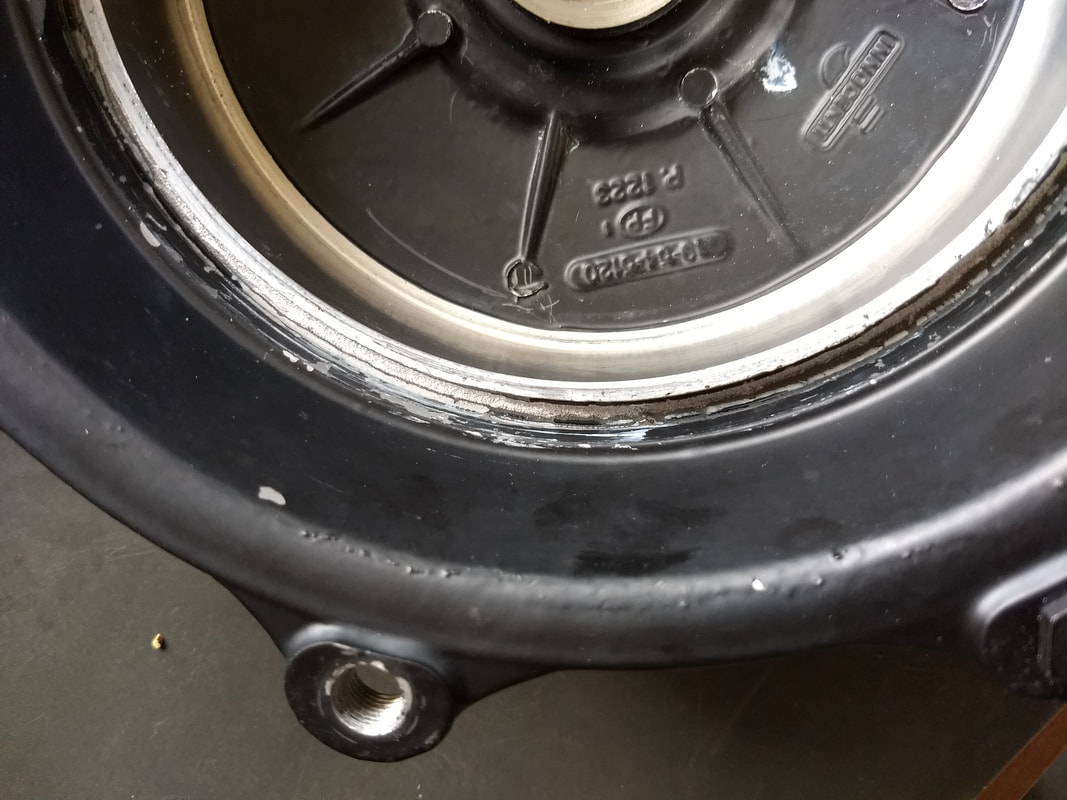
Looking at the hub from the LI, I can see that the inside edge is tapered whereas the CASA one is straight. This is almost certainly the problem so I get the Dremel out and put a taper on the CASA hub! A bit disappointing that I need to do this on an expensive part but at the same time kind of normal for Lambretta after market parts...It now works!
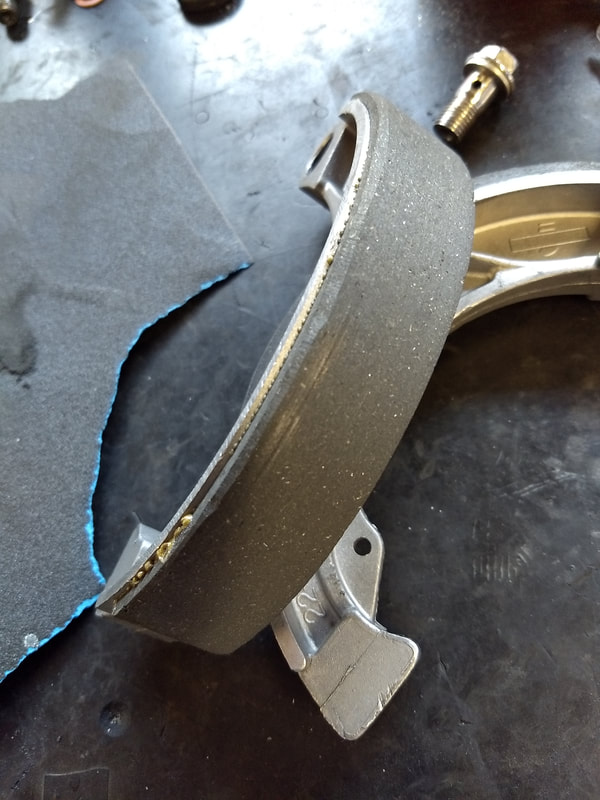
Now I need to get the new shoes skimmed. I go and see Nico at Motorini who is next to a brake specialist, however he can't skim these shoes. Nico chamfers the inside edge for me, to make sure that is not what's rubbing.
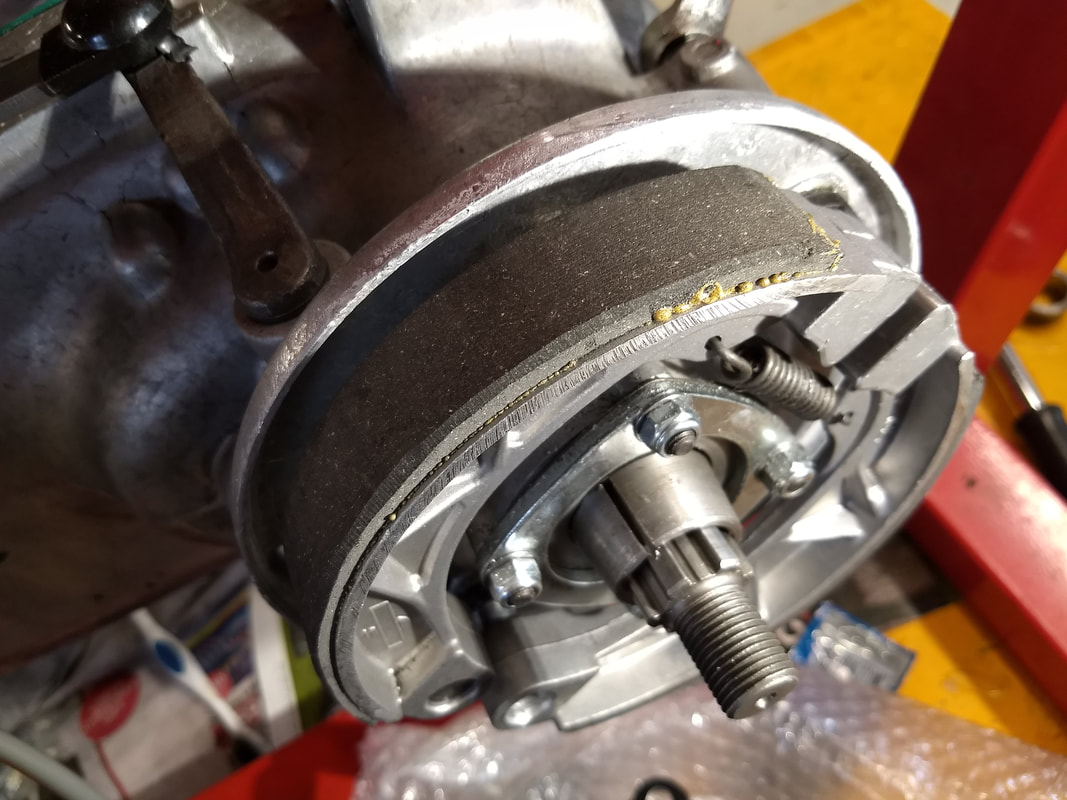
The shoes are still too big so it's emery paper time. I remove an even amount from across the whole surface of both shoes, fit the hub...I basically spend the next hour or so removing the high spots, refit the hub, spin, off with the hub and shoes, remove the high spots, repeat....I'm now thinking adding some shoe skimming tools to the club toolkits would not be a bad idea. Might have spared me the skinned knuckle!
 | 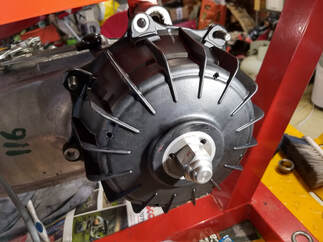 |
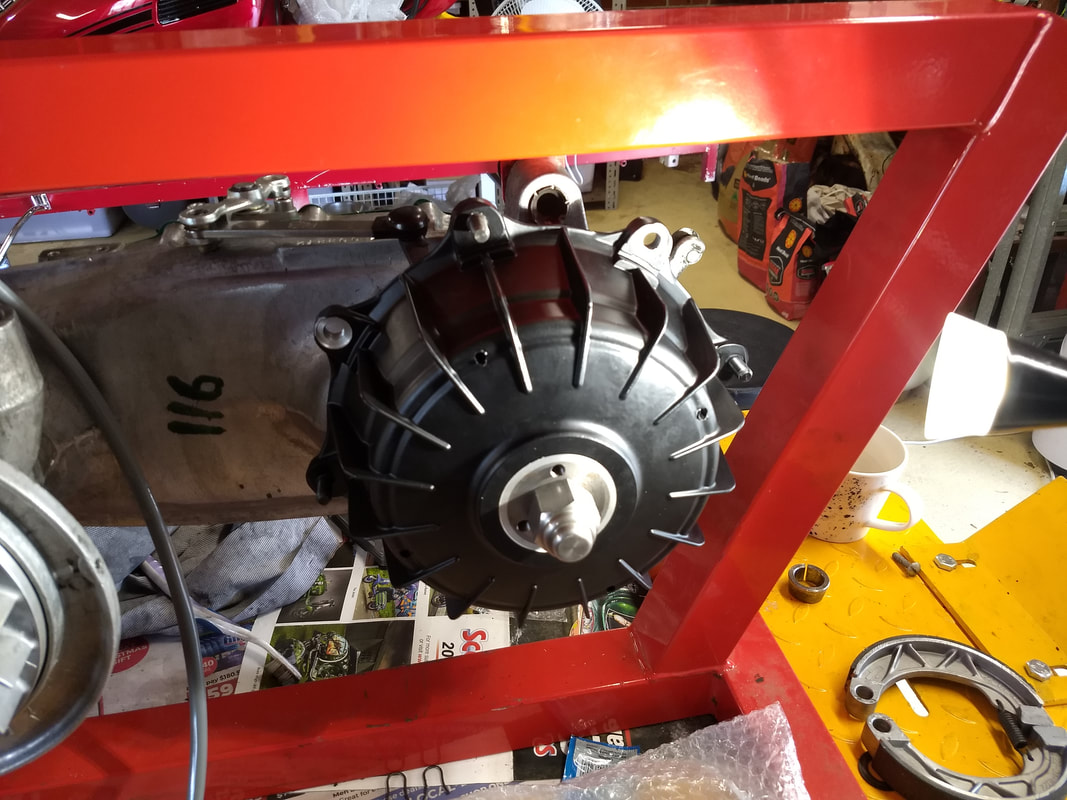
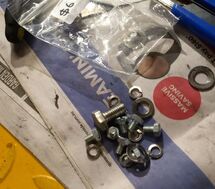
Anyway, everything gets a good clean and degrease, the pinions and cam get a light coat of brake grease and the hub is fitted! Not forgetting the wavy washer. I leave the lockwasher loose as a reminder that I haven't yet torqued the hub up.
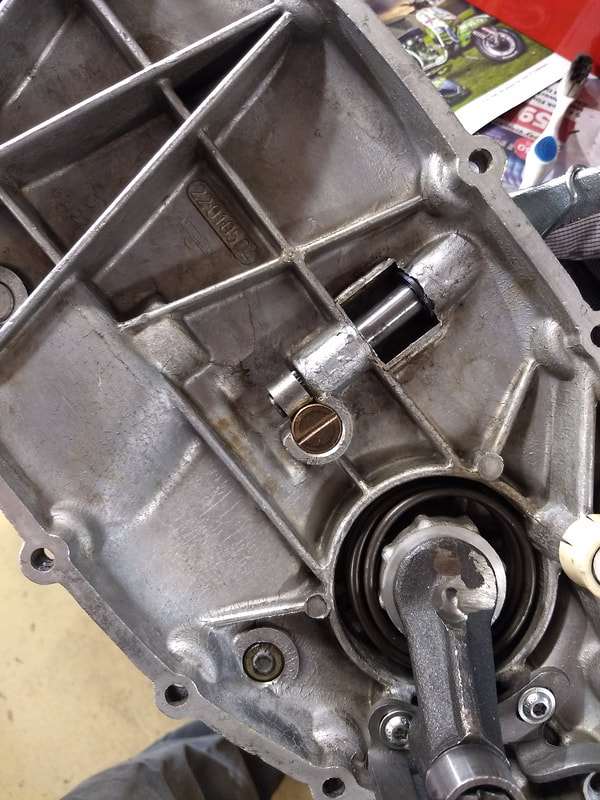
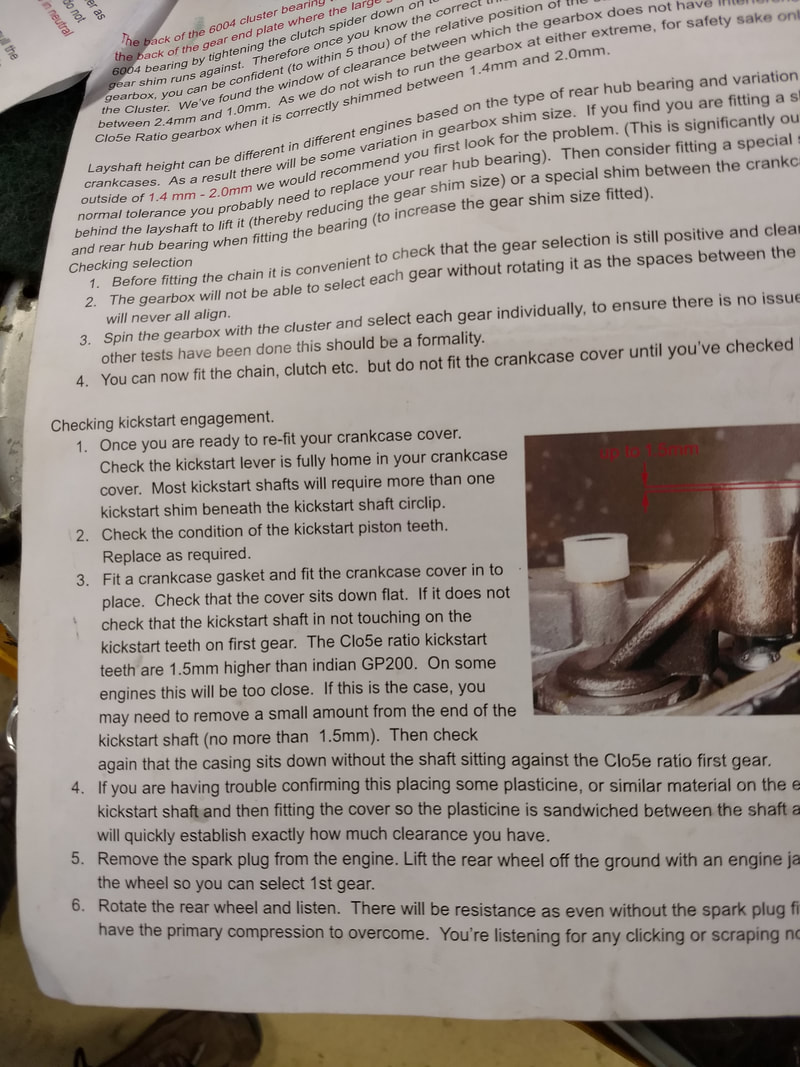
Now I can finally get the chain-casing on and do the last check from the AF 5 speed instructions (kickstart engagement/clearance - all good). Back to where I was when I discovered the problem with the hub. Oh yeah, and I remembered to check that the clutch thing was in place 😊
 |  |
Odd jobs now. Fit the SIL control bracket and new AF TS1 cowling (thanks Paul Cain).
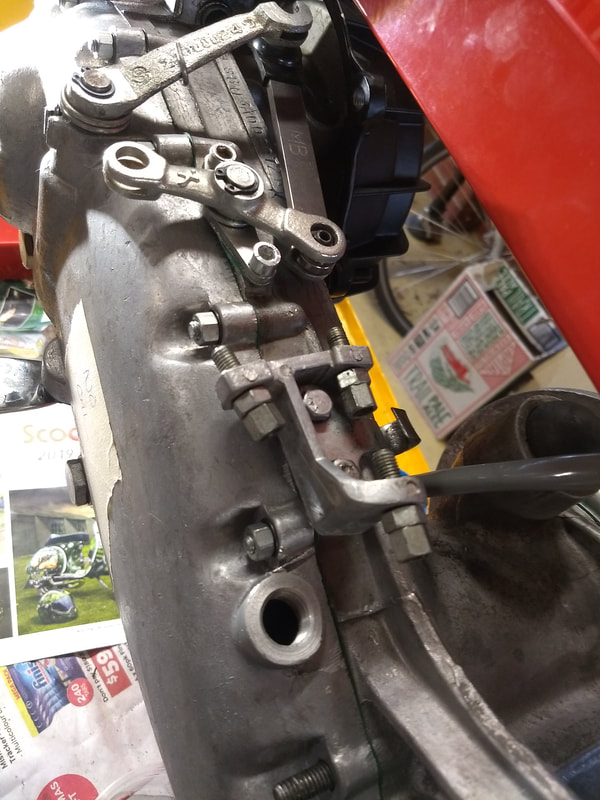 | 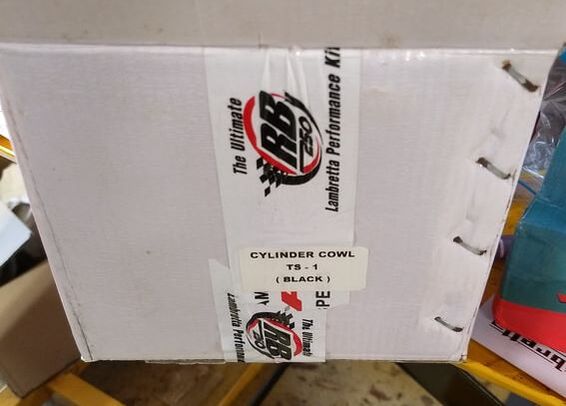  |
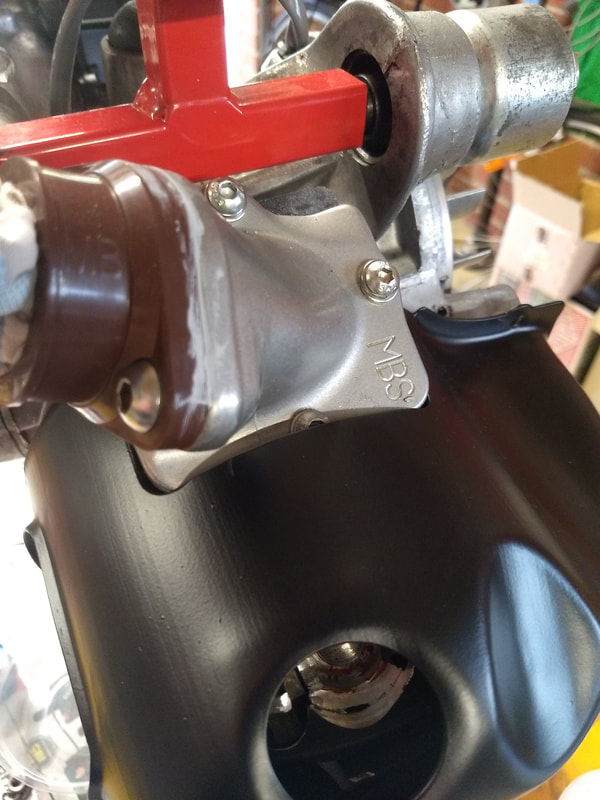
Well almost odd jobs. The cowling will need a bit of fettling to fit around the MB inlet flange. Definitely beer o'clock...
 | 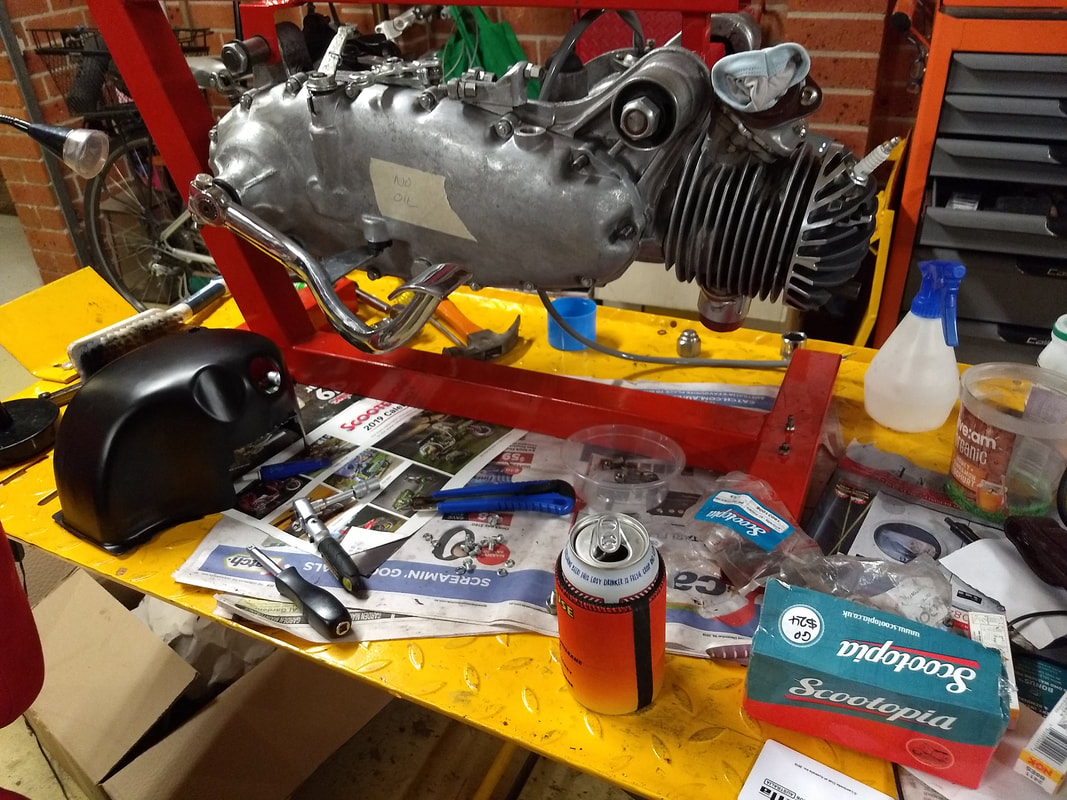 |
Pretty chuffed because this engine is just about ready for the frame. The frame is also just about ready for the engine. Might have it running by the end of the week (famous last words).
 RSS Feed