It's Alive!
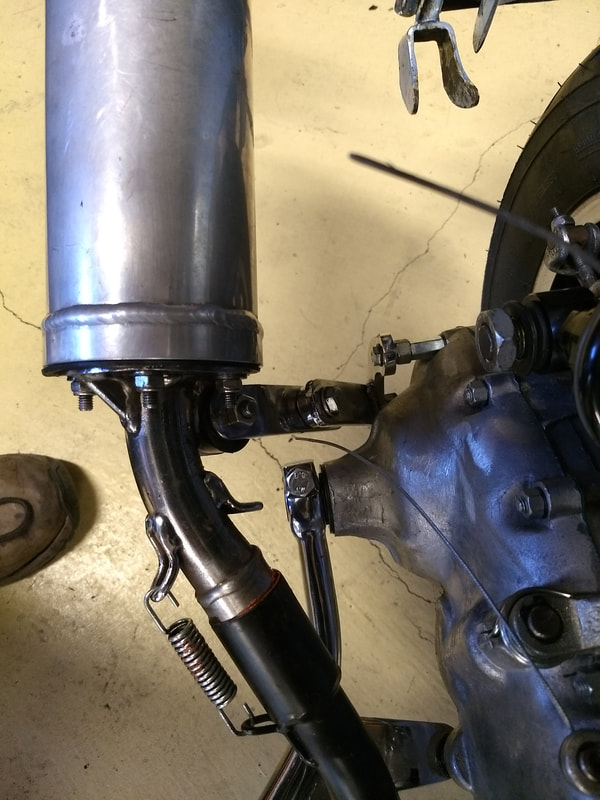
Those who have fitted a JL or Taffspeed exhaust will know that the muffler is attached to a bracket that is mounted using bolts and spacers into 2 or 3 of the chain casing threads. This was the cause of my head scratching mentioned last time. In order to fit the muffler I'll need to remove the studs from these holes. Which means draining the oil, removing the exhaust and side-casing, blah, blah, etc. Surely not! I always thought this was a bit of a Heath Robinson arrangement anyway. I have a better way (maybe). Inspired by the central bolt from the engine cowling I instead visit the local fasteners and get some M6 coupling nuts (long M6 nuts). These are used in place of the standard side-casing ones. They are shorter than the original spacers, but adding some old wheel nuts as spacers will give the same length. I can now bolt the bracket on to the coupling nuts, rather than all the way in to the chain-casing threads. I can't see why this isn't a better idea than the original design, but if it doesn't work I can go back to that when I remove the side-casing to check everything after 1000k.
Those who have fitted a JL or Taffspeed exhaust will know that the muffler is attached to a bracket that is mounted using bolts and spacers into 2 or 3 of the chain casing threads. This was the cause of my head scratching mentioned last time. In order to fit the muffler I'll need to remove the studs from these holes. Which means draining the oil, removing the exhaust and side-casing, blah, blah, etc. Surely not! I always thought this was a bit of a Heath Robinson arrangement anyway. I have a better way (maybe). Inspired by the central bolt from the engine cowling I instead visit the local fasteners and get some M6 coupling nuts (long M6 nuts). These are used in place of the standard side-casing ones. They are shorter than the original spacers, but adding some old wheel nuts as spacers will give the same length. I can now bolt the bracket on to the coupling nuts, rather than all the way in to the chain-casing threads. I can't see why this isn't a better idea than the original design, but if it doesn't work I can go back to that when I remove the side-casing to check everything after 1000k.
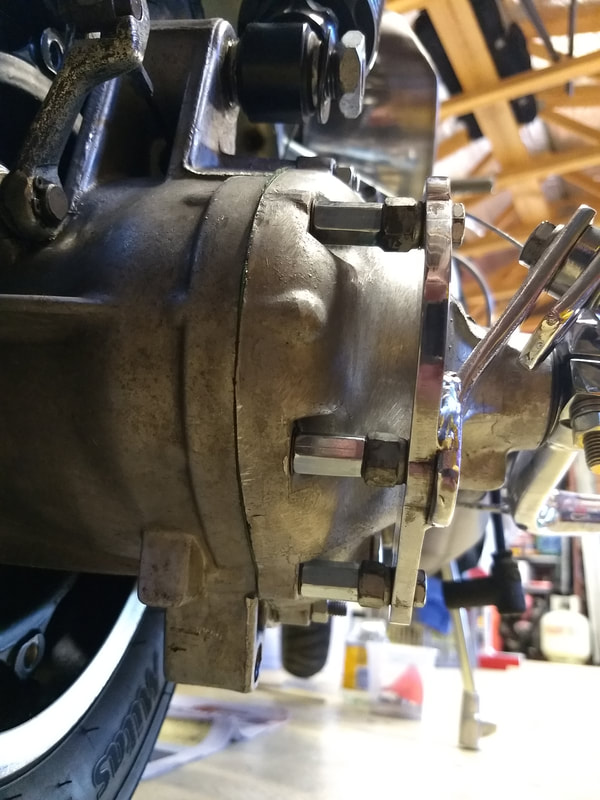
So now the Taffy muffler is mounted 😃
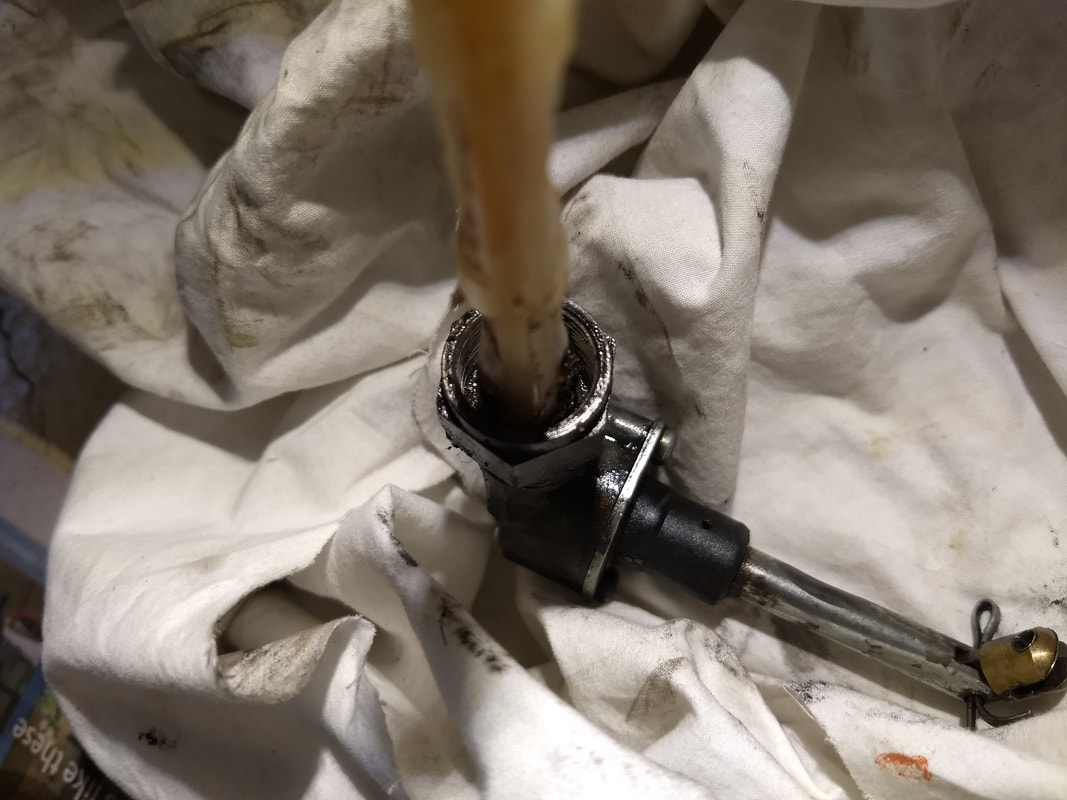
Before starting I check the fuel tap isn't blocked and measure the fuel flow. The tap is dirty and the filter is damaged. Cleaned up it'll do for now but, after pissing about trying to get the fuel line to run at a nice angle that won't rub on the flywheel cowl, I've decided to add a rear exit one to the next spares order...for now a cable tie is used to keep the fuel line away from the flywheel while checking the timing. Fuel flow is good. 500ml a minute is required according to Sticky. I have 400ml in 40 seconds...
 | 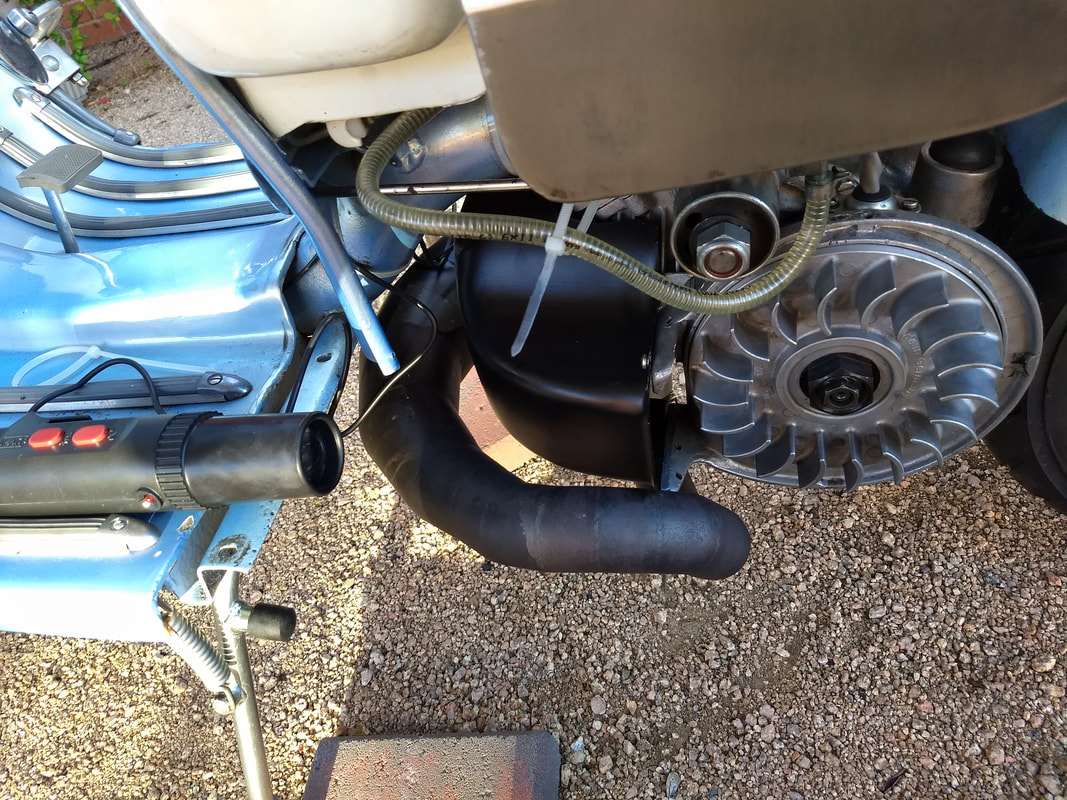 |
Well that's it. Outside and it starts second kick 🤩. It's not that quiet. As in the neighbours head inside...Okay, quickly check the timing before calling it a day. Timing is about 22 degrees, so needs retarding. Tomorrow! There's also a slow petrol leak from the fuel tap. Tomorrow (after draining the tank). The idle mixture also needs adjusting but I can't get to the screw. Something to leave until the offset cones are fitted which should hopefully make the screw accessible...By the way, club toolkits all have the internal battery powered timing gun shown above. They work perfectly for checking Lambretta ignition timing with minimum fuss.
 RSS Feed