Wet Build
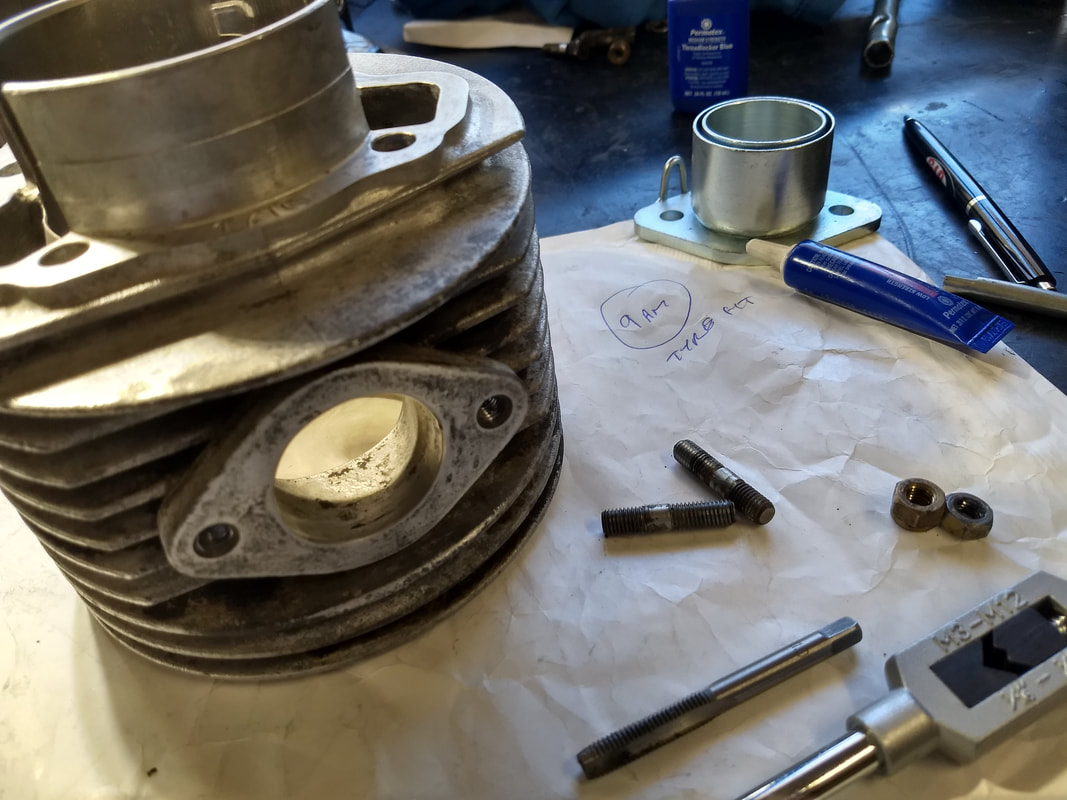
The bits from Steve have arrived, and I discover that I need some exhaust studs. FFS. The ones fitted to the TS1 had the nuts sealed on so tight that the studs came out rather than the nuts coming undone. Those nuts were not coming off the studs...Anyway, I can't wait for another delivery from Steve so try the local fasteners. Nope, they don't carry M7 studs...Time to hunt the garage. Old barrels, old barrels, must have some old studs...Nicky's old Casa 185 kit has some perfect ones on it, so they get stolen and cleaned up. I also clean up the stud holes in the barrel.
The bits from Steve have arrived, and I discover that I need some exhaust studs. FFS. The ones fitted to the TS1 had the nuts sealed on so tight that the studs came out rather than the nuts coming undone. Those nuts were not coming off the studs...Anyway, I can't wait for another delivery from Steve so try the local fasteners. Nope, they don't carry M7 studs...Time to hunt the garage. Old barrels, old barrels, must have some old studs...Nicky's old Casa 185 kit has some perfect ones on it, so they get stolen and cleaned up. I also clean up the stud holes in the barrel.
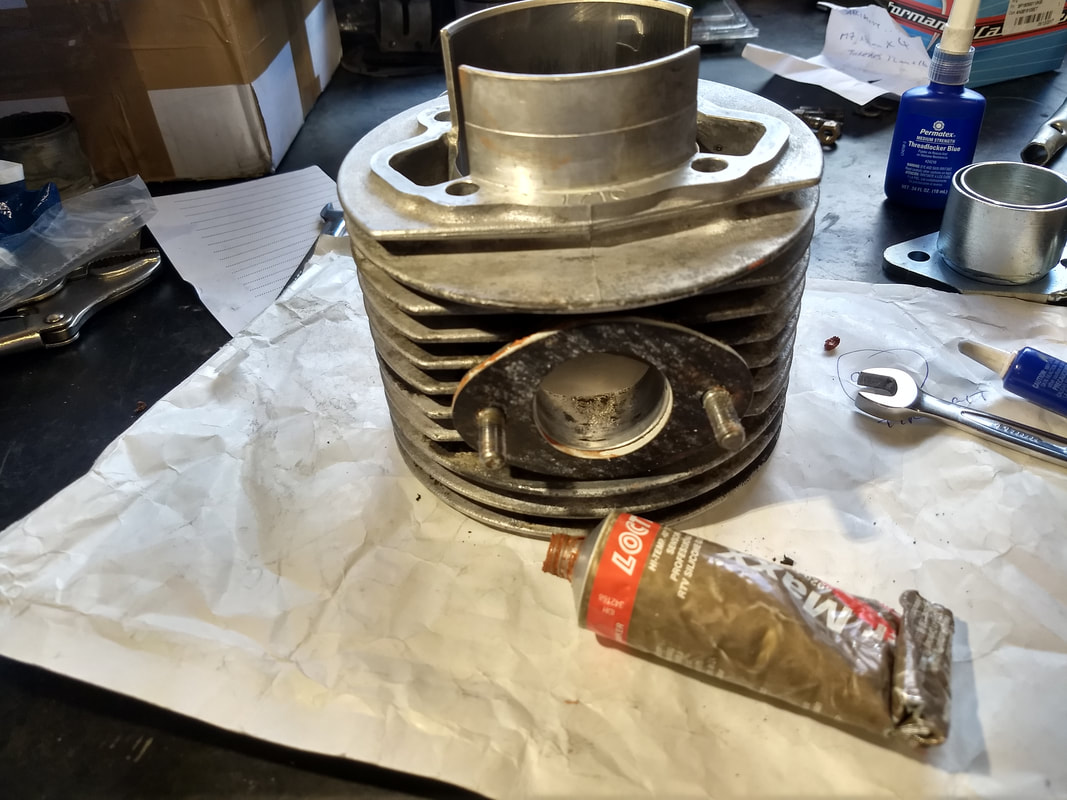
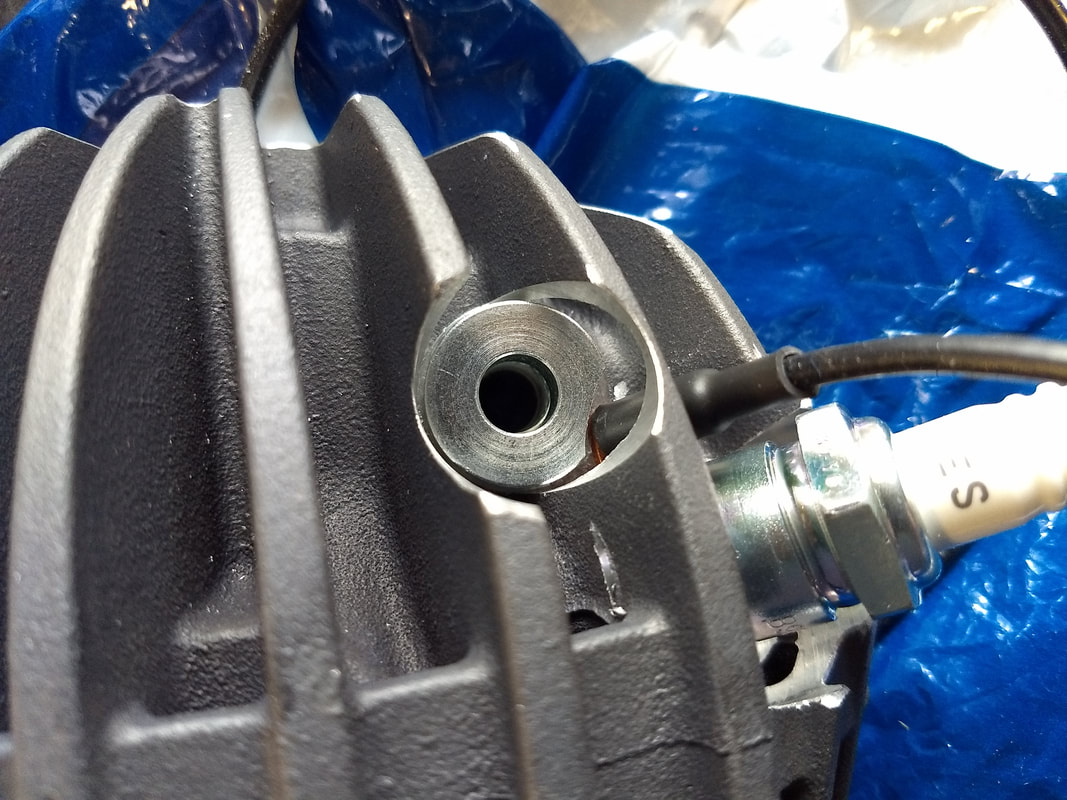
A bit of a hunt and I find the TS1 exhaust stub for my JL3 exhaust and it gets fitted with a new gasket and copper sealant. These exhaust nuts are legendary for coming loose, so I fixed the studs in with stud lock, used spring washers, fixed the original style brass nuts on with medium strength thread-lock, and then added an extra nut on each side also held on with medium strength thread-lock. Hopefully job done.
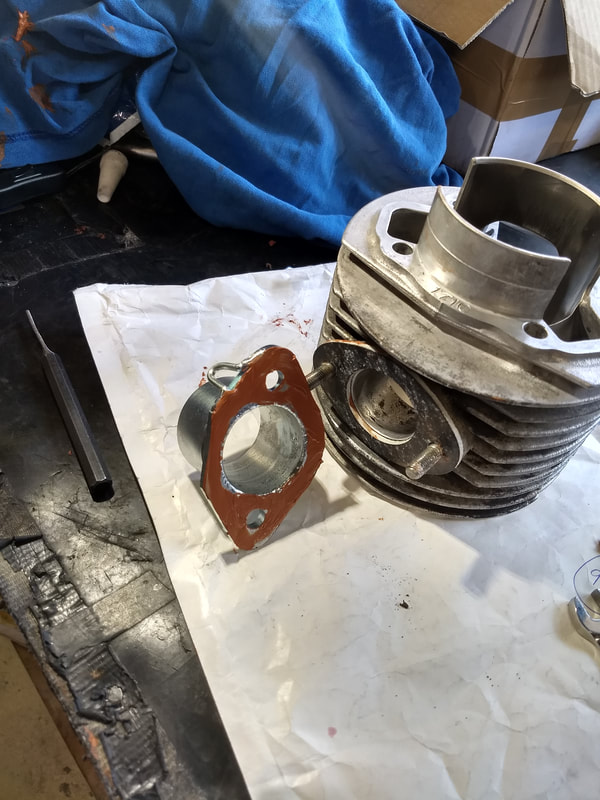
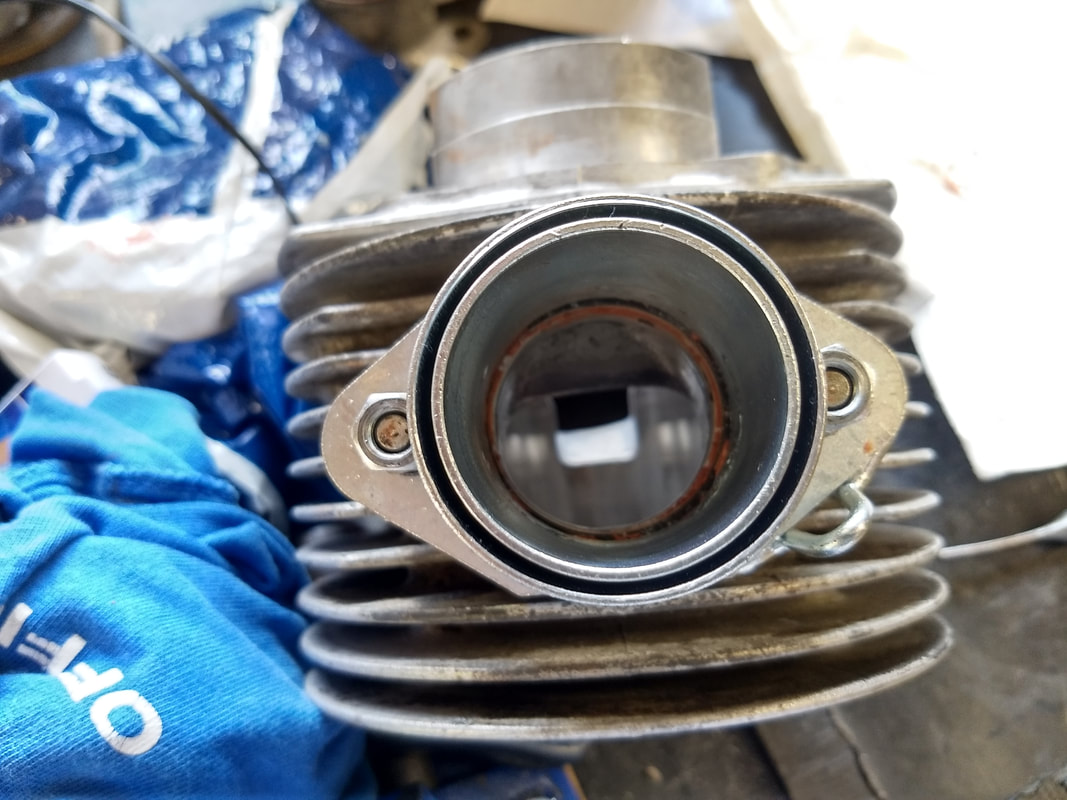
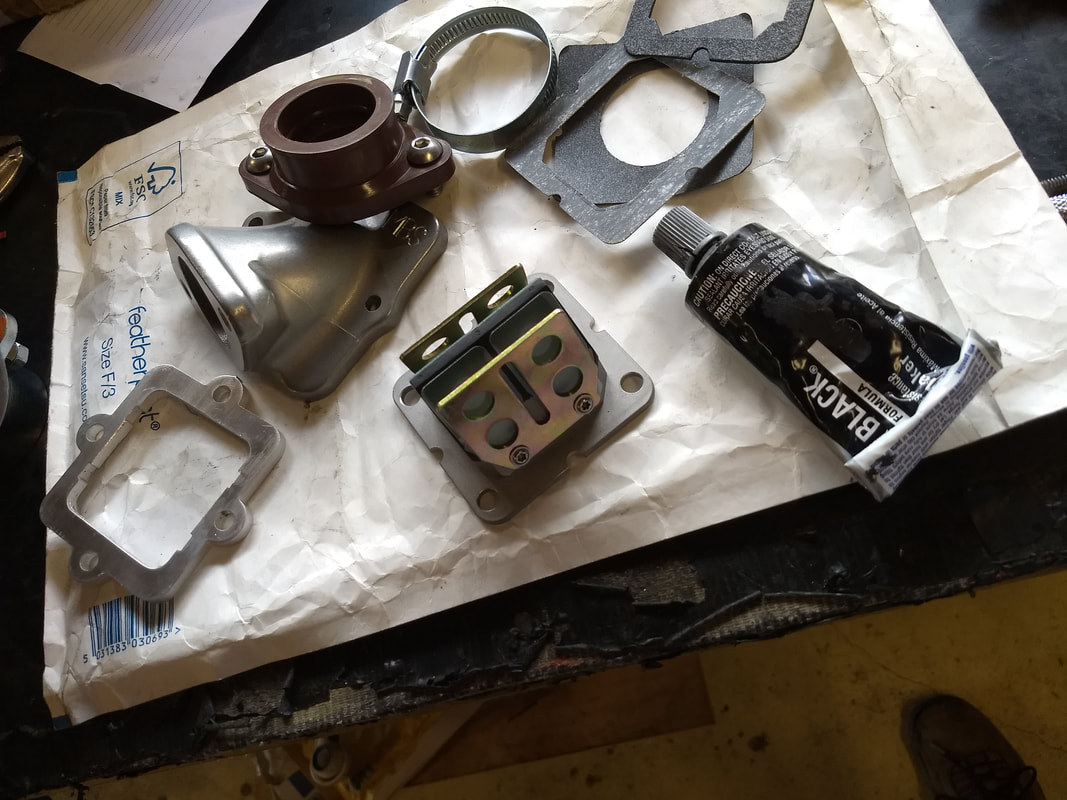
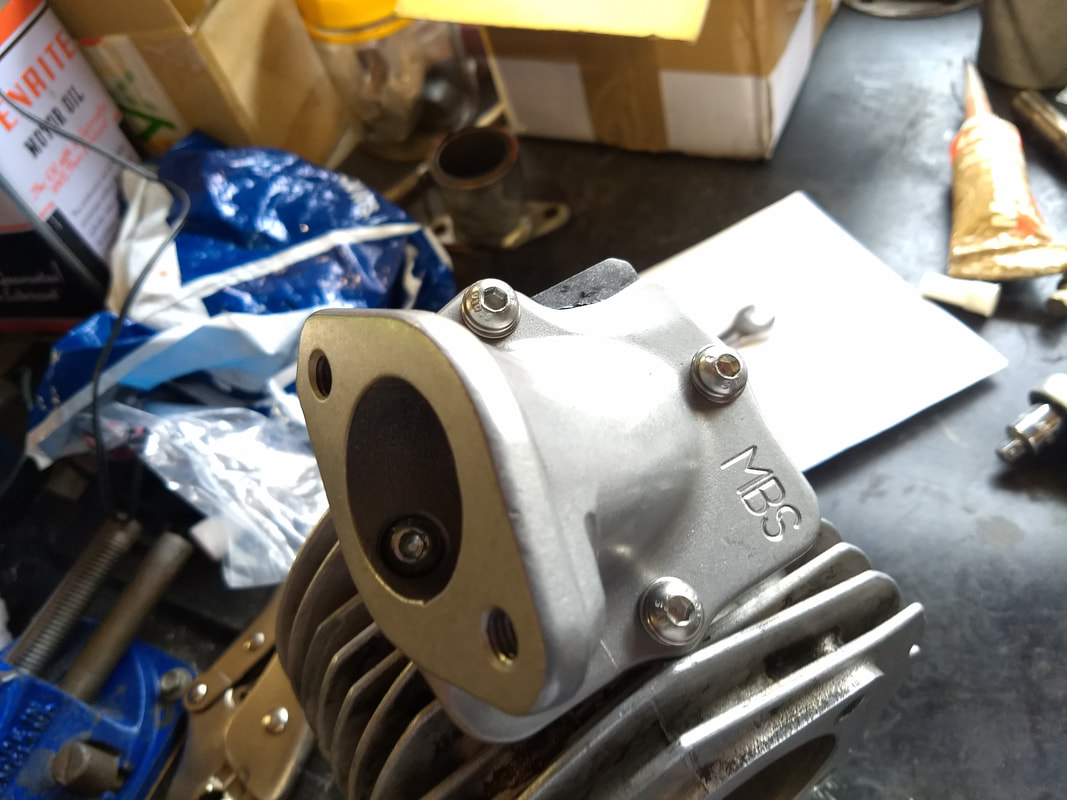
I've never been a fan of the usual hose type rubber mounts so I'm trying one of MB's new flange type mounts. With the YPVS reed block and packing plate it looks like a lot of bits! All get sealed up with silicon sealant. I torque the Allen headed bolts to 5 foot pounds and use low strength thread-lock as well.
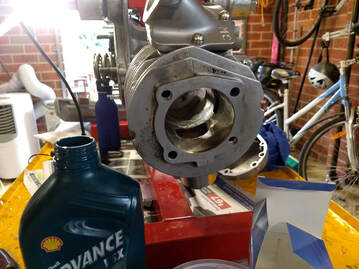
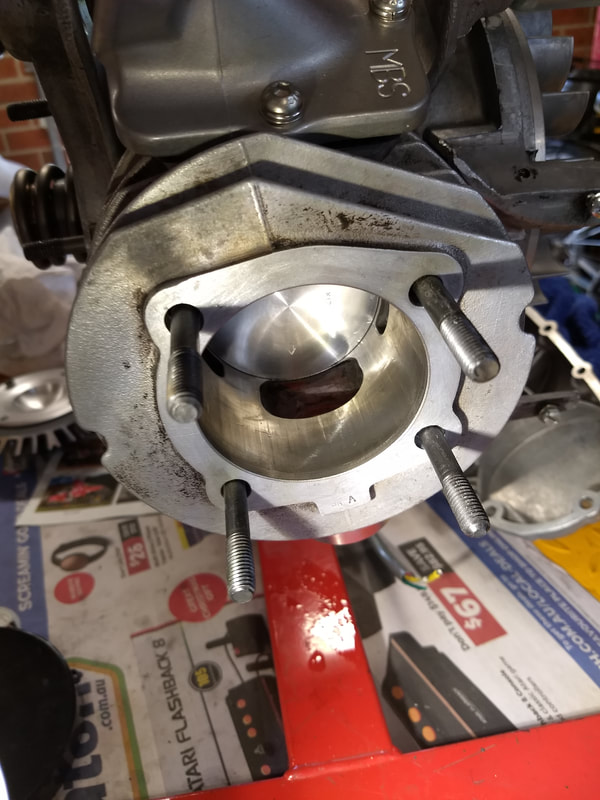
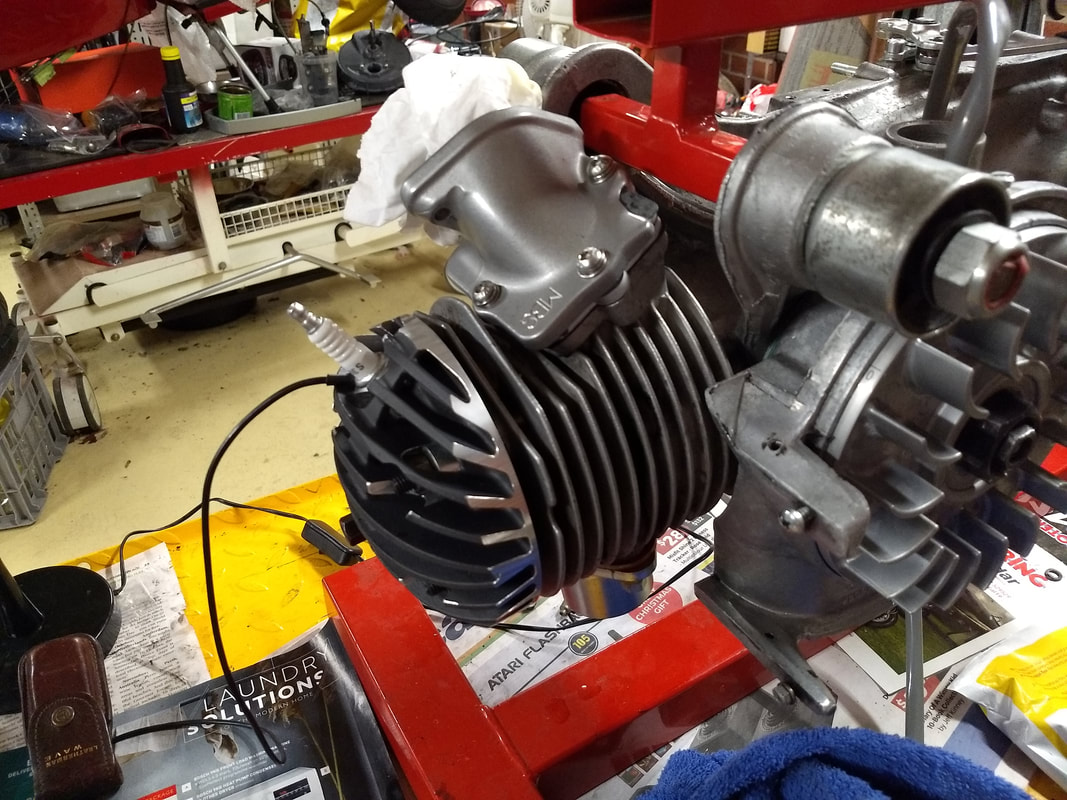
The next job is to fit the piston and barrel. I use silicon sealant at the base of the barrel as well. Once the piston is fitted the barrel is lubed with 2 stroke and eased on, which is relatively easy with the TS1 barrel and thin Meteor piston rings.
The Casa Blackline head uses wide spacers on the studs, which will get in the way of the TTO CHT pick-up that I want to use. It's a simple job to file one of them down to clear...
I've now fitted the thicker base gasket to hopefully raise the squish clearance. Checking the piston at BDC and the exhaust and transfer ports are all still aligned okay.
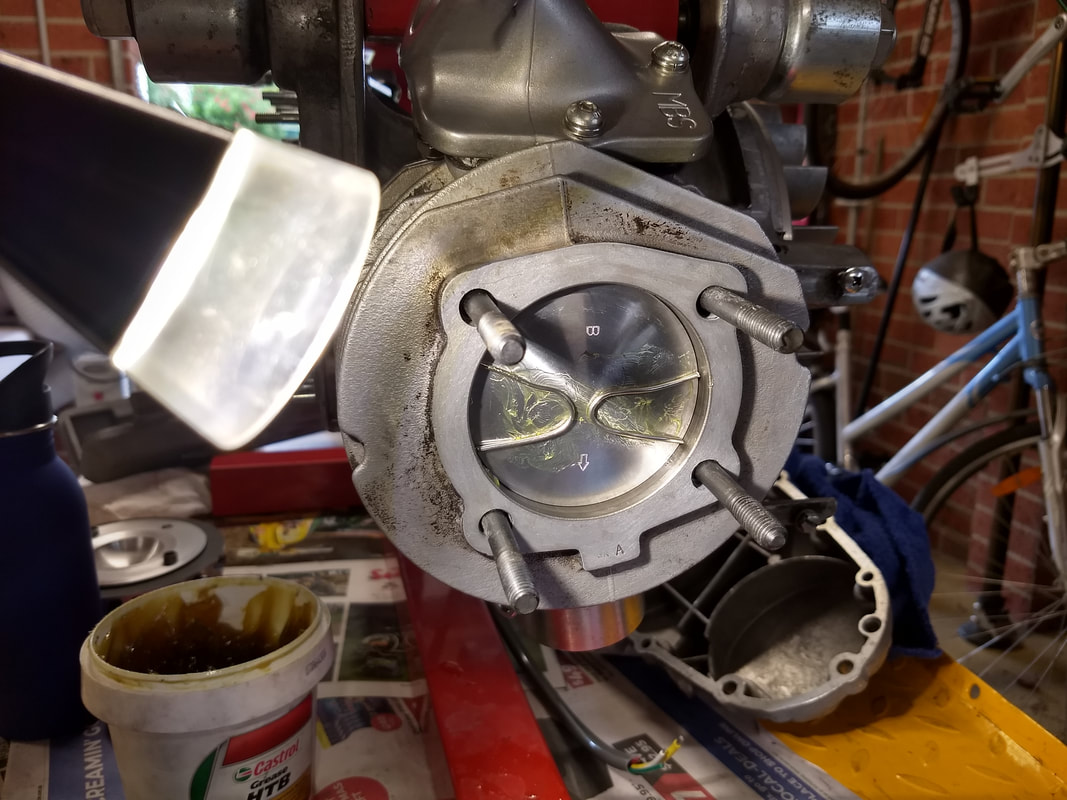
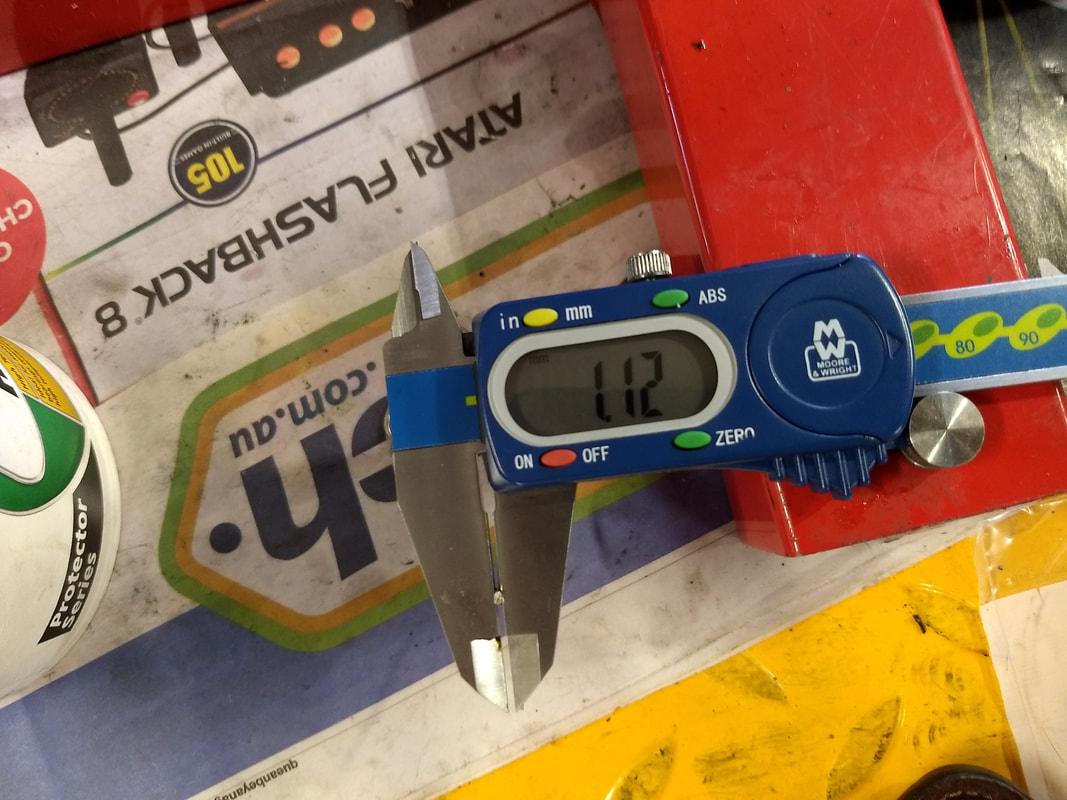
Head on and off to check the squish again and I'm rewarded with a near perfect result. Close to, but above 1mm, for maximum safe compression. Nice.
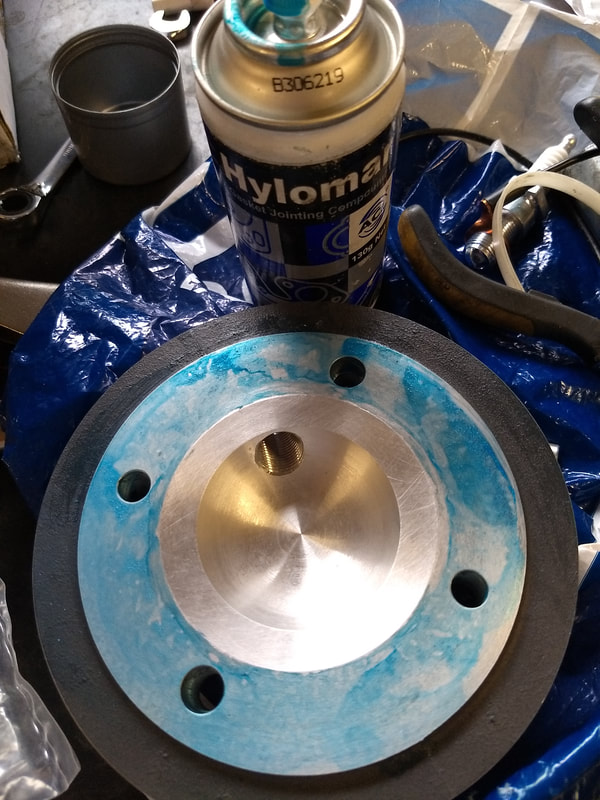
Does your first job always influence you? My first real job was at Rolls Royce. They developed Blue Hylomar to seal gas turbine engines. As a result I've always used it for cylinder heads. Never had a problem. Just spray it on, clean off the overspray with a cloth dampened with parts cleaner and bolt the bugger on (progressively tightening the nuts up to 17 foot pounds in a diagonal pattern of course). Not sure you can get it in Australia so who knows what I'll do when this can runs out.
Along with the Casa spacers I use the original Indian flat spring washers. Once again the nuts are fixed with medium strength thread-lock (the studs were fitted using stud lock, so they should stay in place when its time to remove the head).
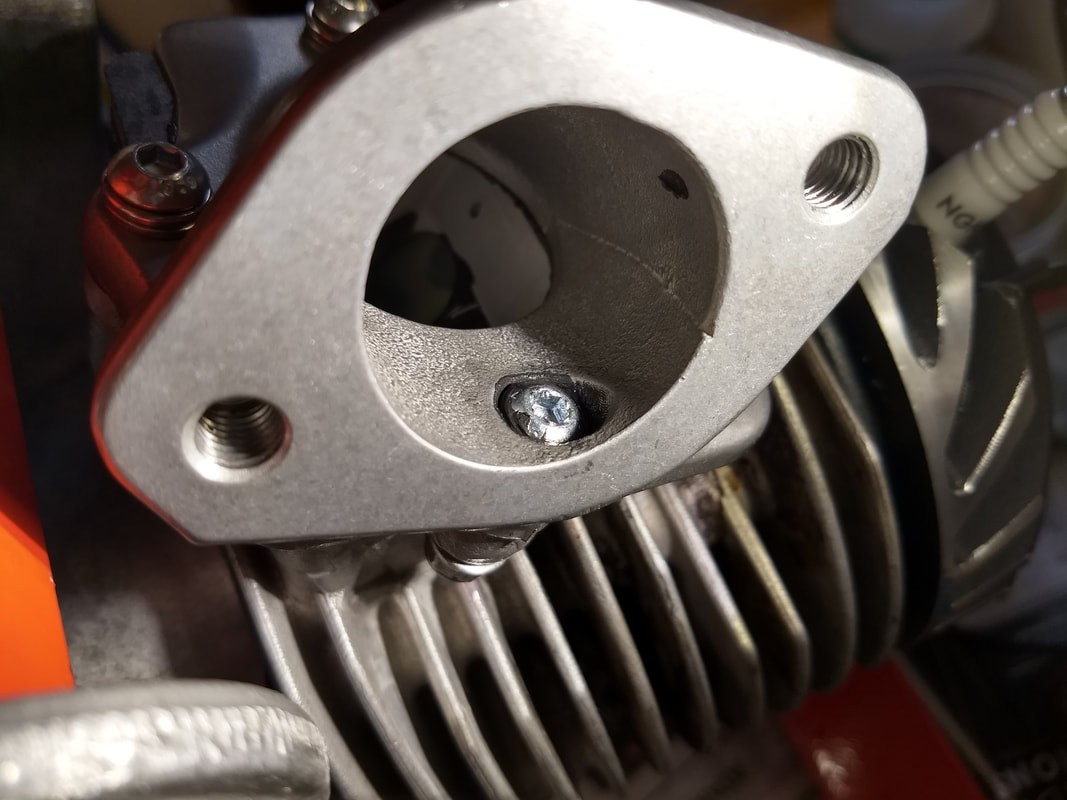
A quick check on the MB website and he says to ensure you seal the inlet bolt with sealant to prevent leaks. Ah, better do that then. Let's not think about the damage that would be done if it ever came out as well 😳. It's got a Nylok nut with thread-lock on it...
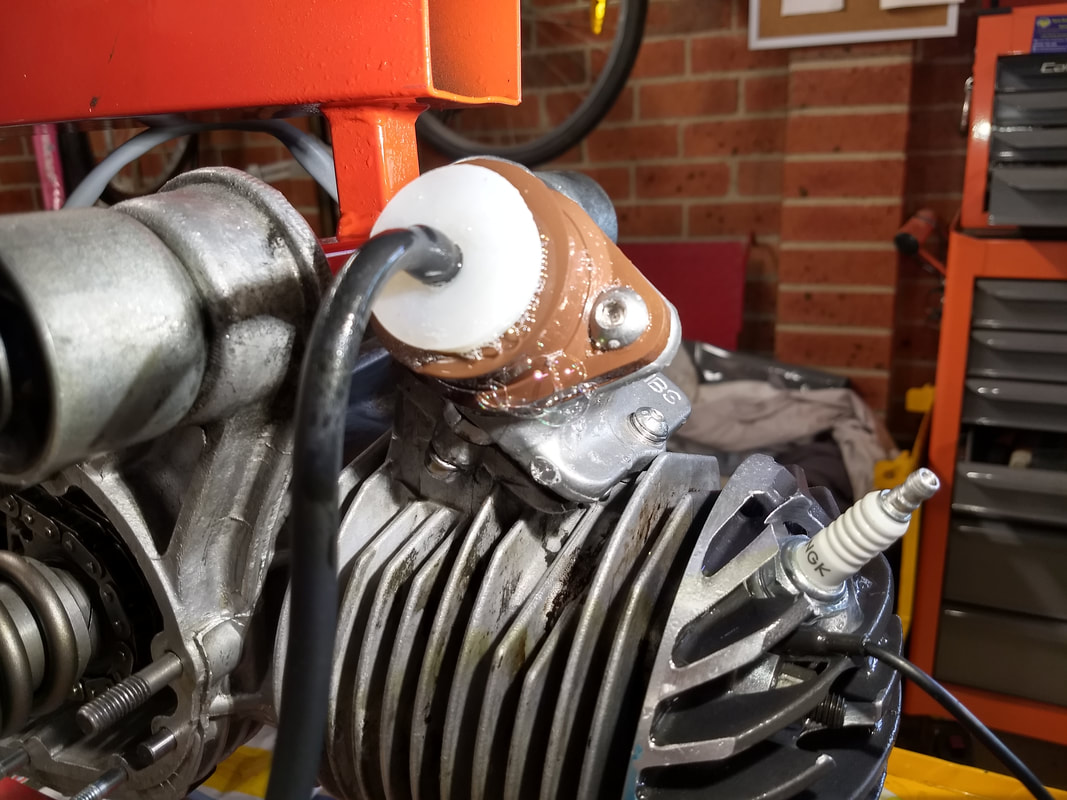
After leaving everything overnight for the sealants to go off I give it a leak-down test. No surprise that the Viton flange is leaking like a sieve, which I'd expected not having used any sealant. I remember Nevil Cope asking on one of the Facebook groups about which sealant to use here, so I send him a message. Threebond 1104 is the answer. Repco carry it but they have to order it in. It'll be in store tomorrow.
 RSS Feed