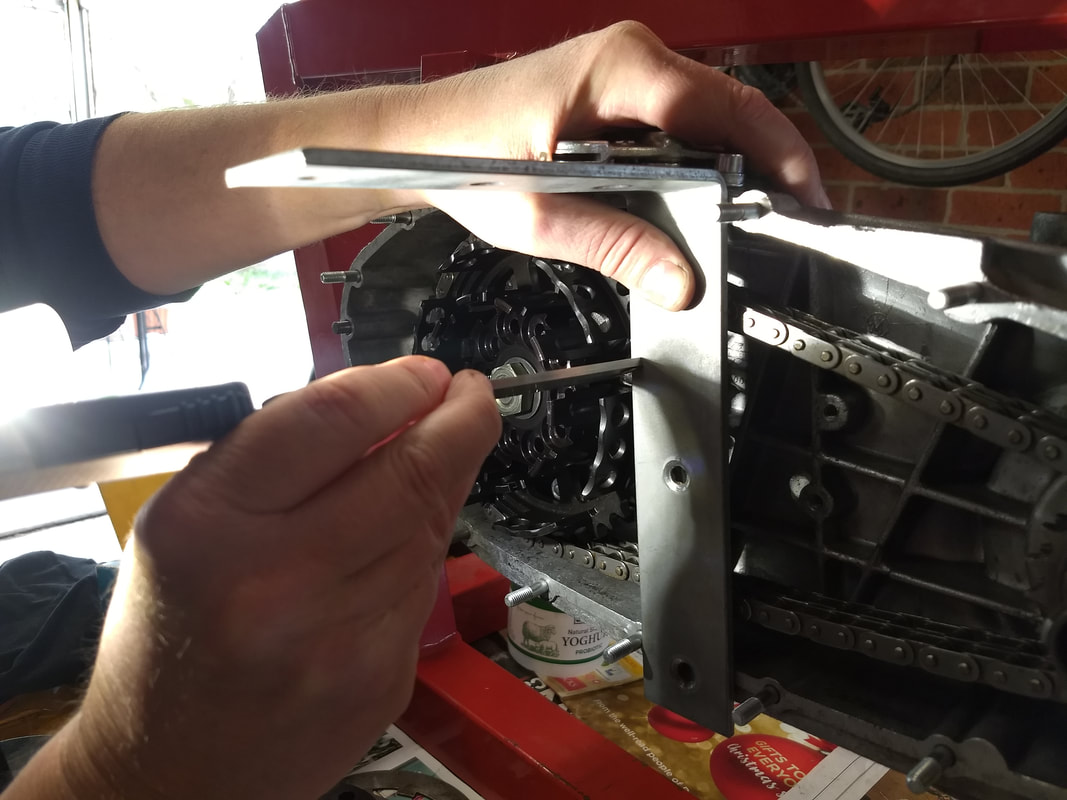
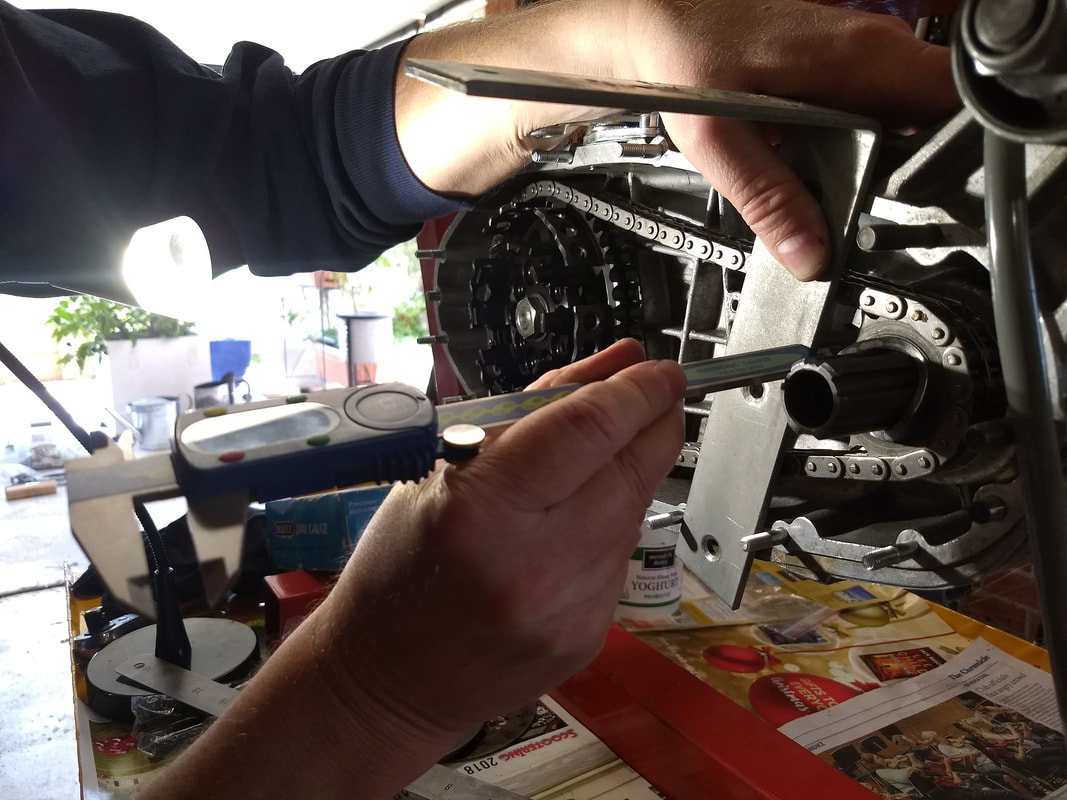
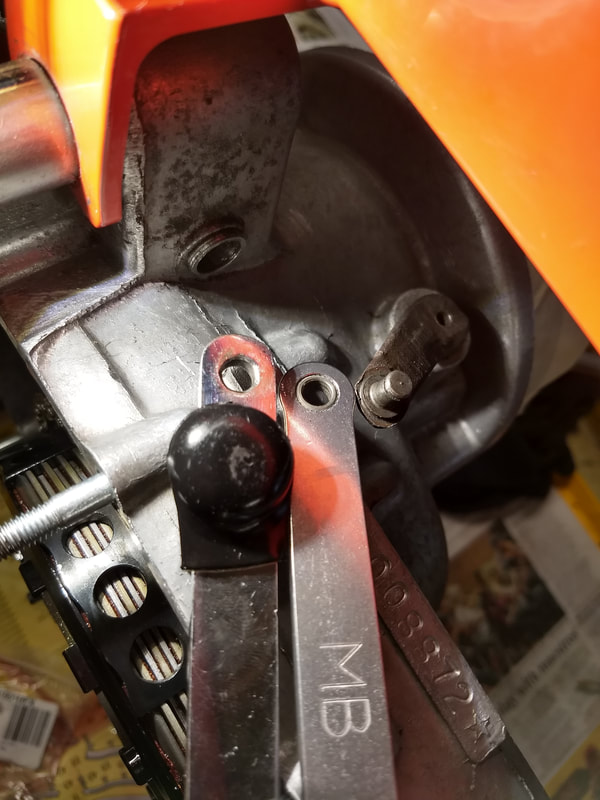
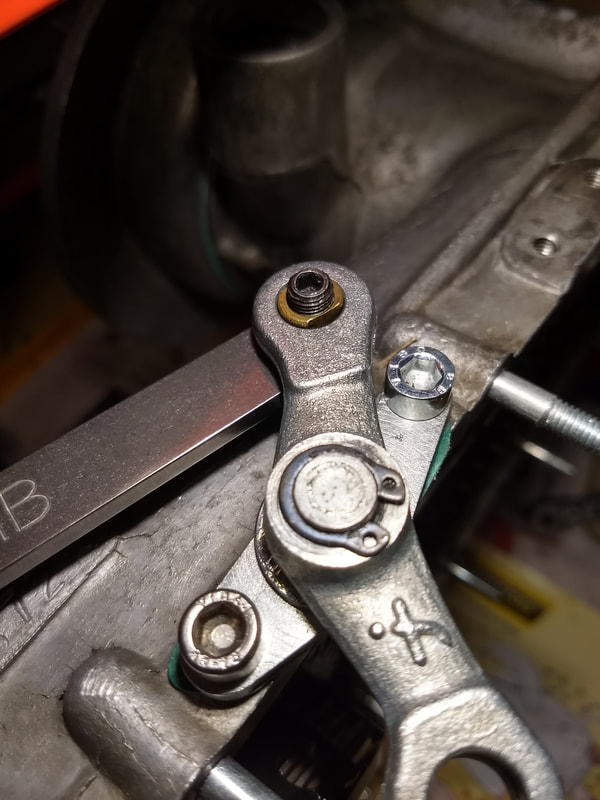
I finally got back in the garage after applying for jobs, going to Melbourne for a party, etc, etc. First job is to check the chain alignment, but without the proper tool I have to use a straight edge and Vernier gauge. It's not easy but on average I get measurements that I'm happy with. It's reassuring that Sticky's manual says many dealers don't bother. I settle on a clutch sprocket shim of 1.4mm. I reckon a set of chain alignment tools would be a good addition to the club toolkits, as something that's rarely needed but really useful...
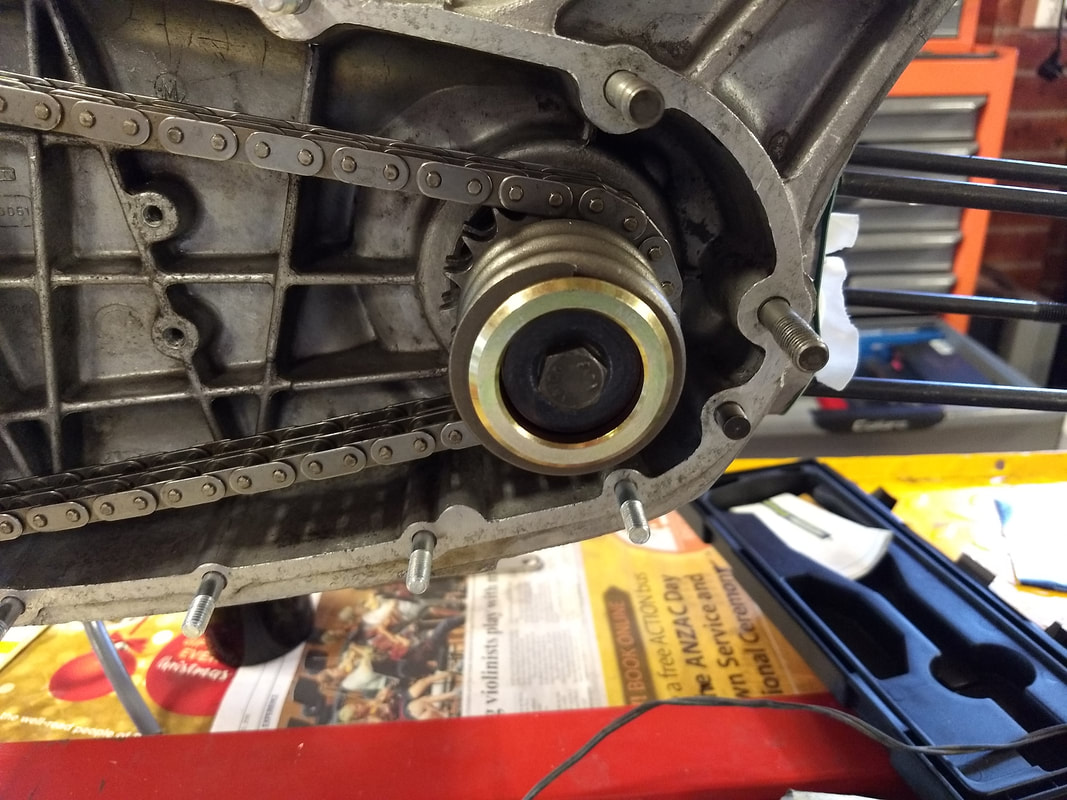
The MB bits have turned up, including the tapered MB sprocket spring cap. and it goes on really easy. Love a simple solution to an age old problem.
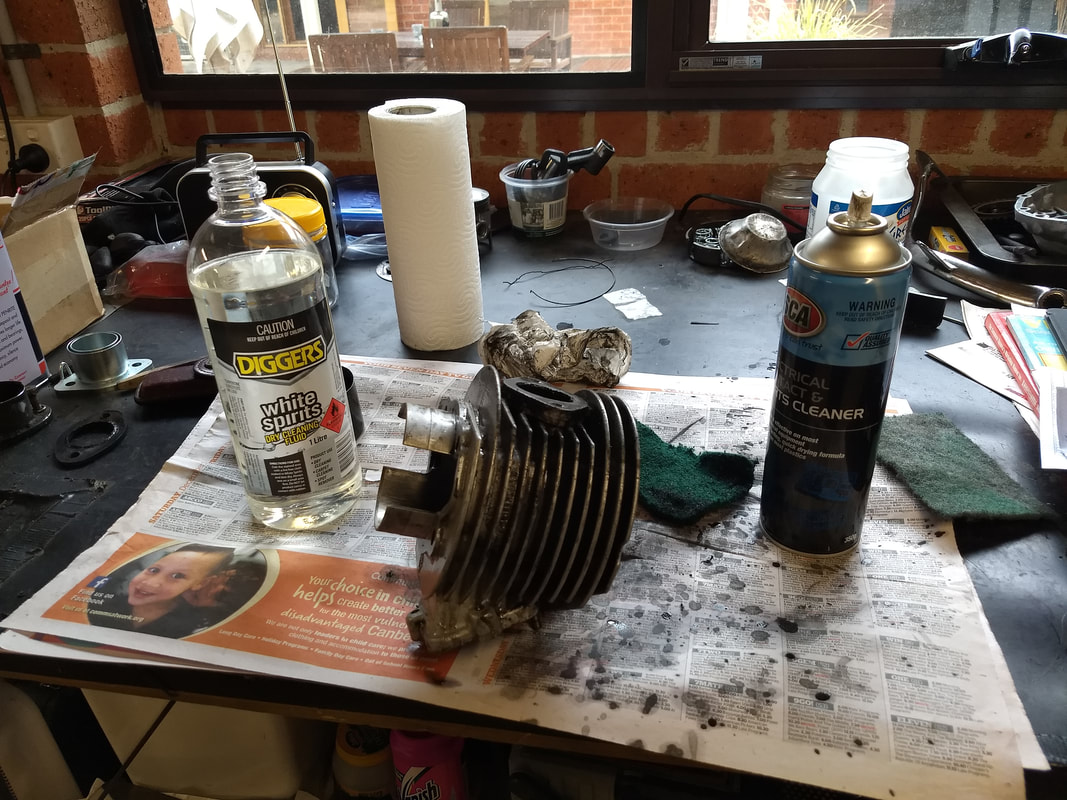
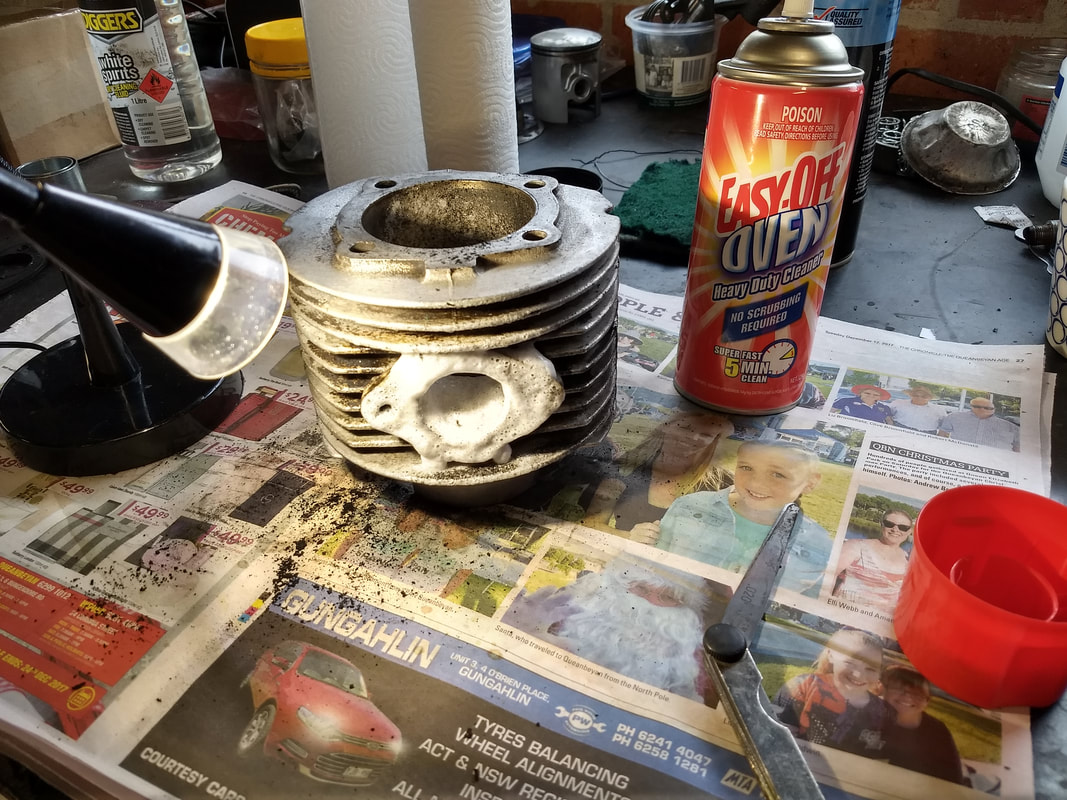
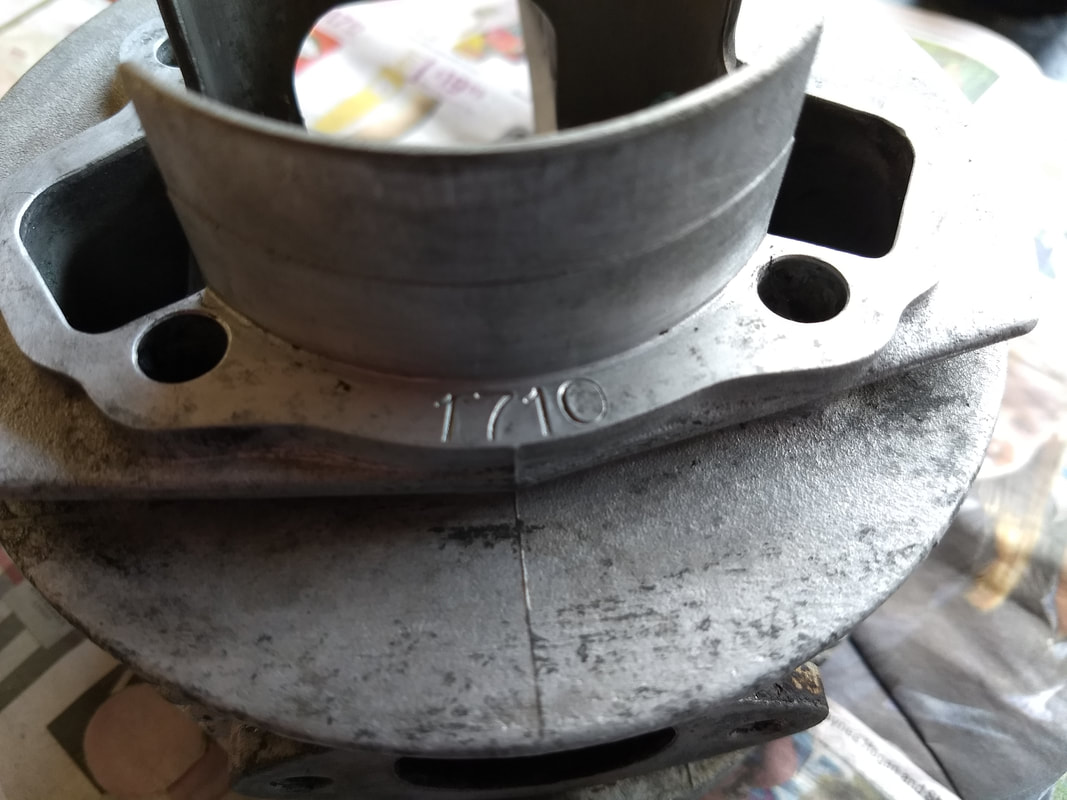
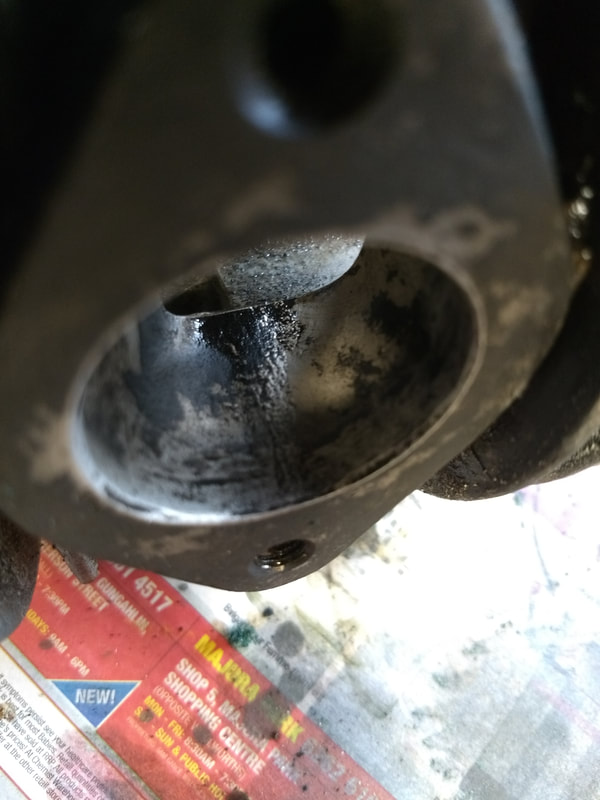
I've been ignoring it, but the old TS1 top-end I'm using needs a good clean and decoke. It's not too bad a job. Interesting that this is TS1 no 1710. It was originally dynoed in 2006, so as a guess Rayspeed sold about 50 TS1s a year. Doesn't sound a lot does it? Of course it could have been dynoed years after being bought... I've never done it before, but I try using Oven Cleaner to decoke the exhaust port.
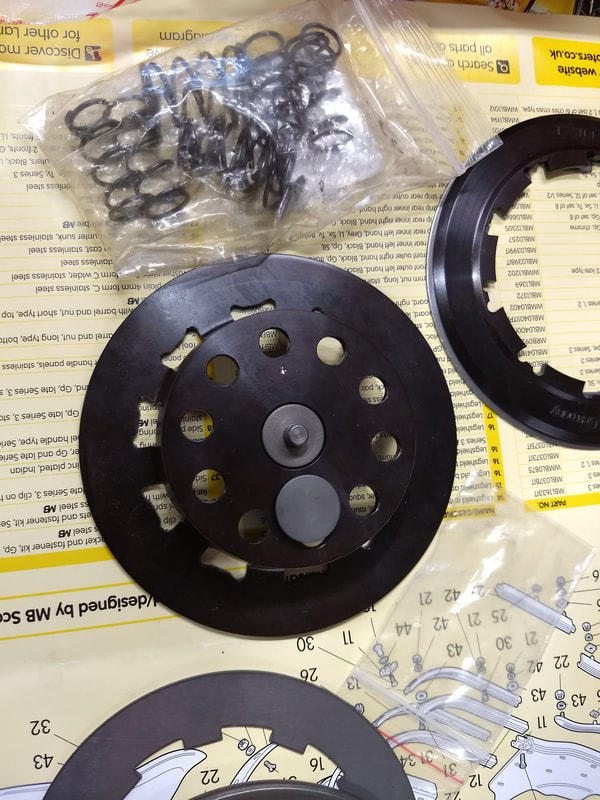
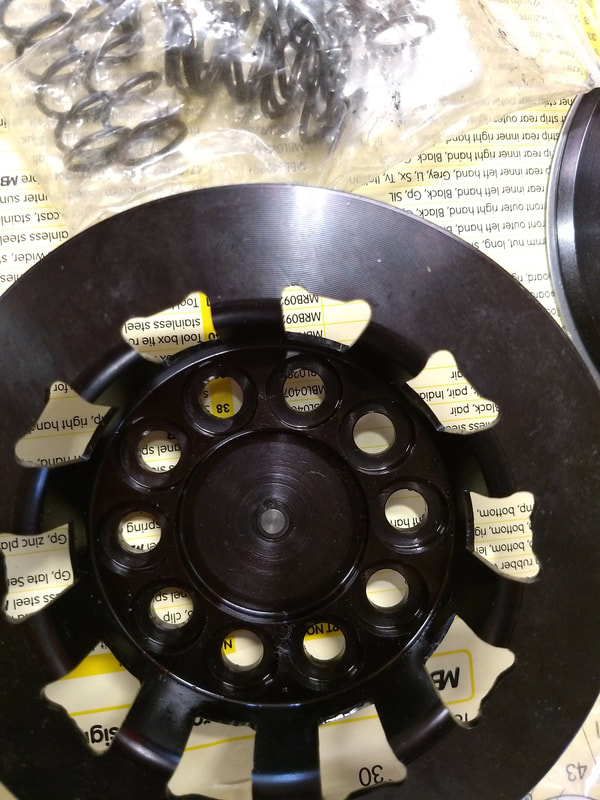
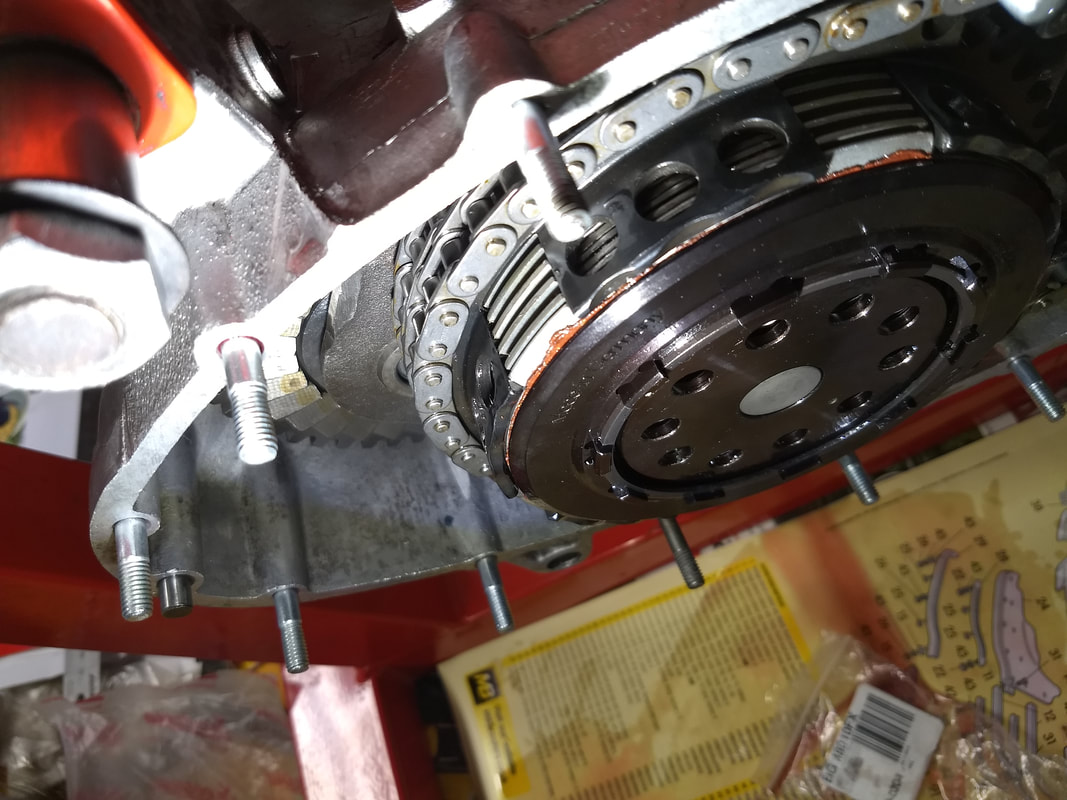
The results are pretty impressive, but I'm not totally convinced...while letting the cleaner do it's job it's time to get the clutch together. First off, fit the GP pressure plate in place of the earlier one. The BGM clutch is designed to work with either, coming with interchangeable centres held on with a small circlip.
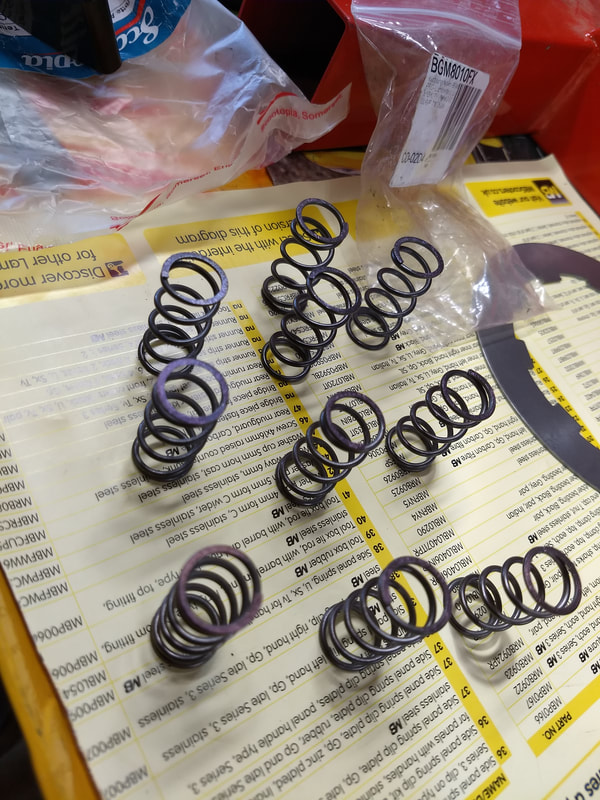
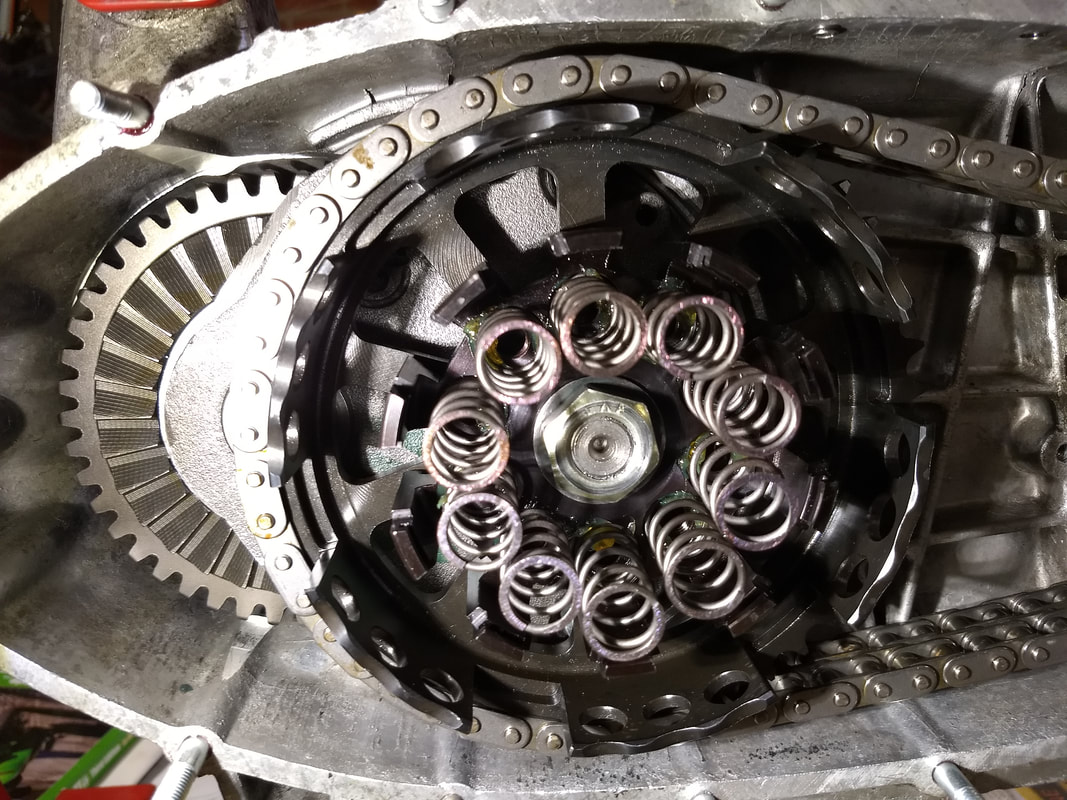
The whole basis of the BGM clutch is to use 10 weaker springs in place of five standard ones. Another simple solution. A more even but same pressure can be applied to the plates with less effort required to compress. Upgrading options allow a mix and match between weaker and stronger springs. These "standard" springs should be able to handle the power of a TS1.
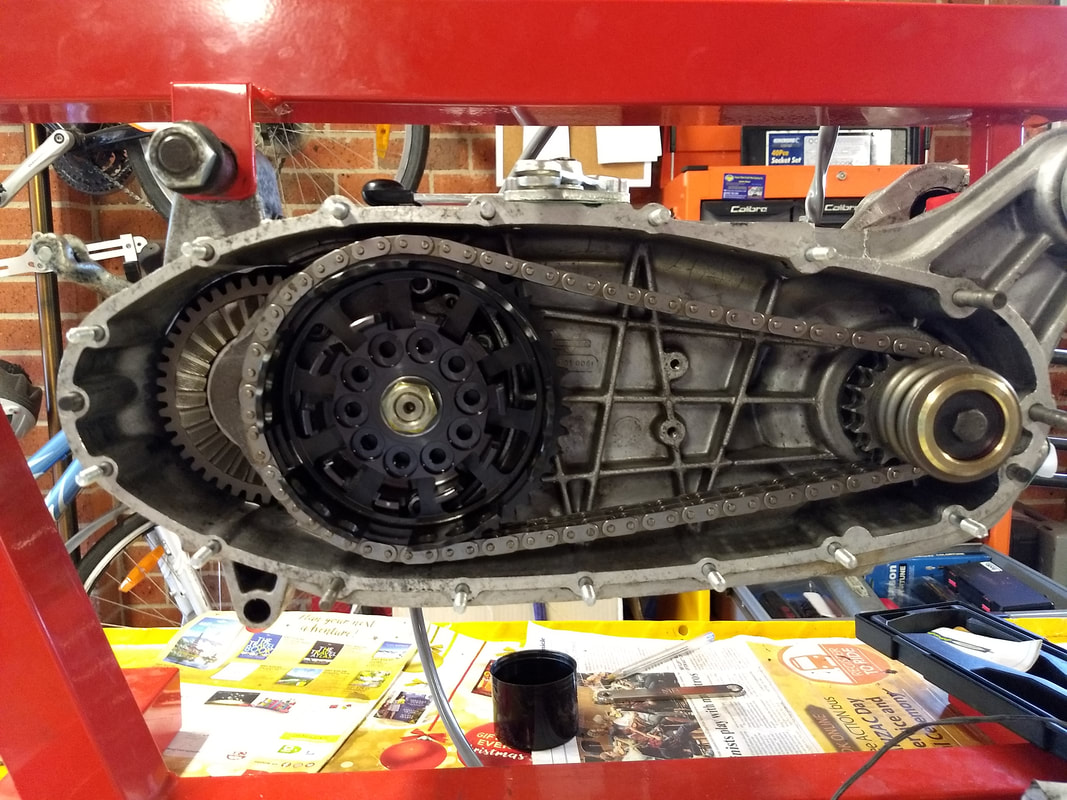
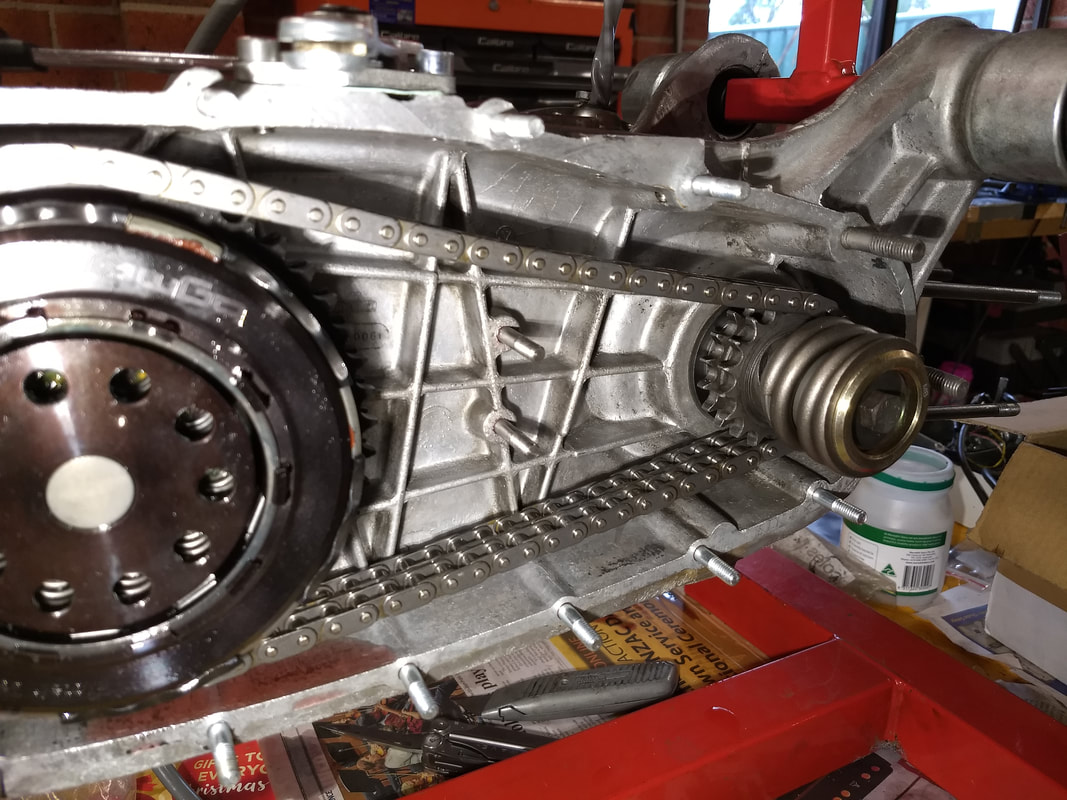
Apparently you can buy a special tool that allows you to compress the spider and then fit the plates separately, but a standard clutch compressor does the job so I'm not sure why I'd buy another tool. I do align the dot on the spider with the dot on the basket just in case it matters...It all goes together easy. I've had the clutch plates in soak for about two years. Is there a limit to how long you should soak them? I guess we'll find out. Note, the top plate has it's tabs bent to fully sit within the basket. I can't remember if they came supplied like this or if I did it myself when I temporarily fitted this clutch to the Jet. if you have a plate with bent tabs make sure that it goes on top.
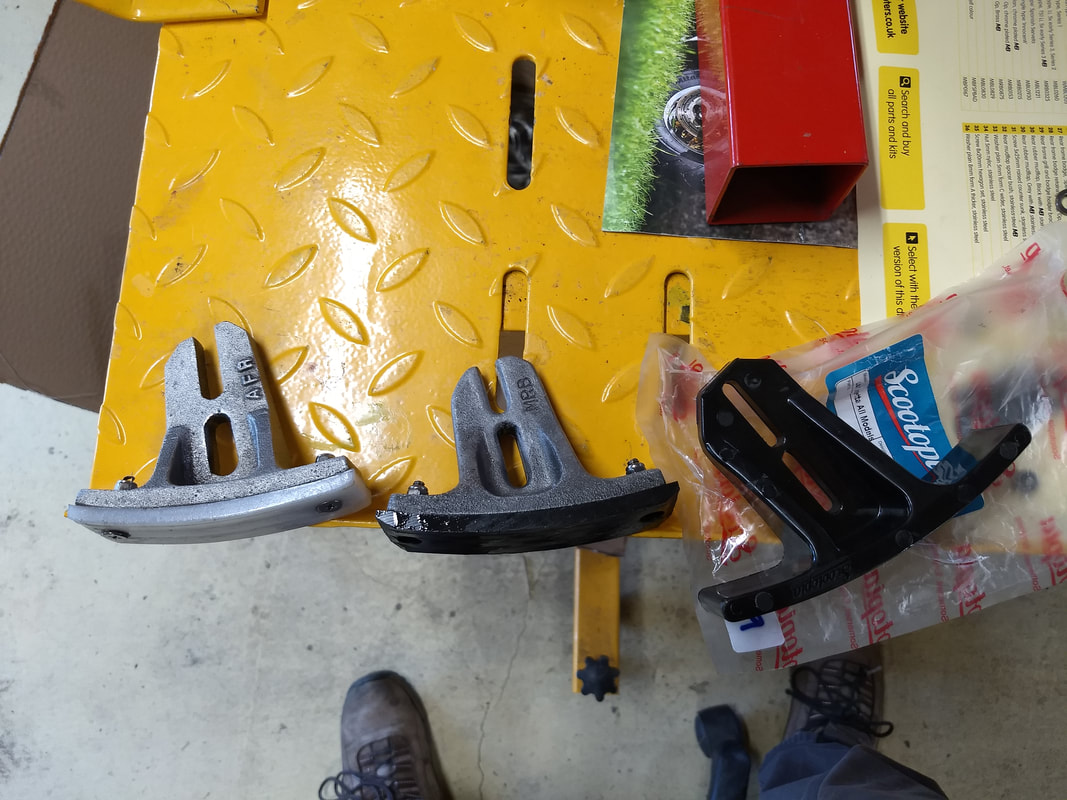
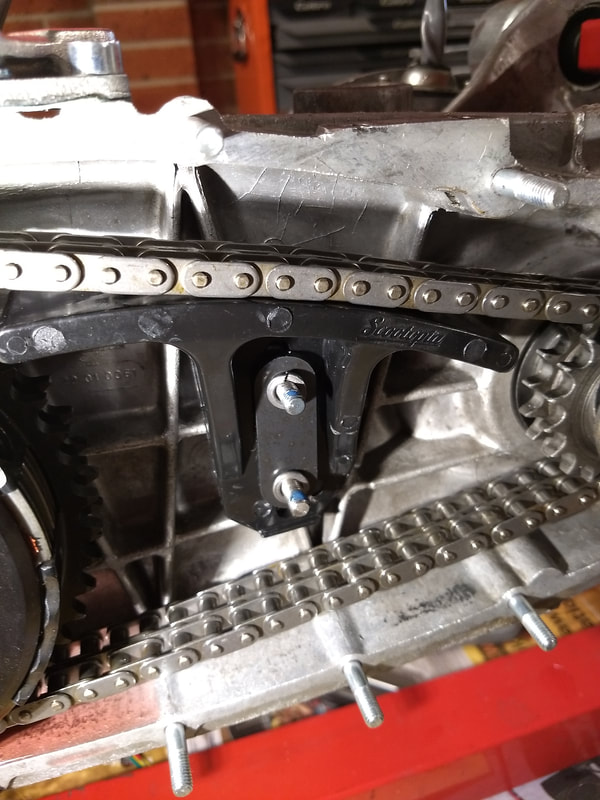
Next, fit the chain guide(s). I have a choice of four. An original MB nylon push up one, an AF copy of it, a Scootopia single piece plastic one (which is a copy of Tino Saatchi's "Quick Slip" design), and a Casa pull-down one. The Casa pull-down is the ultimate design for stretched chains or odd sprocket combinations which require them. The new 82 link chain with 18/47 sprockets needed very little adjustment, so a push-up adjuster is ideal and the Scootopia one is unused and shiny, so on it went. I no longer fit bottom chain guides. More trouble than they're worth in my humble opinion. Having decided not to use the Casa pull-down adjuster I refit the studs. I use red stud-lock on these because it's common for them to strip in the casings...I also use blue thread-lock and spring washers on the nuts, and a thick spacer instead of the original tab-washer. The plastic one piece chain guides don't really work with the original tab-washer design. Everything is adjusted up to the recommended 6mm of travel.
The last job for the day is to replace the original Indian selector rod with an MB one. The Indian one wasn't bad. Certainly good enough for a standard four speed box, but the MB one has a reinforced bush at the engine end whereas the Indian one wasn't quite round. This equates to about half a mil of extra clearance in first and less slack. Doesn't sound like a lot but equates to happy clearance in my head :-). Well worth seven quid.
 RSS Feed