Bottom End
Putting the gearbox aside until I pick up some new end-plate studs from Steve Diffey (well, actually I did do some more measuring and checking...I'm completely happy that it's 99.85% good now...), it's time to get the bottom end together.
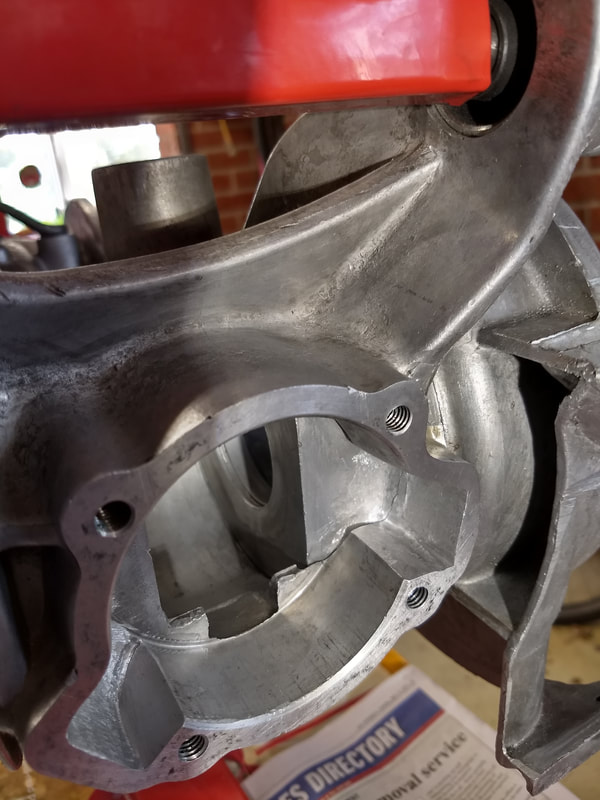
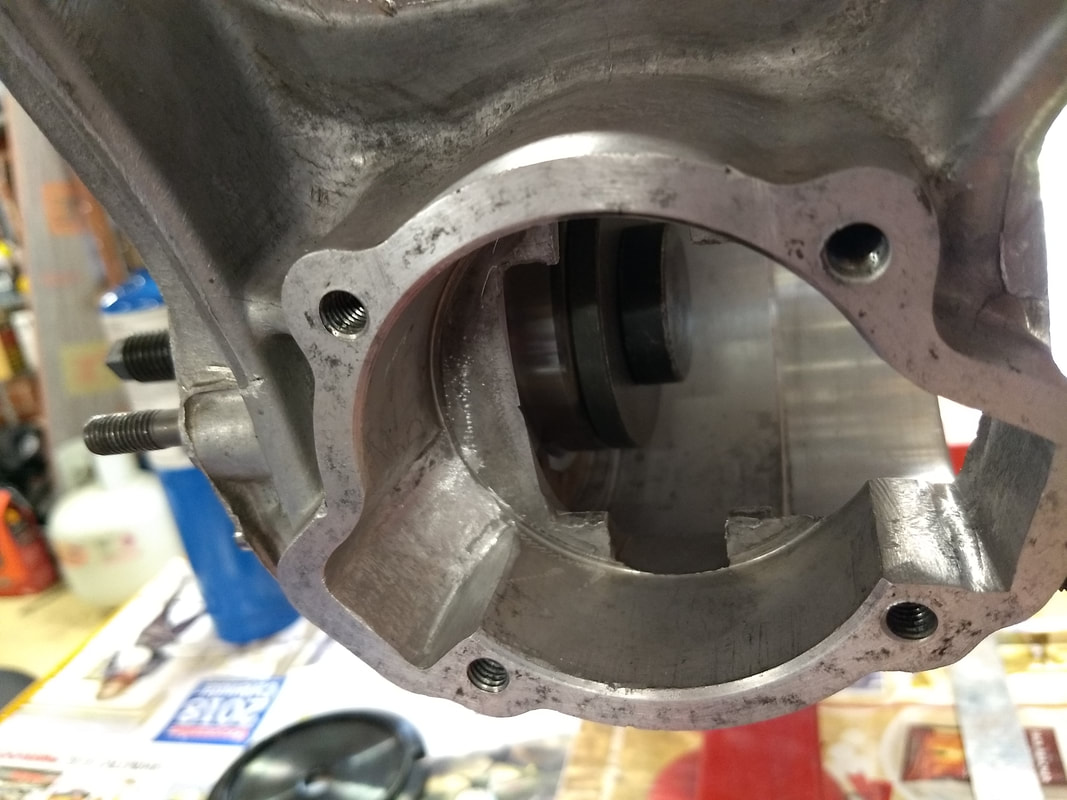
More "here's one I prepared earlier stuff". I'd earlier opened up the casing to match the TS1, and the mag housing to match the casing, using a Dremel and small hand files. I don't have really fine control over a Dremel, so prefer to finish off by hand when removing soft alloy. Well you can't easily put the metal back once it's gone...
Putting the gearbox aside until I pick up some new end-plate studs from Steve Diffey (well, actually I did do some more measuring and checking...I'm completely happy that it's 99.85% good now...), it's time to get the bottom end together.
More "here's one I prepared earlier stuff". I'd earlier opened up the casing to match the TS1, and the mag housing to match the casing, using a Dremel and small hand files. I don't have really fine control over a Dremel, so prefer to finish off by hand when removing soft alloy. Well you can't easily put the metal back once it's gone...
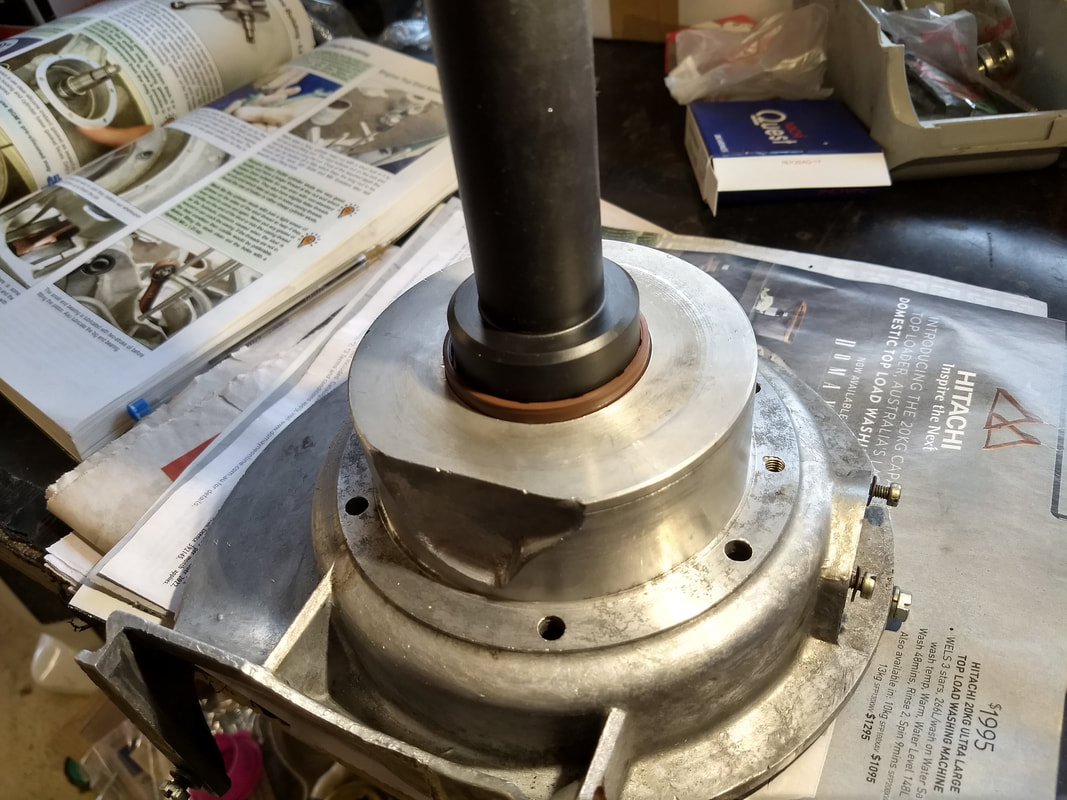
Putting the mag housing together is a quick and simple job. First fit the outer oil-seal and spacer. New for me was using the proper tool to fit the seal. I'd picked up a bunch of tools cheap in the Scooter Restorations and Beedspeed sales. Nice.
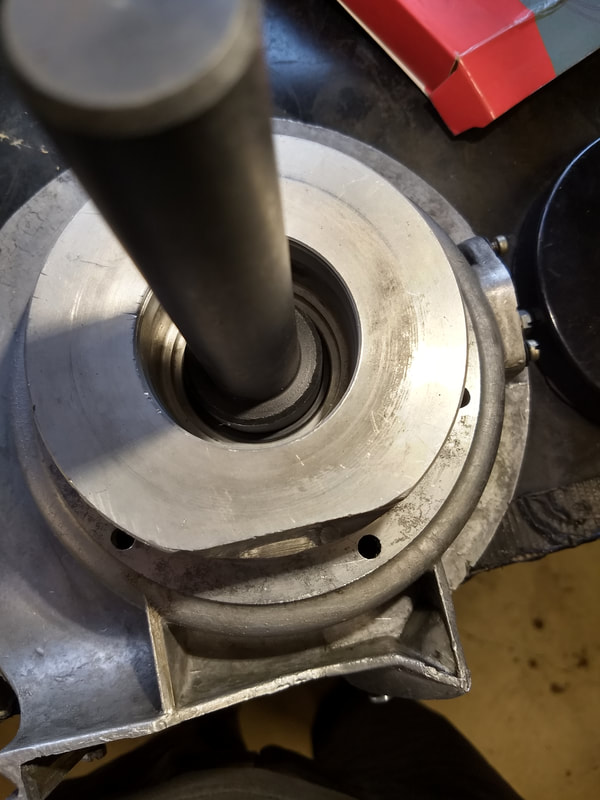 |  |
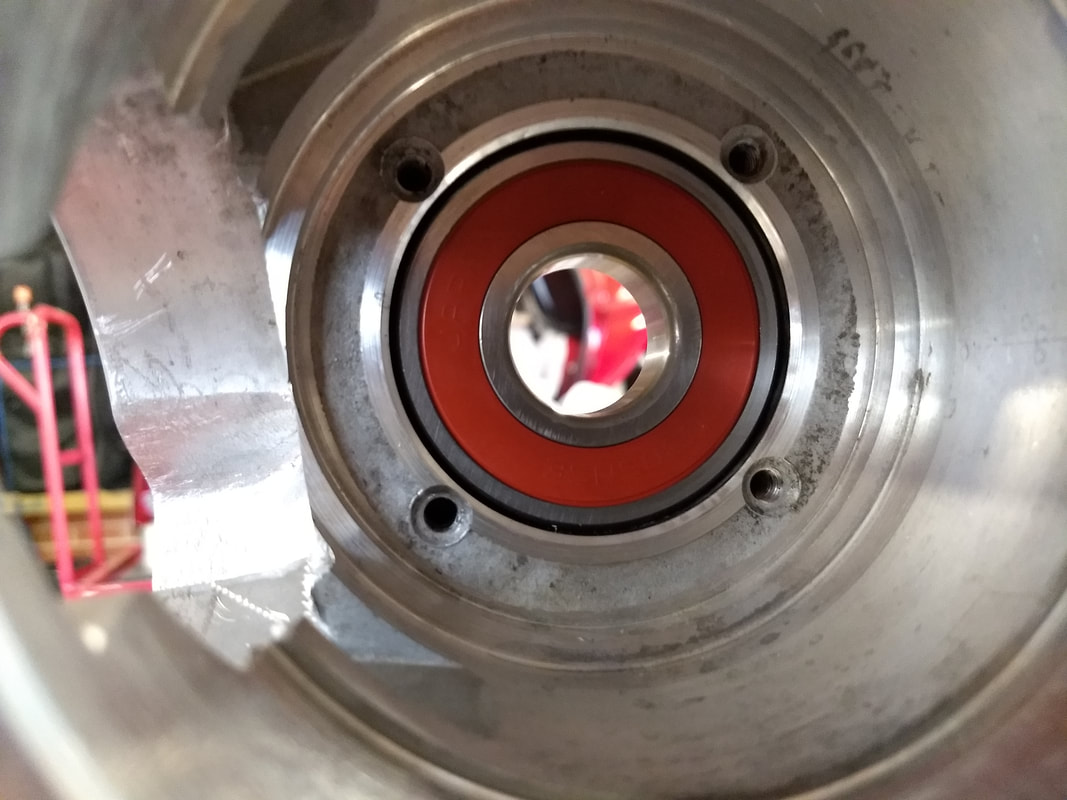
Next fit the mag-side main bearing. Once again the freezer and heat are your friends. I only heat the mag-housing from the outside to make sure that no direct flame goes on to the oil-seal. Sticky heats the casing before fitting the seal. Horses for courses I guess. With the casing heated enough the freezing cold bearing will just drop in (note, the hammer and drifts on stand-by just in case - they weren't needed but if they are you want to do any drifting before the housing cools too much...)
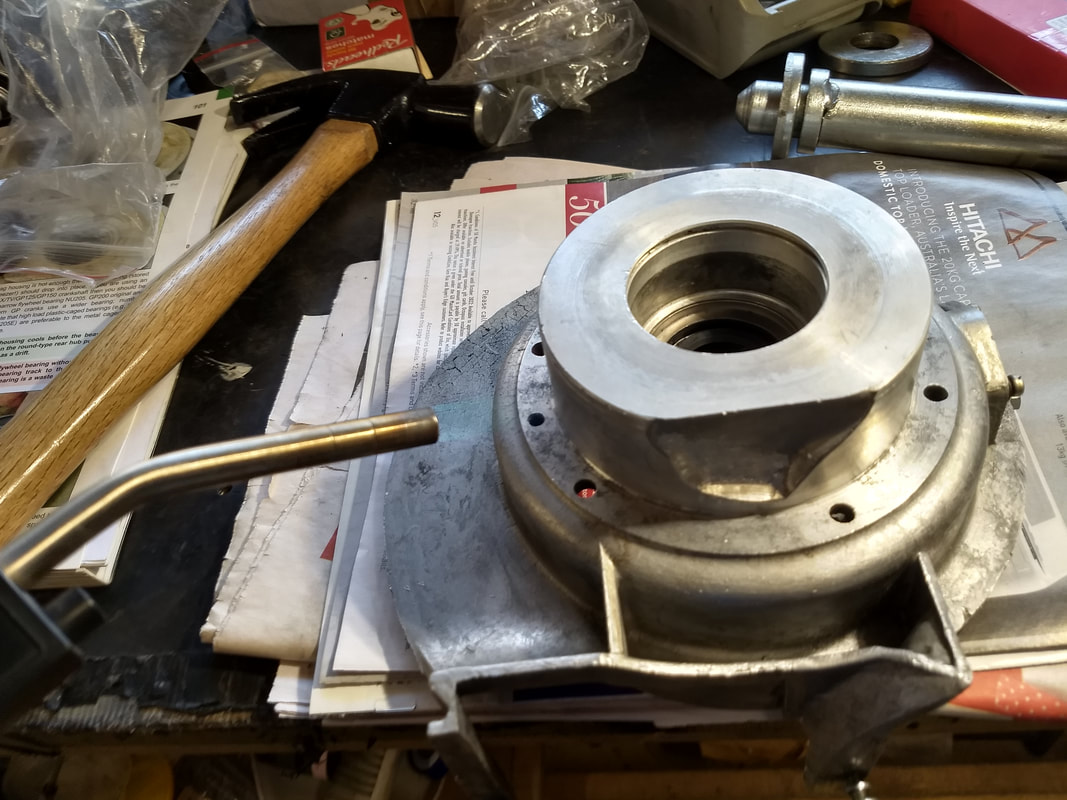 |  |
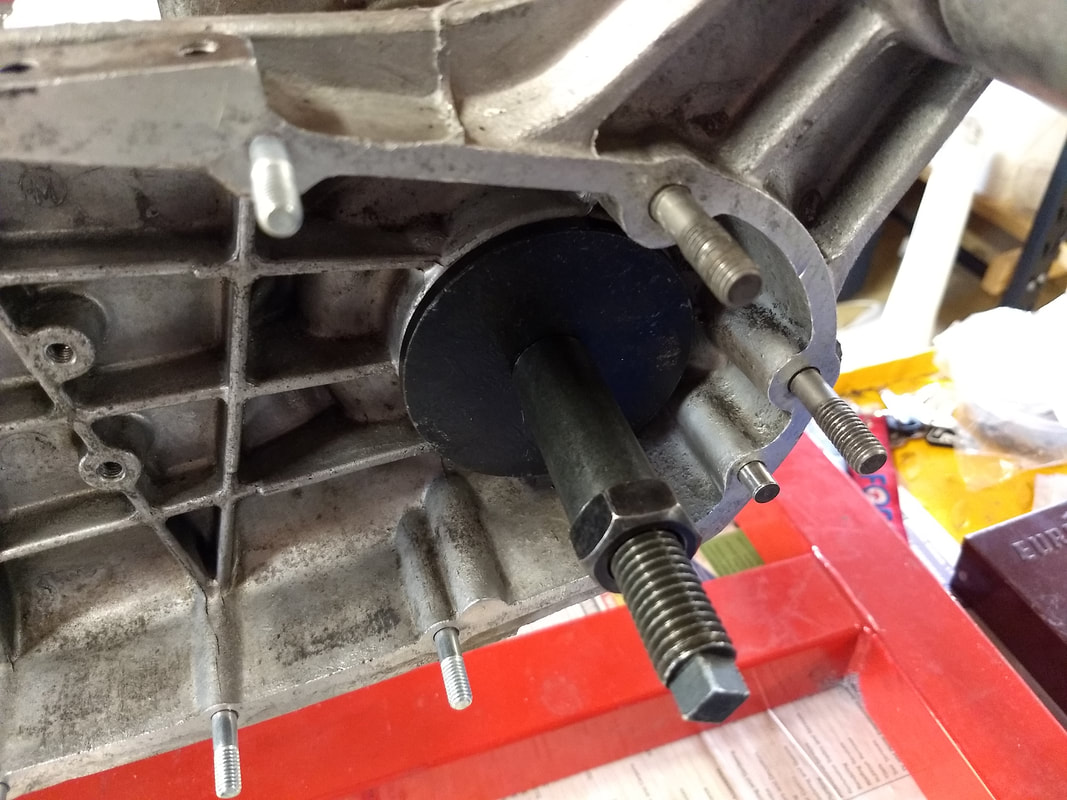
While the housing cools it's time to fit the other main bearing in to the casing. I'd picked up another tool for doing this and assumed it'd do the job without heating the casing. Er, nope. It got the bearing in halfway but I had to persuade it the rest of the way with a drift and official Lambretta hammer. Duly noted on the tool for next time...
 |  |
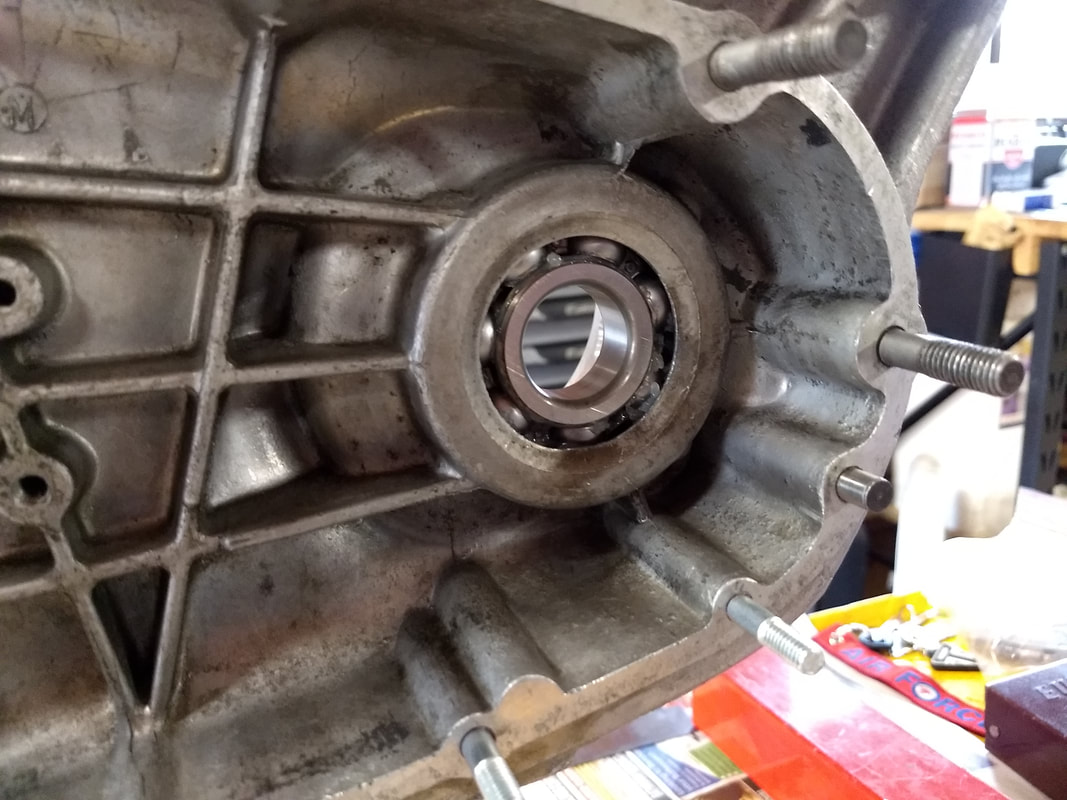
Once again Steve had supplied a sealed bearing. For this one it seemed like a good idea to leave the crank facing seal in place, to give a bit more protection should the oil-seal fail.
 |  |
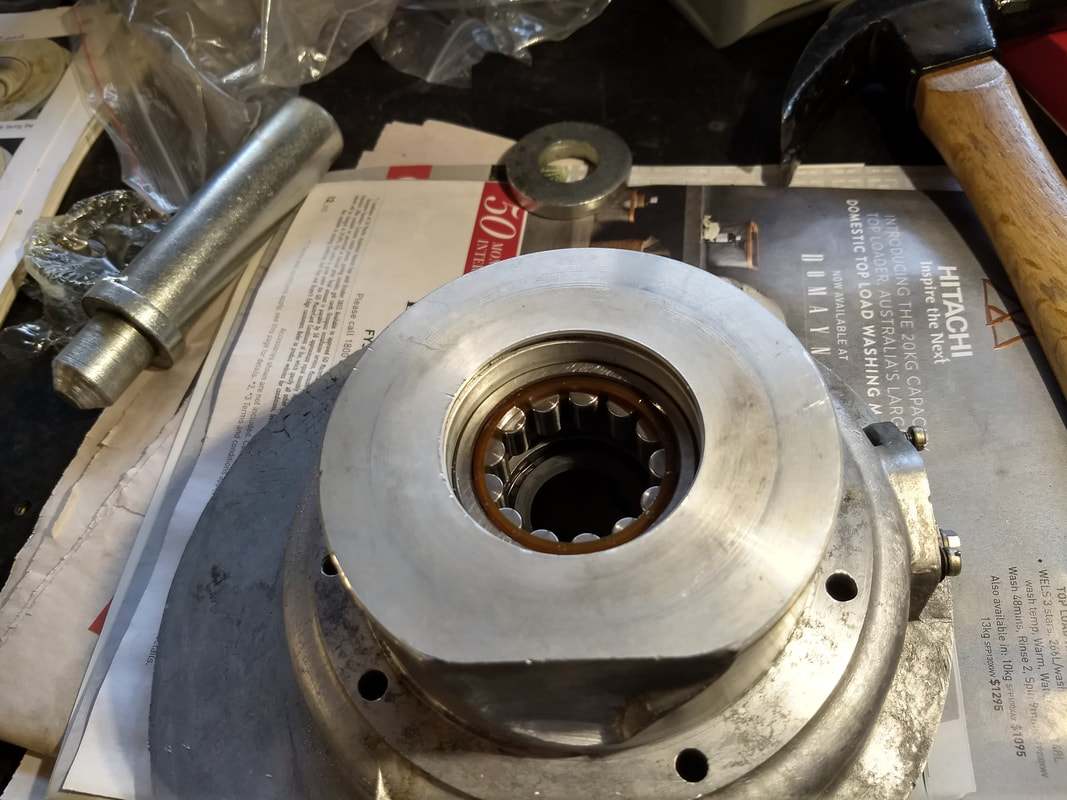
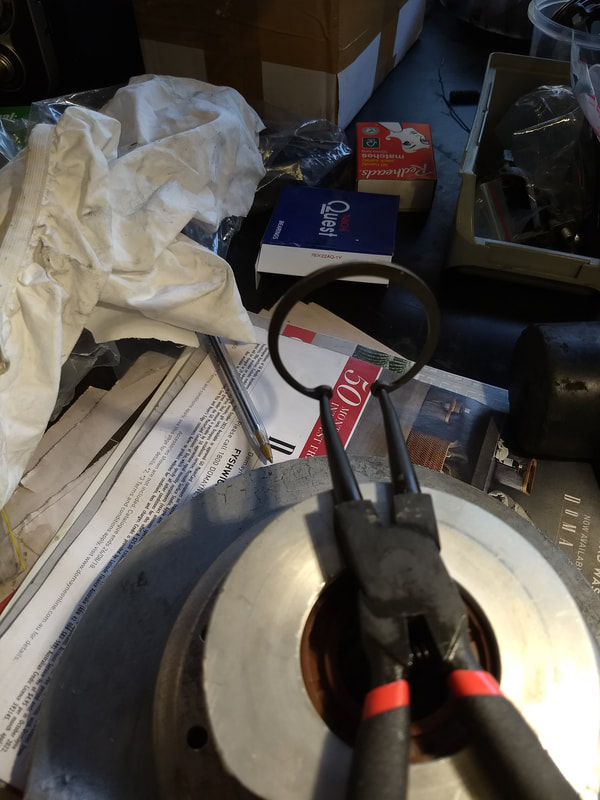
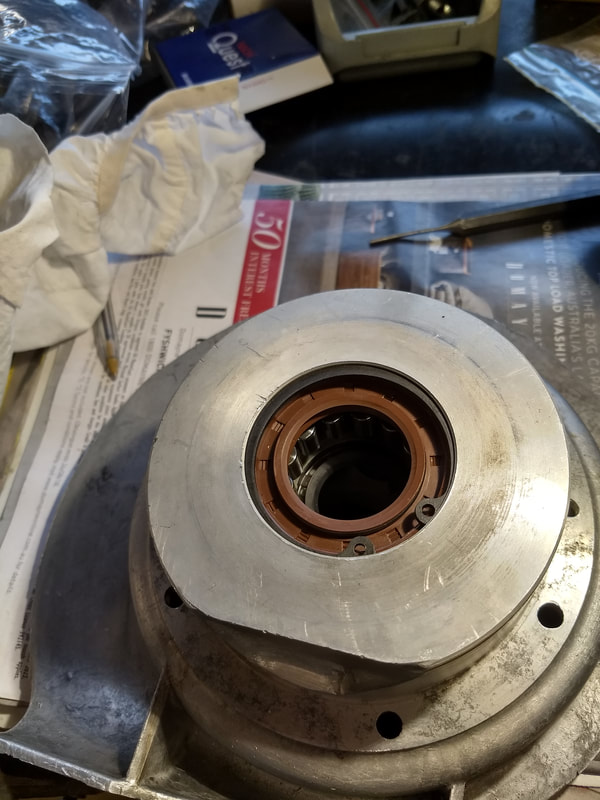
The last job for today is to fit the inner oil-seal and circlip in to the mag-housing. I've switched to using Viton seals for any that come in to contact with fuel. These are resistant to ethanol. I never use E fuel and current Australian regulations require any ethanol in fuel to be clearly labelled. However, there's active lobbying to allow a small percentage of ethanol (<5%) to be added to fuel without labelling, and/or, for standard ULP without ethanol to be withdrawn from sale (ethanol free premium will still be on sale). I don't want to have to strip engines to replace seals to be safe if either of these become law. Sure you can only ever use premium fuel, except that time when you're out in whoop-whoop on a Mille, Great SW tour, All-inclusive ride-out, and all you can get is what's at the pump.
 |  |  |
Not much done today. I did strip the forks in Nicky's S1 before starting on my own stuff. That's my excuse anyway.
 RSS Feed