More Bottom End
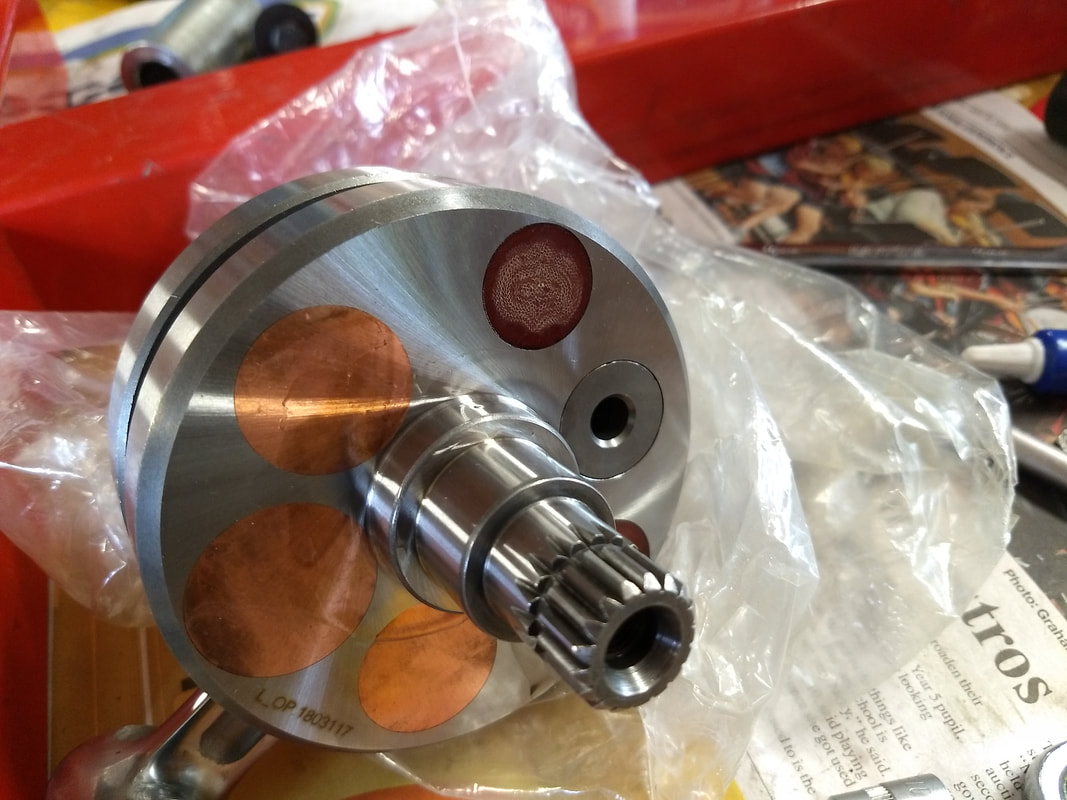
A couple of years ago there was a worldwide shortage of decent Lambretta crankshafts, so when a discounted Jasil racing one came up on the SIP website I grabbed it. Funnily enough SIP launched their own range of Lambretta crankshafts not long after 🙄. Anyway, I'd picked up an known and reputable racing crank for a good price; certainly one that was more than up to the job of handling the power from this engine...
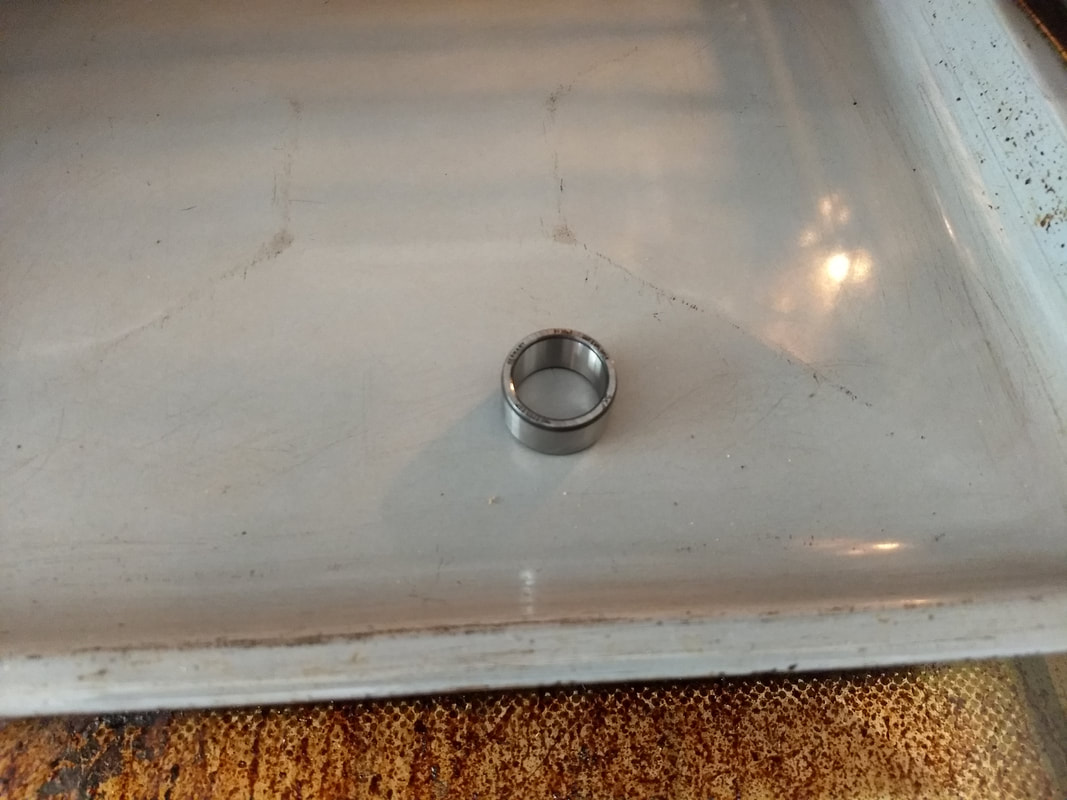
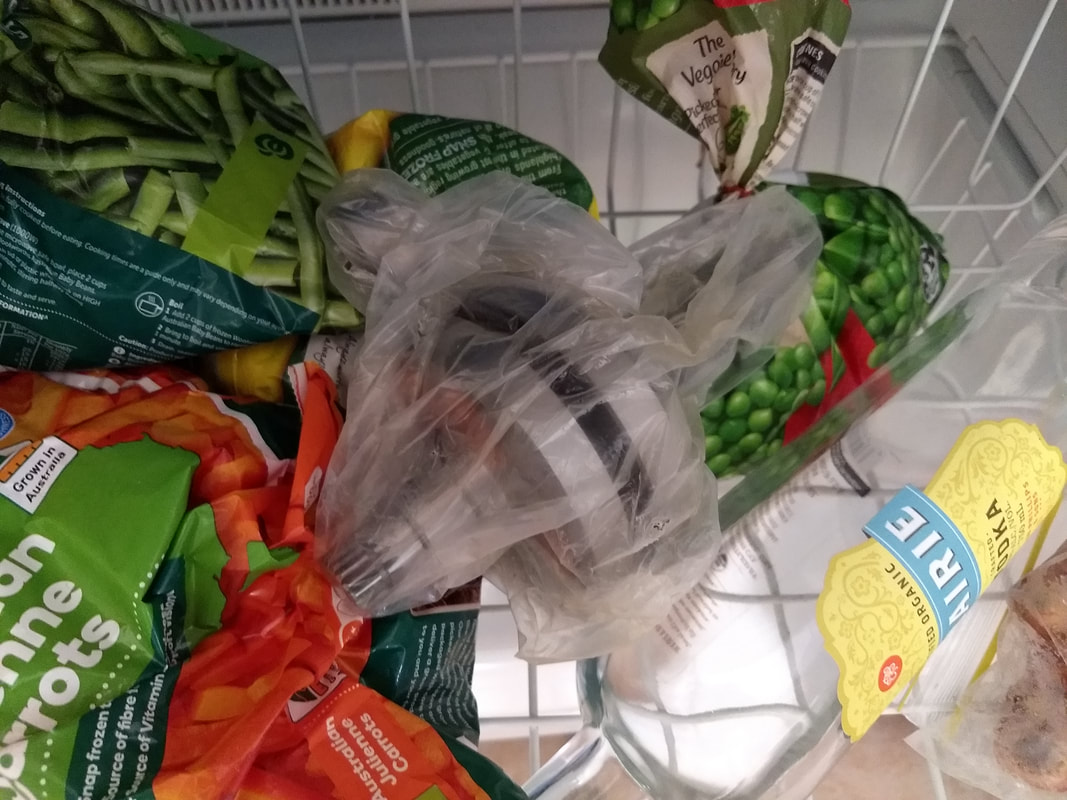
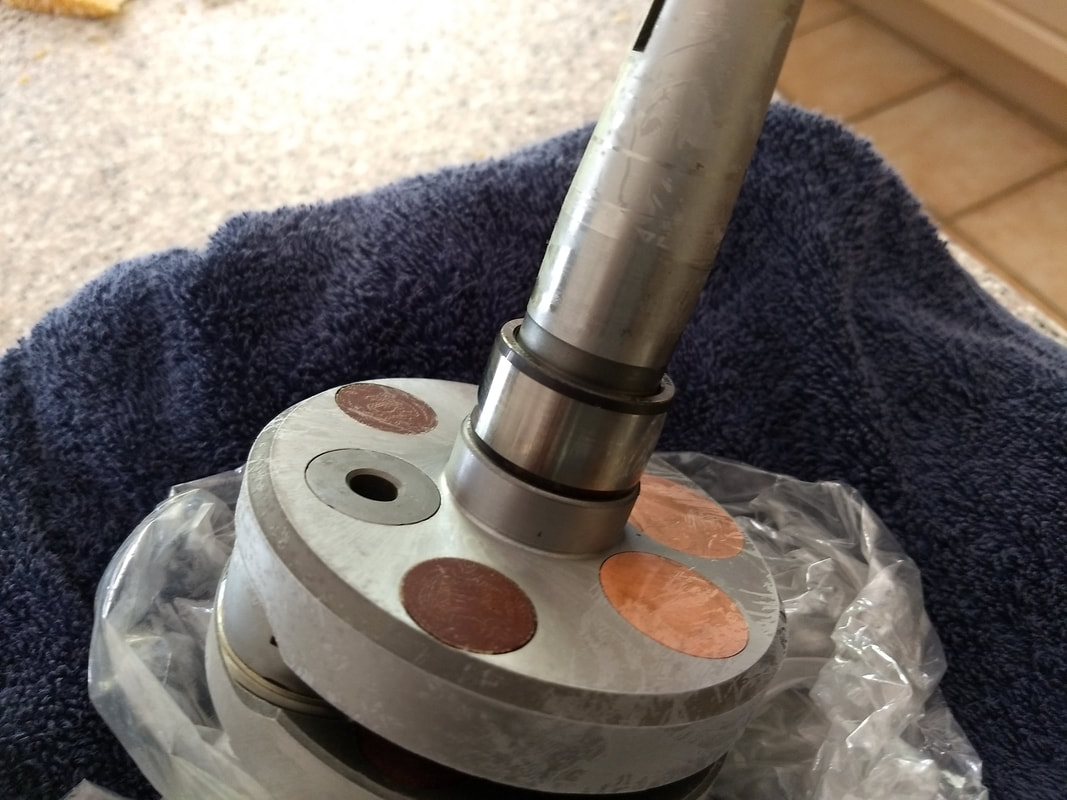
The next job is to fit the flywheel side bearing inner race on to said crank. I'm pathologically opposed to "tapping" things on to cranks, and have previously fitted inner-races by freezing the crank and heating the race in the oven. According to Sticky's manual, overheating the race could change the properties of the metal. I heated it in an oven set on 180, which is about 30 degrees less than I've seen on my CHT, so I'm guessing it's okay...
The heated race dropped straight onto the frozen crank. One thing to watch if you do this is that condensation will build up on the crank as it comes back to room temperature, so leave it in a warm dry place, like Canberra in February, until it's completely dry.
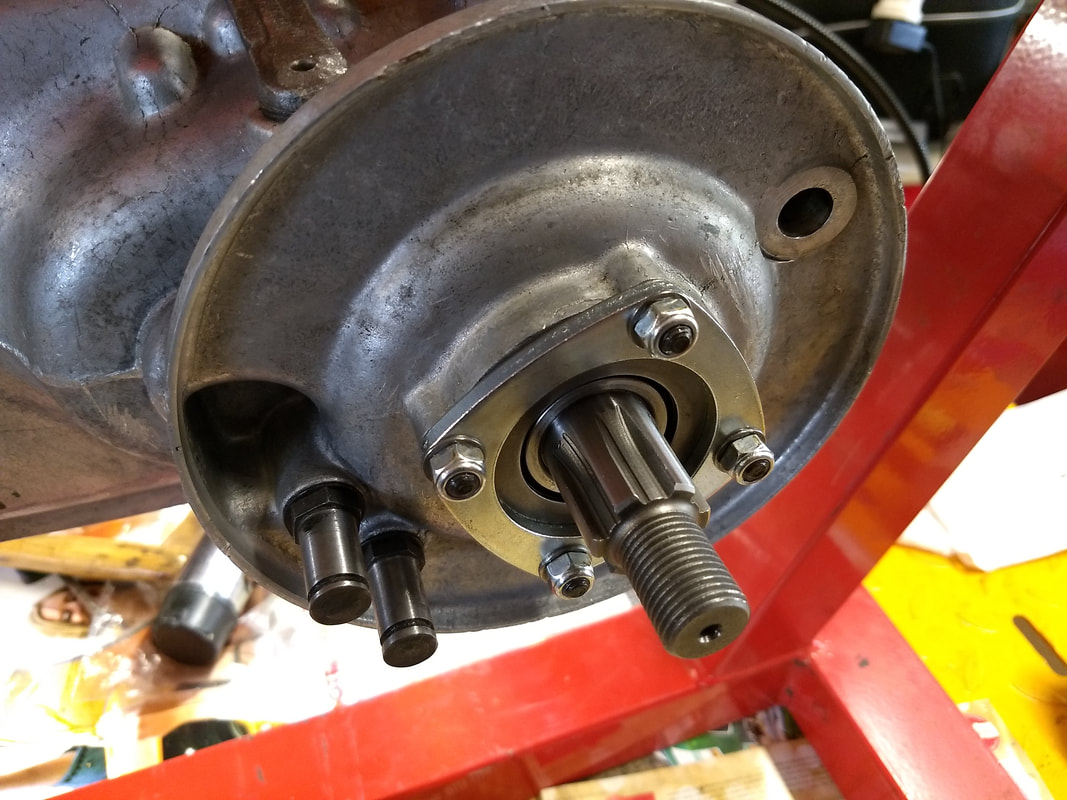
Tash and Steve got us tickets for Gladys Knight in Sydney, so we spent a drunken couple of nights at their place in Sydney, during which I picked up a new set of end-plate studs and nuts. I can now complete the final build for the gearbox. With a full set of good studs properly torqued I found that my previous shimming was irrelevant, and ended up with a 1.4 shim and 5 thou of clearance. Smallest allowable shim, largest allowable clearance! The gearbox would move but was very tight with a 1.5 shim, so after 1000k I'll check everything again.
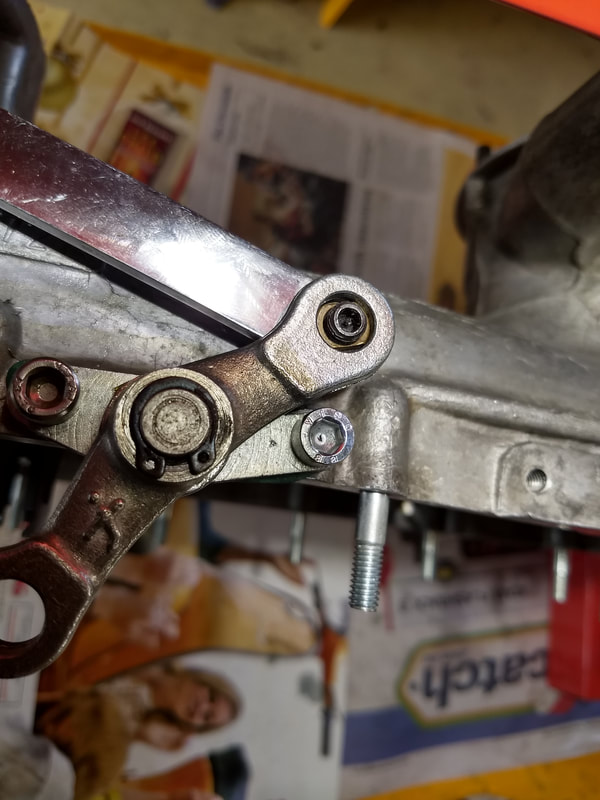
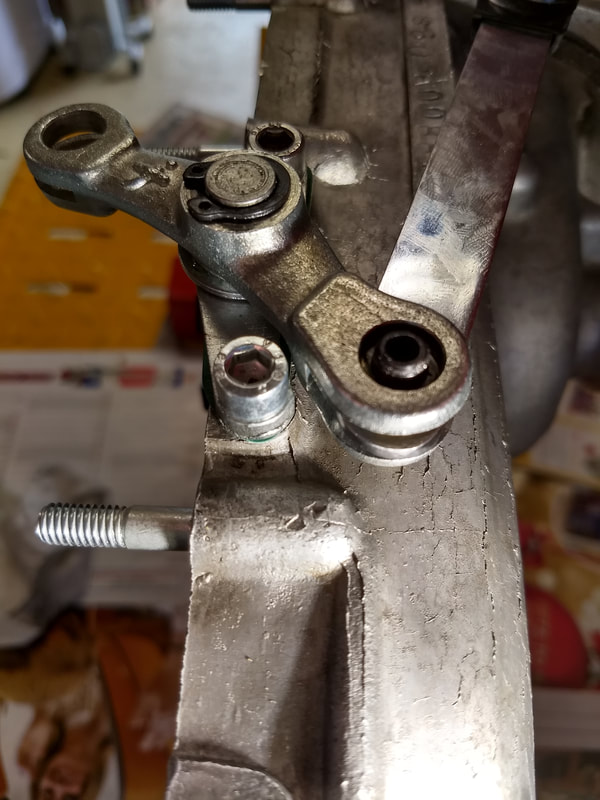
I'm still not happy with the clearance for the gear selector bracket in first. The Scootopia bracket that I've got lying around is much slimmer than the SIL one I'd fitted, however, it needs a washer under it. MB sell precision shims explicitly for this, or I could just use one from my Fyshwick Fastenings multipack that does the job with no free play...the Scootopia bracket now fits perfectly with plenty of clearance.
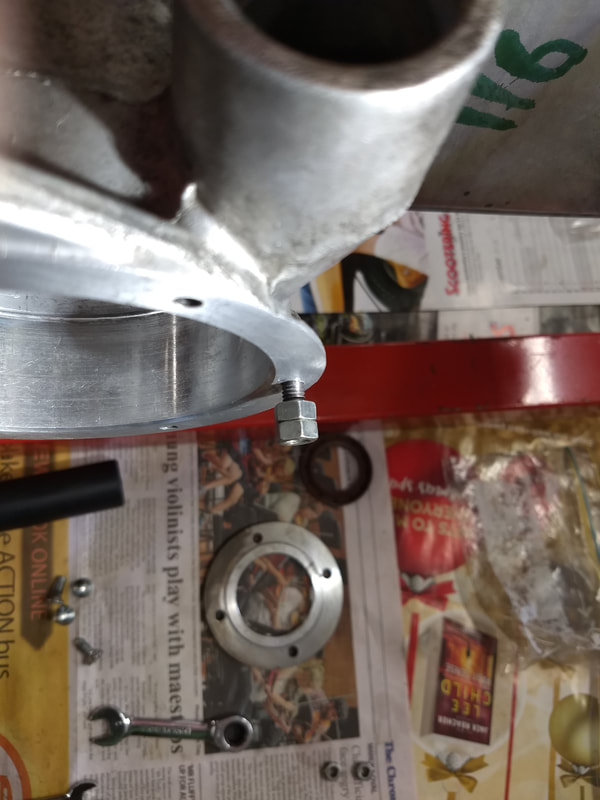
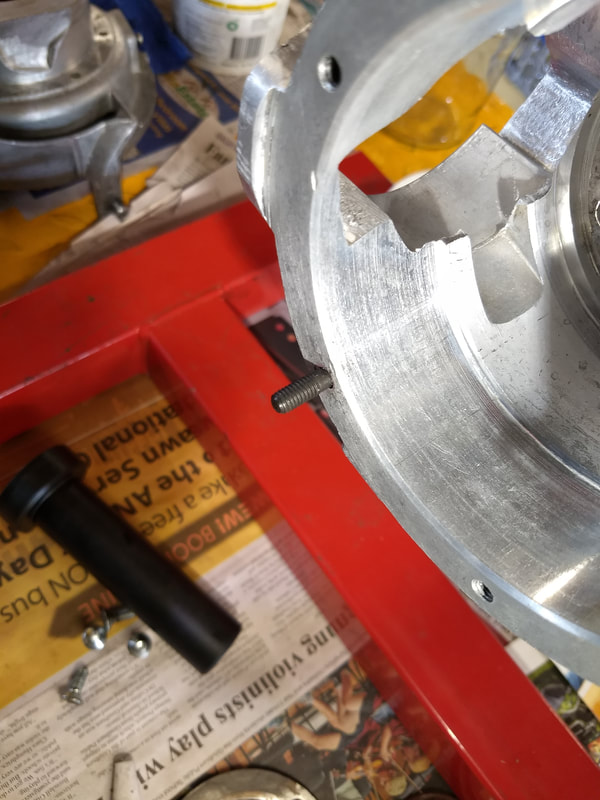
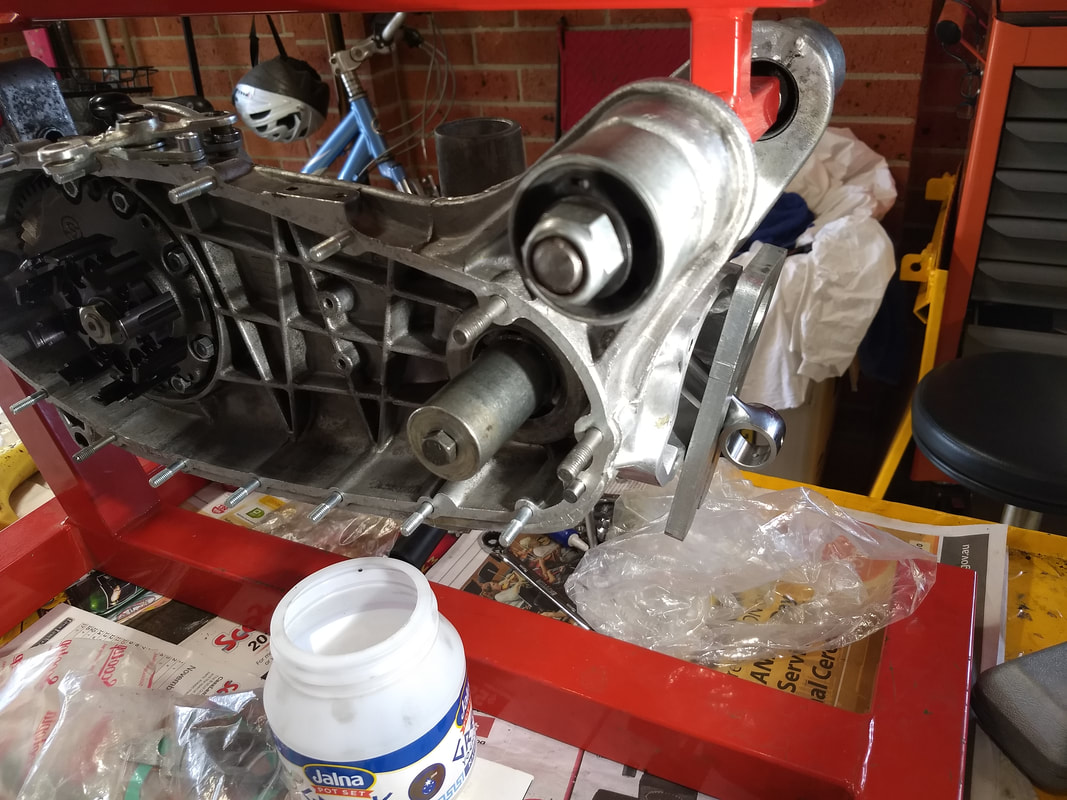
I can finally get the bottom-end together. First up, replace the dodgy looking Indian mag-housing studs with new ones from Mr Diffey.
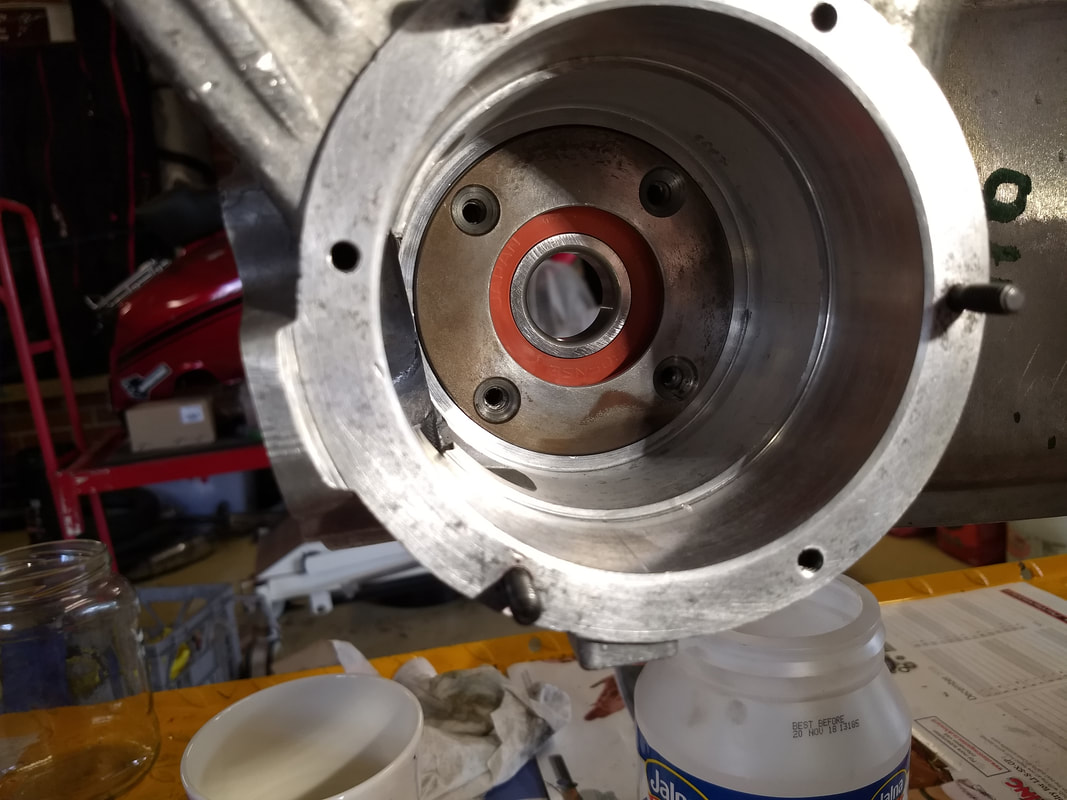
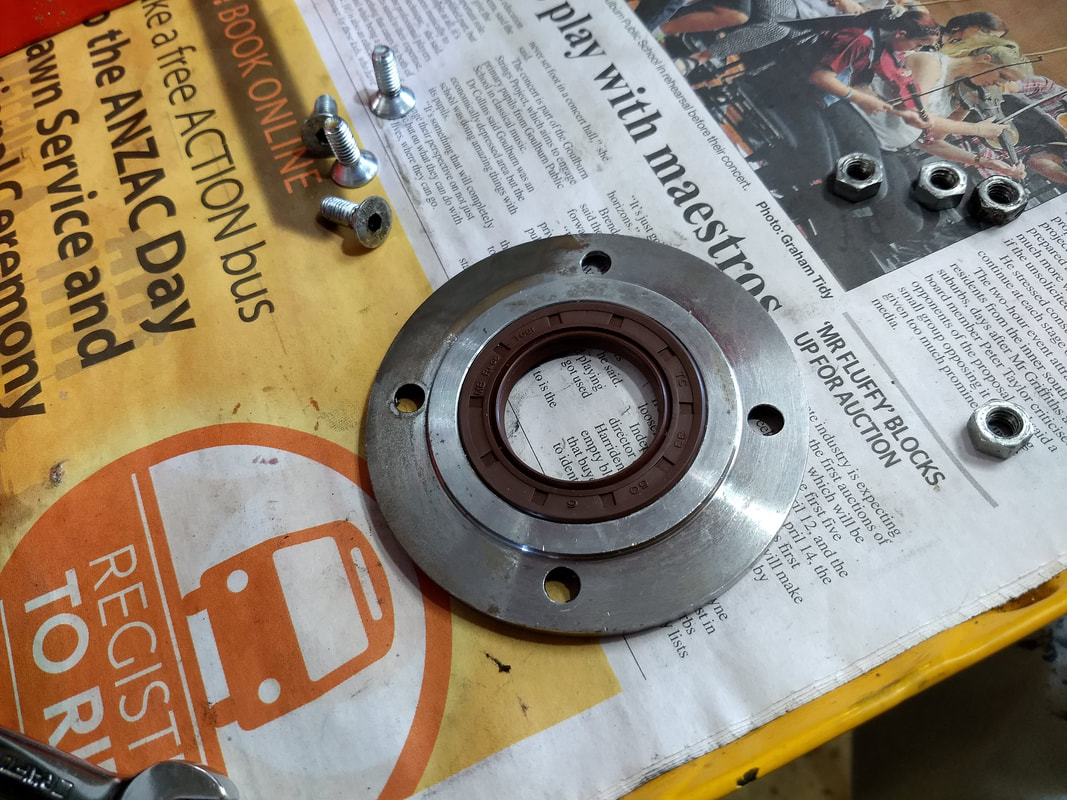
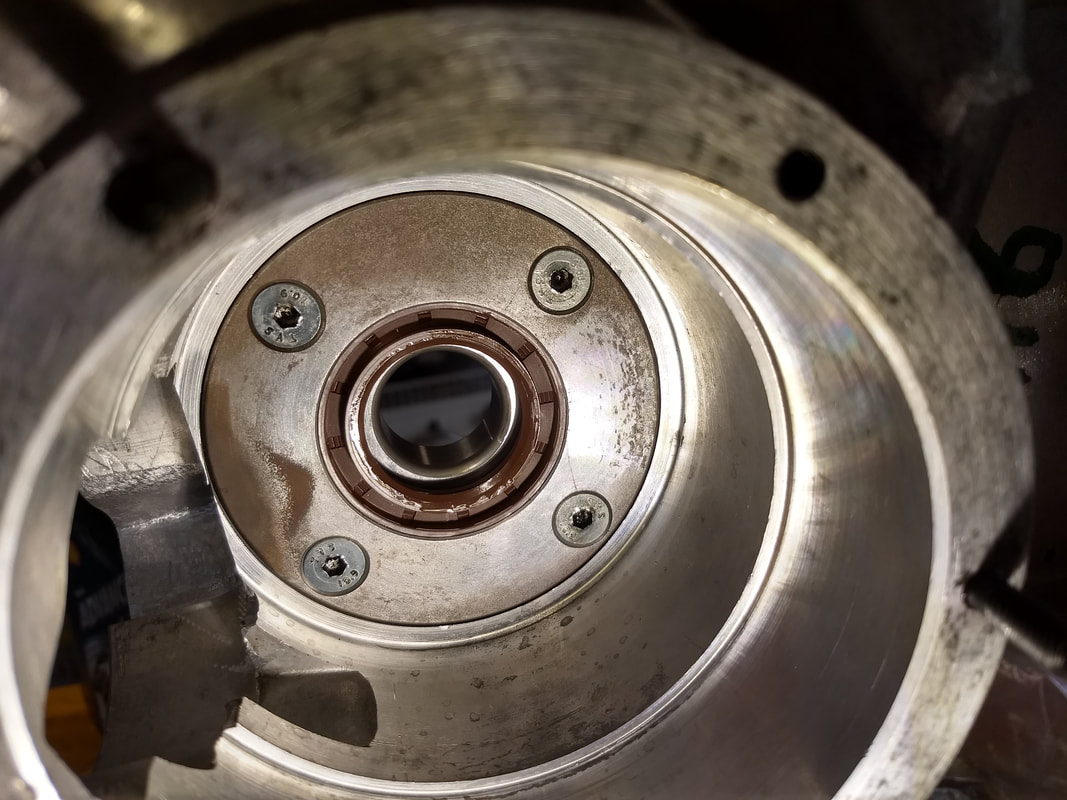
My Indian engine came fitted with a good quality steel drive-side oilseal plate (rather than the aliminium ones used by SIL), and inspecting it showed no sign of warping and a nice even fit, so a new Viton oilseal is fitted to this. Viton seals are quite stiff so I found it easiest to use a vice with rubber jaws to press it in to place (forgot to take a picture, oops).
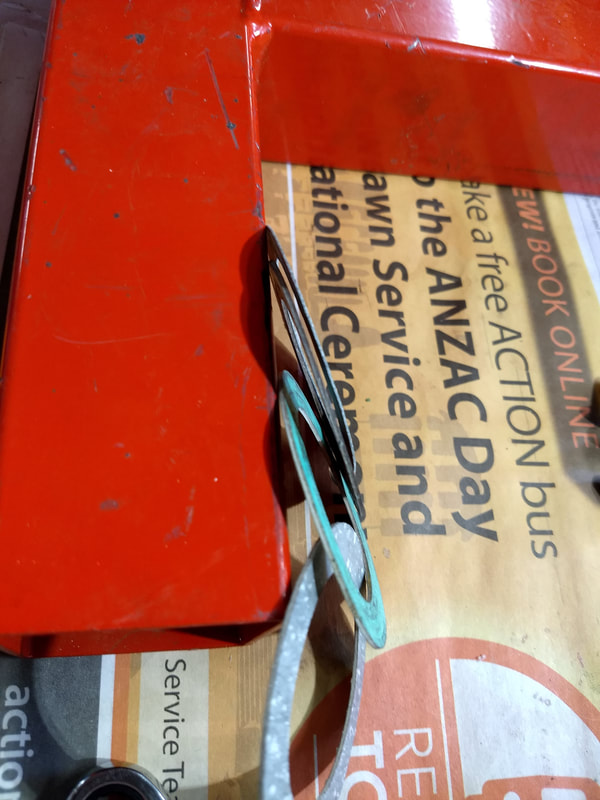
I've previously found some main bearing "haltite" gaskets too thick to allow the oilseal plate to sit properly flat, and sure enough the four different ones I have are all of different thicknesses.
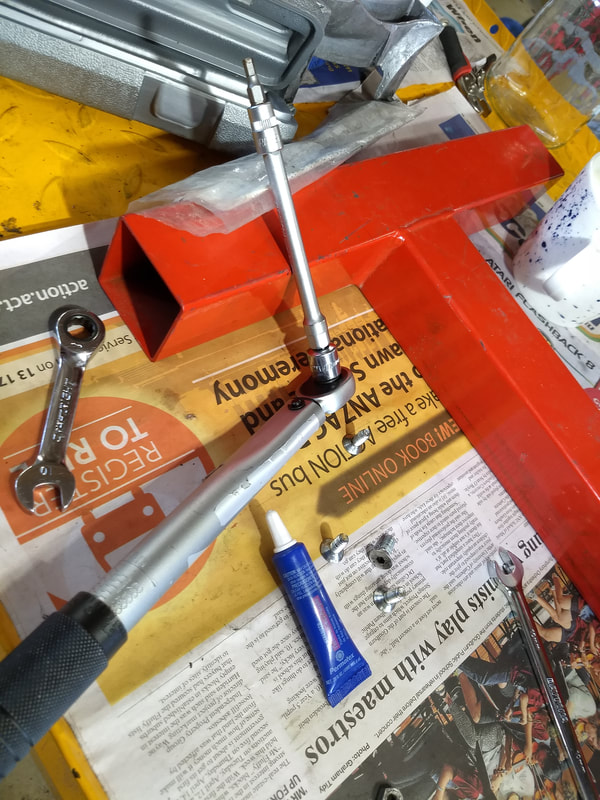
Anyway, I pick the best one and fit the plate using allen-headed screws torqued to 3.8 foot-pounds and the weakest possible threadlock, as recommended by Sticky. This is a huge improvement on the old flat-head screws and centre-punching from yesteryear (although part of me still wanted to centre-punch the screws, to be sure, to be sure)
Next I lube up the seal and crank with 2-stroke, and gently ease it in using the correct tool (as the actress said to the bishop). I'm really careful to slowly bring the crank in to the seal because, as said before, Viton seals are stiff and you can easily flip out the internal spring. Sticky recommends heating them with a heat-gun or hairdryer to make them more flexible, so I'd used my work-lamp to do a Heath Robinson approximation of the same before beginning...it all went well, so I'm calling that "another way".
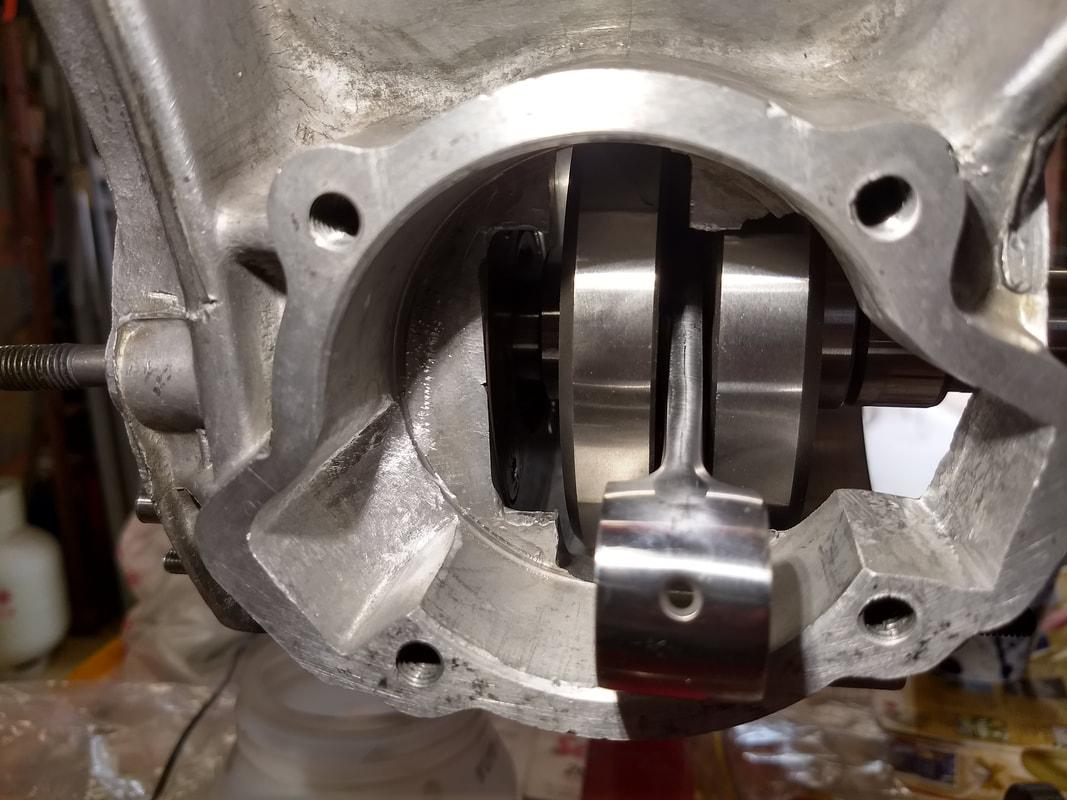
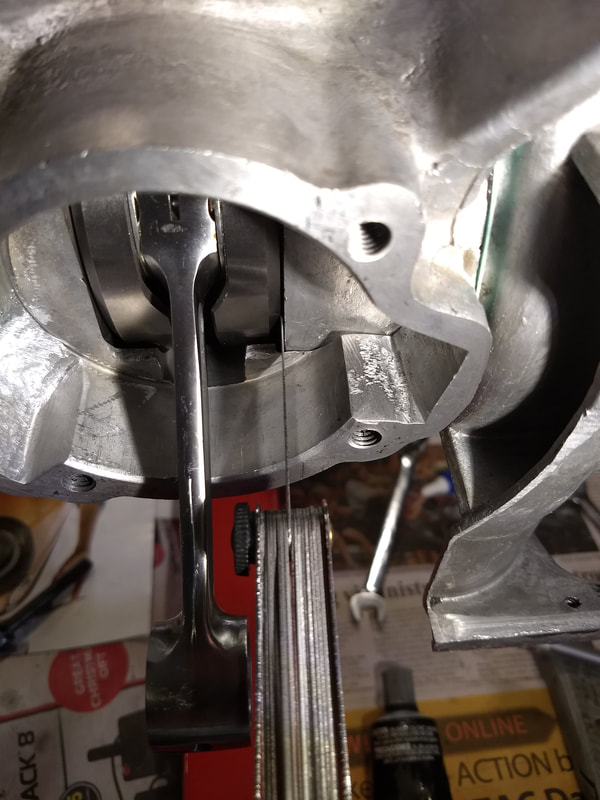
Next up, fit the mag-housing. The manual says some use just grease with the gasket and some recommend silicon seal. Having previously had an annoying and intermittent air-leak through a mag-housing I'm firmly in the silicon seal camp. I'll take extra work when rebuilding over a holed piston every time! Once fitted the crank is checked for clearance on both sides and it's perfect. I'm really chuffed with how this is going.
| Note, the mag-housing packed with HTB grease to the correct level, I hope. I'm never totally sure how much to put in, but it looks like the picture in Sticky's book. I'm thinking half the sales of CasaCooler mag-housings are from people like me who aren't sure how much grease to use...the bearing is petrol-oil lubricated? - take my money! |
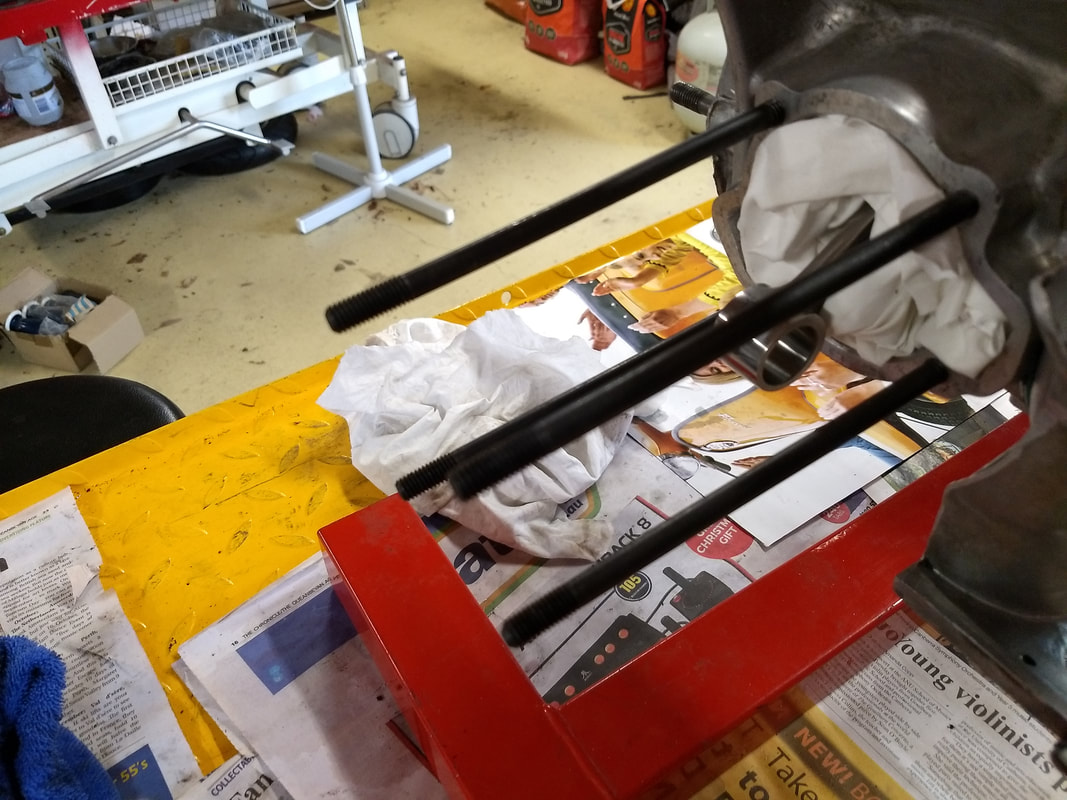
More new studs: The ones fitted to my engine looked good, but again it just seems like a good idea to change them. There's rolled ones and Indian ones and Vespa ones, and ones that are too thick/too thin. I'm not going to pretend to understand all the nuances, but have fitted quality ones that won't stretch when torqued, or cause the barrel to expand weirdly, or result in strange wobbles in the space-time continuum, er, anyway, the ones recommended and supplied by Steve, Dr Lambretta. Before fitting the threads were checked and they are perfect.
Okay, let's fit the flywheel, ready for some Buzzwanglelisatering. Um, shiny expensive new crank meet shiny expensive new flywheel, except there's this little $3 woodruff key thing needed and guess what I forgot to buy. "I don't bloody believe it!".
That's it for now. Steve has posted me a woodruff key. I also remembered that a Vespa clutch one is identical and called in at Motorini to get one from Nico on the way to last night's Swarm meeting, so shortly I'll have a surfeit of woodruff keys...
That's it for now. Steve has posted me a woodruff key. I also remembered that a Vespa clutch one is identical and called in at Motorini to get one from Nico on the way to last night's Swarm meeting, so shortly I'll have a surfeit of woodruff keys...
 RSS Feed